Sunday 31 July 2011

BLOG 61

I have spent much of this week visiting my mother in a convalescent unit where she is making mixed progress. Although emotionally draining, the break away from home has been a welcome change and I am back home with batteries re-charged.

So, picking up where I left off last week, I am working on adding detail to the small wall hanging (11” x 21”). The background is very simple, made using strips of ready-fused fabric pressed onto a cotton batting.

Greenery

As this is a small picture, I have decided I would like to try and ‘thread paint’ cow parsley in the foreground for interest. To start, I have free-cut a shaded green fabric with pinking shears to give an impression of foliage and this has been ironed in place.

Greenery detail

Next, I am going to try to use my ‘young’ (I’m not that experienced!) machine embroidery skills to draw the flower itself because I like to stretch myself with each piece I make to ensure that I continue to grow. To do this I have trapped a piece of white sheer between 2 soluble layers and stretched them in an embroidery frame. There are sparkly details on the sheer to add interest.

Visuals and embroidery hoop

Also helpful are visuals like the plant itself (there are plenty around this time of year) and, on a scrap of paper, I have scribbled to main characteristics of the plant such as flower details, leaf pattern, silhouetted shape etc. Now I am ready to sew. Watch this space!

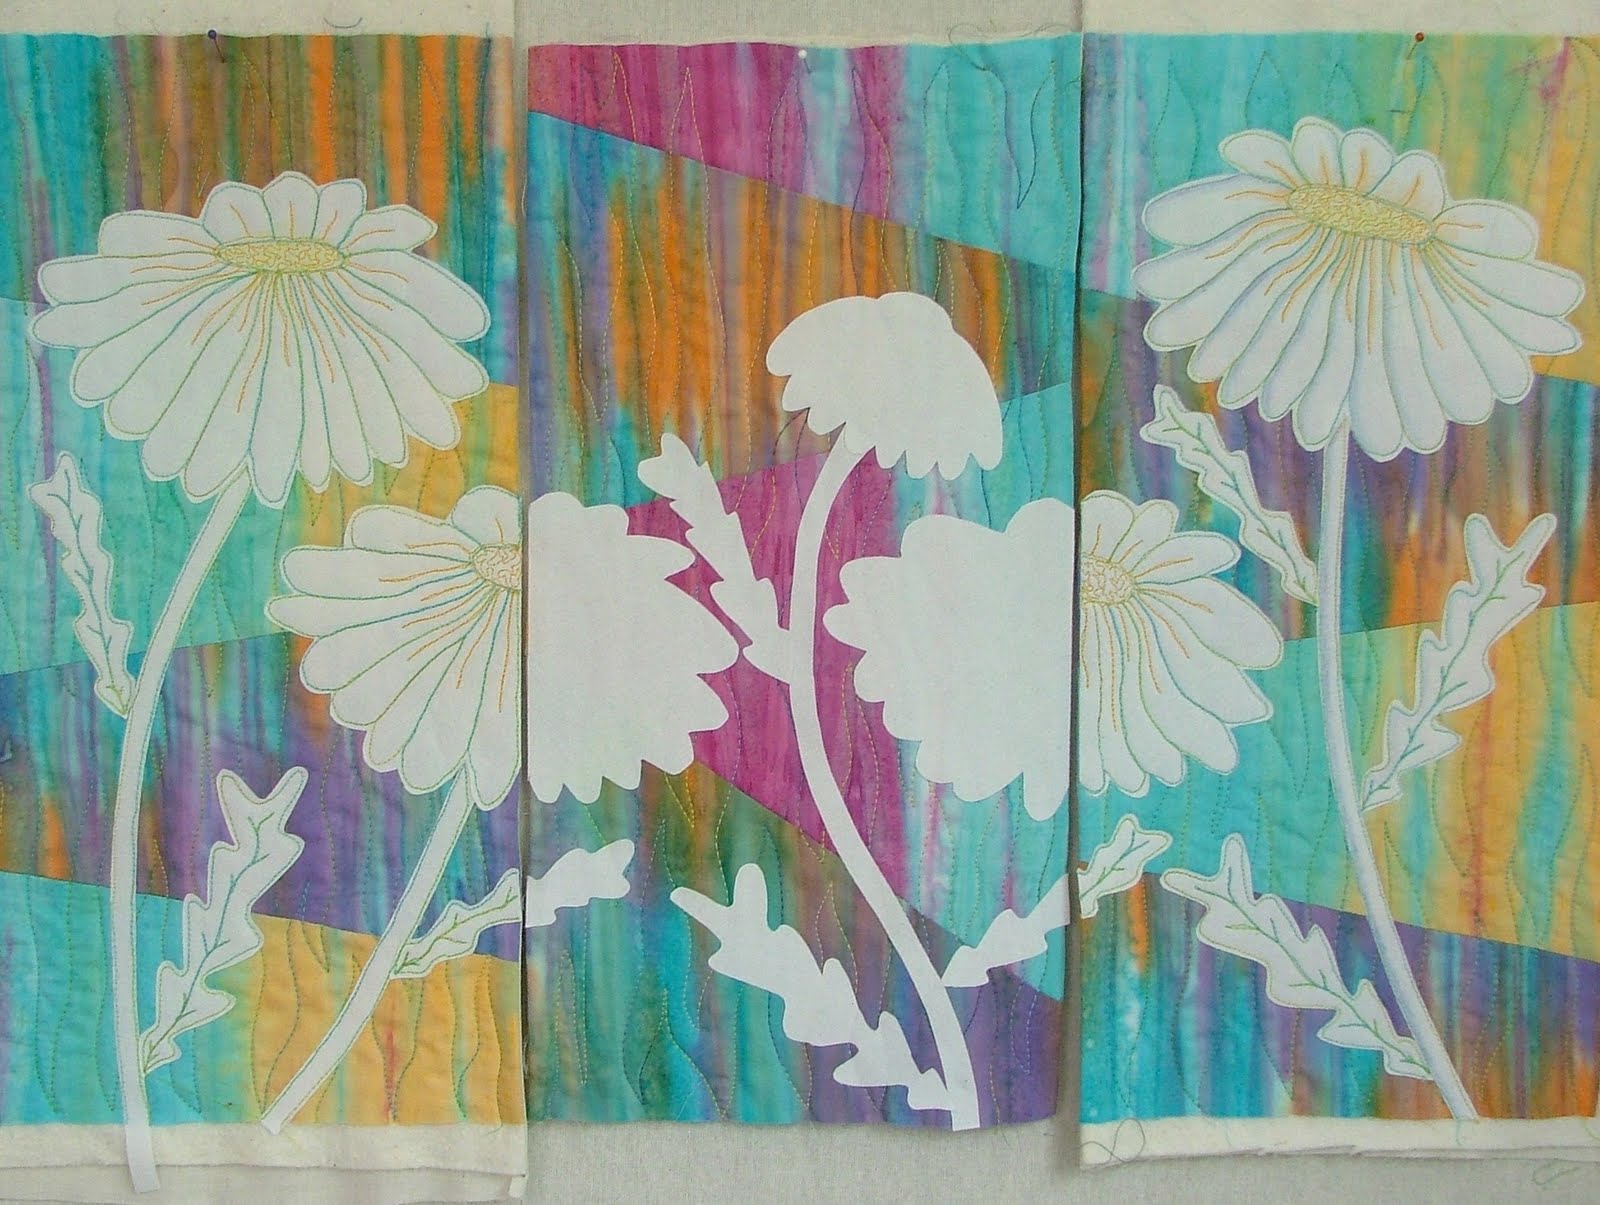
On 28th to 30th of October, I will be attending the autumn quilt festival run by Grosvenor exhibitions at the show ground in Malvern. I will be demonstrating positive/negative appliqué, teaching a mini workshop and selling my book ‘Dual Image Appliqué’. As part of this event, I have been invited to put together an exhibition of my ‘Fabric Palette’ quilts. As I have just entered my Garden Triptych quilt in an American competition, I feel I need to flesh out my display somewhat. So I have decided to do a series of landscapes (I hope!). Here’s how I go about it.

Pattern

I start with a vague idea of what I want to achieve and make a rough pattern; this one has been drawn on the wrapping paper from the meat purchase at a farm food shop. Waste not, want not and all that! The paper has determined the size of the picture.

Each of the simple pattern sections is traced separately onto baking parchment.

I use a varied palette of fabric, prepared with a fusible backing, and cut them into strips with a fluted rotary cutter. I have plenty in stock from previous quilts!

Water and hill

I use the strips to cover the drawn section on the baking parchment and pin it over the pattern to assess progress from a distance.

Foreground

Hills

I have always need lots of colour in my quilts so my landscapes are never going to be traditional. Machine embroidery and texturing will enhance the fabrics and add detail at a later stage. And this is the story so far!

Sunday 24 July 2011

BLOG 60

Continuing with the floral wall hanging from Jenny Robert’s workshop, the quilted panel is now in place and the flowers are fused ready for machine sewing. Because white fabric can ghost the colours underneath, I decided to fuse 2 layers together before fusing the patterns onto the back to cut it out. Fusing has helped to make the white more solid.

Fused shapes

Note the subtle difference between the sewn flower on the left and the shaded flower on the right. Jenny suggested we did this with watercolour pencils to add depth.

Before shading

After shading

The edges and detail were sewn with a variegated cotton thread and a free-motion technique. Traditionally the feed-dogs are lowered (or covered) for free motion stitching but I prefer to leave them up. Doing it that way provides gentle friction underneath the fabric but it doesn’t affect the direction of the sewing. It helps with control and prevents the fabric from moving too rapidly under the needle.

Before sewing

The fabric needs to be gripped securely and I generally use lightweight gardening gloves covered with plastic dots. They are cheap and serve the purpose well.

Completed block

All I have to do now is to find an imaginative way to complete the project!

There is one more small hanging that I would like to complete next. I know what I want to do with it and I will explain about it next time.

Small wall hanging

Yesterday I was delighted to be able to wear my engagement ring again after having it enlarged. I haven’t worn it for years and, if I was really honest, I hadn’t a clue where it was hidden until it came to light last week. But finding it reminded me of the time we bought it in Bangkok.

Engagement ring

Many years ago Roger and I both worked on the tiny island of Tarawa, in the middle of the S Pacific. We decided to marry there and, as there was nowhere to buy such a thing as an engagement ring, I was promised one on our journey home. So there we were in a reputable jewellers in Bangkok, newly arrived and excited. I was shown trays and trays of rings and I eventually selected 12 that I really liked, in order to make the final decision. I loved the one I eventually chose, totally impractical but the colour of the large amethyst and the decorative setting just delighted me. We were unaware of the exchange rates as we paid many hundreds of bahts for the ring and we left the shop impoverished but happy. Imagine Roger’s delight and eventual embarrassment when, on converting the price to sterling, he discovered it only cost £7:00! I didn’t care at all; I just loved it!

Sunday 17 July 2011

BLOG 59

I have had a pleasing and productive time in the garden this week, taking advantage of the lovely weather naturally but mainly escaping from the mess made by the plumber, tiler and electrician as they installed a shower in the family bathroom. ‘Music while you work’ was another reason to be outdoors; it was constant, it was loud and it turned a normally calm and peaceful home into a head banging experience.

I have continued to work on unfinished projects like the one shown below from a workshop by local quilter, Jenny Roberts. Her array of samples, shown at her lecture, was inspirational and I particularly liked the way she set her hanging inside a wooden frame. I have to say that it is often difficult for me as a well-known teacher to attend quilting workshops because of the assumption that there is nothing left for me to learn. WRONG! I had a great day and this is what we achieved in the workshop. I have decided to make it wider by adding a central panel.

Floral panels

To make the centre panel I needed to construct a similar background from the 2 chosen fabrics. This starts as 2 strips of fabric, of the same size, placed one on top of the other. They are sliced randomly into 4 wedges and then swapped over to alternate fabrics.

Fabric wedges

The wedges are joined together and, with the use of batting and a backing fabric, made into a turned-through strip with the side seams on the inside and the batting in the middle. I just wanted to use one panel, which was then quilted with a background texture. The top and the bottom edges remain open.

.

Sewn panel, textured panel

3 panels

Extra daisies are needed now, prepared with white fabric and a fusible, and that’s my next task on this project.

Another project that came to light when tidying up my storage space is an appliqué cushion. The shapes are cut from dyed fabric and fused. They have been laboriously appliquéd by hand with a buttonhole stitch and the decorative stitching and texture have been added by machine.

Chrysanthemum cushion

Chrysanthemum cushion detail

I made several more soft boxes and here they are en masse. Some were made with an extra calico layer marked with the grid, to give a lose lining. Job done!!

The detailed method for this project can be found in Blog 57.

Soft boxes

Sunday 10 July 2011

BLOG 58

This week my mother has started complaining about the lady in the bed next to her, a sure sign that she is improving! In an oblique way, it’s good that she can be bothered to take notice of what is going on around her, even though it is less than complementary. She has started to do some simple exercises in physiotherapy and they are weaning her off her reliance on the oxygen. She is getting lots of visitors and this suits her fine!

I am still concentrating on clearing my backlog of unfinished projects, just those I want to finish, mind you. Some projects just needed a bit of sewing and others demanded more attention. I have reclaimed the fabric from projects I placed in the ‘sod it’ pile and I have had a good sort out and chuck out. It is very cathartic!

Things to do!

Pos/neg wall hangings

I sewed hanging sleeves on the back of these positive/negative wall strips. They are covered with voile, which means that you don’t have to do any zigzagging around the cut edges of the shapes. This is a quicker way to complete a pos/neg designs.

Jacobean cushions

These Jacobean cushions have now been re-backed and re-bound. They are hand appliquéd and hand quilted and represent my early work! They were used as class samples and they are now as fresh as the day I made them.

Log cabin bag

Detail

I have made new handles and sewn them onto a much loved log cabin bag. I love the shape of this extremely useful workbag. It is a variation on log cabin, where a square of black fabric, folded on the diagonal, is positioned on the corner of each completed sequence of ‘logs’. The diagonal of the folded square is on the bias and so it can be rolled back and caught down to produce an arc. Clever stuff!

My sister has recently completed a couple of tapestry cushions, started by our mother many years ago. She asked me to make them into cushions as a surprise gift to cheer her up while she is poorly. Cushions made; job done!

Mam’s round cushion

Mam’s square cushion

And finally, I have added a lining and made a piece of hand-embroidered felt into a case for my glasses. I bought the hand dyed felt squares at a show and have learned recently how to do more than just a stem stitch! This is a compact (and often slow) project that I can carry around in my handbag, for those occasions when I need a hand project or have to wait around for appointments. One is my present project in progress and the other is lined and completed, ready for use.

Glasses case

I hope you are impressed with my progress this week. I certainly am!


Sunday 3 July 2011

BLOG 57

My mother continues to be a cause for concern, having made little medical progress during the past week. However, instead of lying in bed all day, they are at least getting her dressed and into a chair. Being on a similar eye level with the hospital staff and visitors has given her a much healthier perspective on life and there’s still hope in her with talk of ‘…. when I get home….’

This week I have concentrated on my Christmas Flowers arrangement and it has been turned through, pressed and a sleeve attached. However, in a change from my usual procedure, this picture was machine textured before it was bagged and turned through. This has left the backing fabric free from the rest of the quilt and I need to add more texturing. Note to self: Bag and turn through before texturing for a flatter finish!

Christmas flower arrangement

At the Festival of Quilts next month at the NEC, our Quilters’ Guild has a stall to raise funds. There is a theme each year and, understandably, the members are encouraged to make as many sale items as possible. This year the theme is ‘Put ‘em ins’! So we are talking receptacles here and they can be of any shape or form or technique.

I have decided to make some soft boxes, which I recall demonstrating many years ago as a Christmas project. You can imagine them made in Xmas fabric to enhance your place settings, can’t you? Anyway, the one shown below is made in silk by my chum Jennifer and when I said I was going to do them, she kindly sent instructions that she had downloaded from the internet. I found these instructions complex so the method I am about to describe is simple and quick and it could be suitable for young sewers who are able to use a sewing machine. (A project that might interest Veronica!)

EASY SOFT BOX

Jennifer’s soft box

Requirements

9 ½” square of outer fabric

9 ½” square of lining fabric

9 ½” square of cotton batting


Preparation

On the RS of the lining fabric mark a 1” grid. (I used a water-erasable marker)

Method

1 Place the fabrics RS together and pin onto the batting, matching the edges.

Layering

2 Pin a 3” gap along one edge for turning and sew a ¼” seam around the edge.

TIP: Sew a couple of diagonal stitches across each corner to soften them.

Turning through

3 Trim the excess fabric on the corners and turn RS out with the marked grid on the top, batting in the middle and outer fabric on the bottom. Use a blunt tool to ease out the corners and turn and pin the seams at the gap.

TIP: You can hand sew the gap if you prefer or machine sew it with a decorative stitch after the grid had been sewn.

Sewing the grid

4 Quilt along the lines by hand or machine. Start and finish with tiny stitches on the edges. Dab with a damp cloth to remove the water-erasable lines.

TIP: Try decorative stitches for a different effect.

Decorative edging

5 Sew a line of straight or decorative stitches around the outer edge.

Pinning the corners

6 Fold the square in half with the lining on the inside and pin the 3” sewing lines together. Do this on all the corners.

Sewing the lines

7 Sew along the lines to shape the box.

Finishing

8 Flatten and pin the corners so that the point is central with the seams. Hold them in place with a stitch in a matching thread to finish. (This is a job for in front of the TV!)

NOTE: You may have noticed that Jennifer has not sewn through her lining. This is because she used a layer of calico to mark the grid and sewed this first before adding the lining and turning through. It produces a softer finish.

Ah well, from my studio, I can hear the blackbirds ‘pink pinking’, the nuthatch ‘chwiting’ and the skylark ascending in song so it’s time I was in my garden. I hope have a try at the project and enjoy it!