Sunday 28 September 2014

BLOG 216


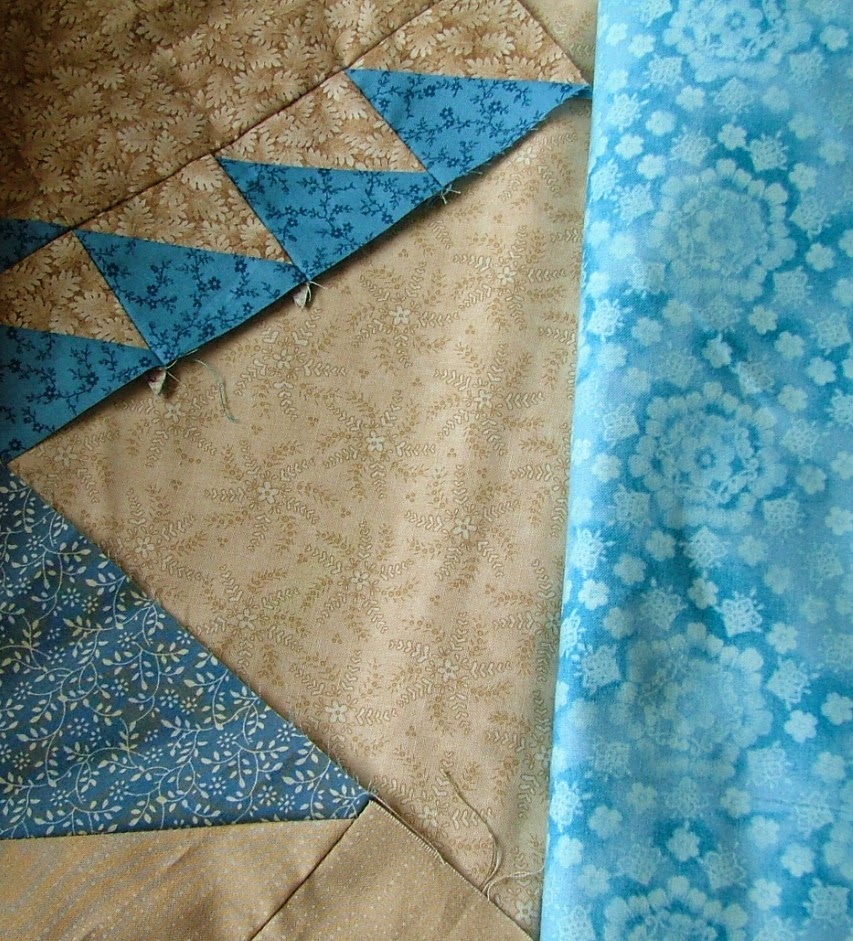
I have not made any progress on the Lady of the Lake quilt this week, preferring instead to do something completely different and there is a round-about reason for doing this.

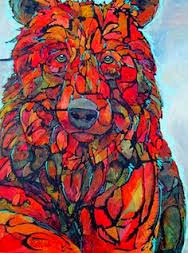
 Recently I attended a workshop by Richard Box. I have always admired his work and I had bought his book years ago but I have never tried the techniques described within its pages.

                                      The book

 He came recently to Chester Ps & Qs to give a lecture and followed that up with a workshop the next day. Alongside the pattern, he provided us with a variety pack of small pieces of fabrics which were about 1 ½” - 2” in size, with many different values of pink, red and green. There was also a bundle of threads, and this is where the success of his workshop lay. As students, we would never have come up with such a wonderful variety of fabrics/threads for this workshop if asked to bring them; they included differing fabrics, textures and accents, some with sparkle and glitz! So in a very controlled workshop environment, we watched his precise demonstration and repeated the procedure; we watched again and repeated again and not surprisingly we all achieved the very same picture to a highly artistic level.

                                              In progress

                                            Threads


This of course was just what we wanted to do; that’s why we went on his workshop. We became him, worked like him and came away with a replica of his work. Whether I will go on to use his technique again remains to be seen but it was an eye-opening experience.

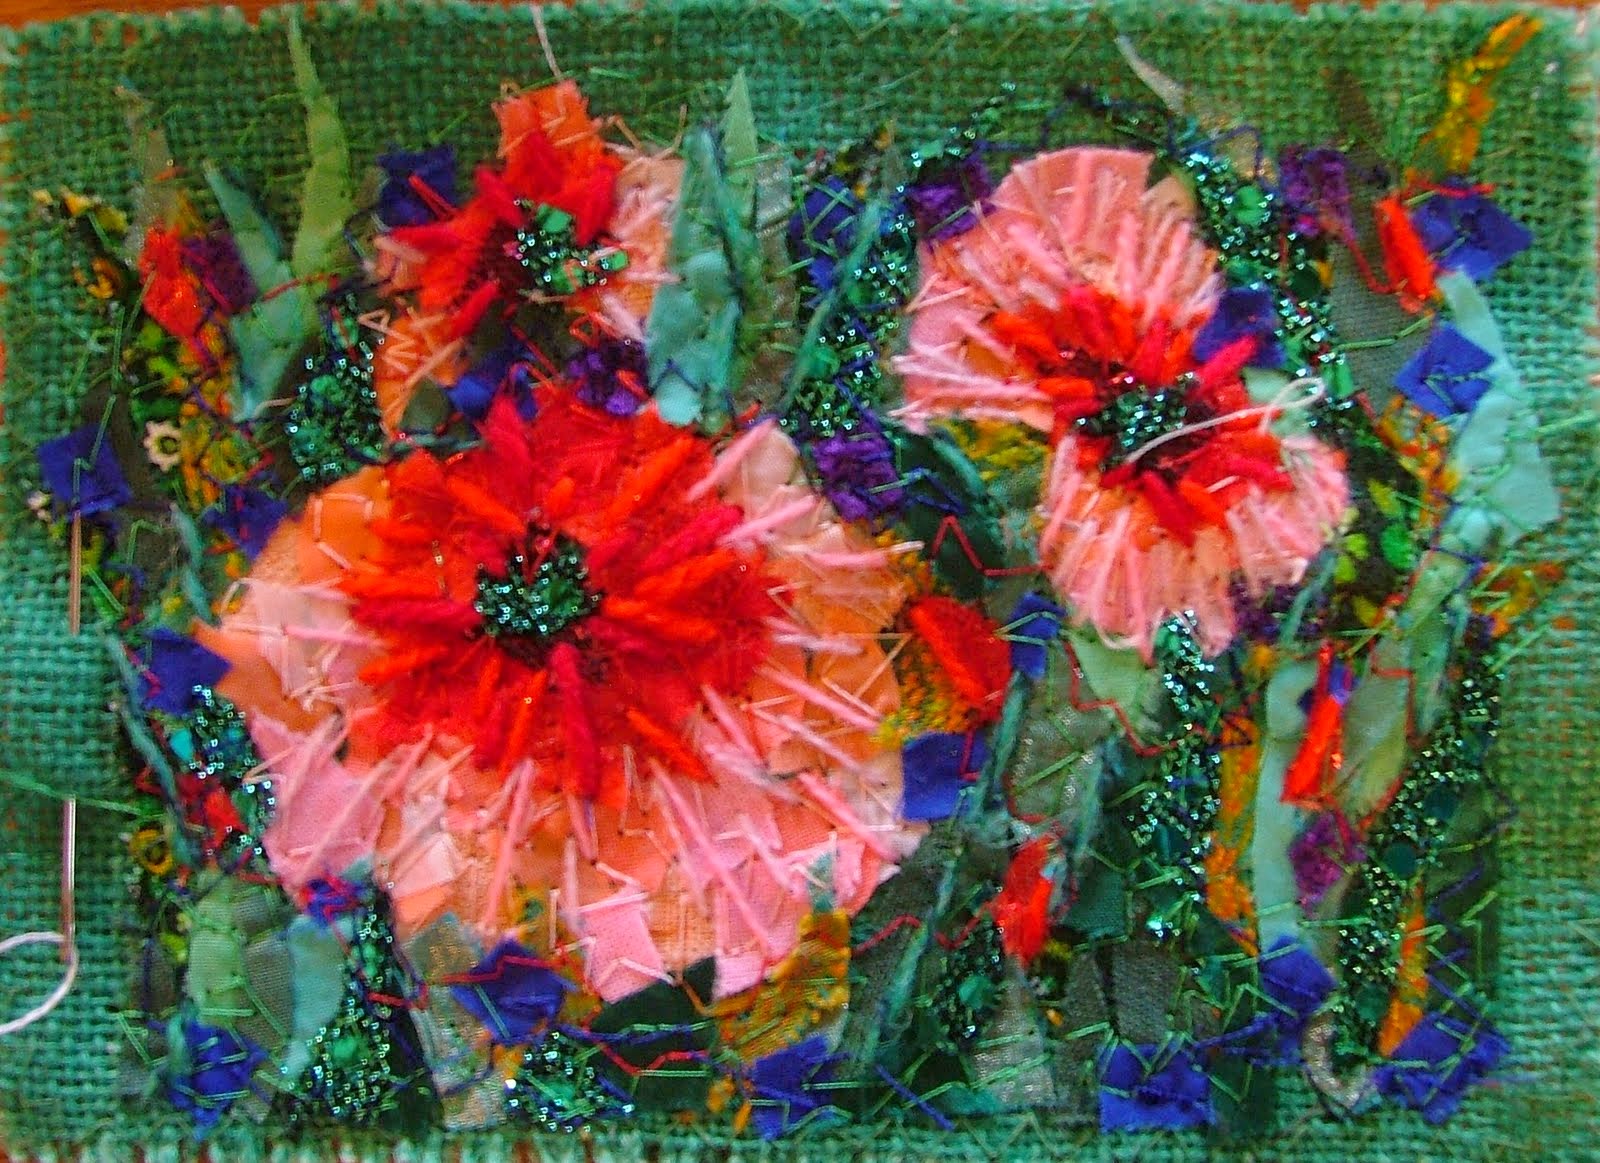
So, after that workshop, I was surfing the internet and I came across a workshop by quilt artist Susan Lenz (inboxseries.blogspot.com) and decided to try it with the same attitude that I did the Richard box workshop. It took a while to get the right fabrics and supplies together because they were different from the ones I would naturally have in stock. The fact that I have got as far as I have goes to illustrate the power of good visual images and an informative text. You can learn so much by following someone else’s technique and then you can decide afterwards whether or not it will suit your way of working on future pieces. I enjoy learning new techniques and I have the seed of an idea that I would like to pursue but I am not sure how to go about it. Experiencing different procedures will help me I think and here are the very basic steps of the start of this method.

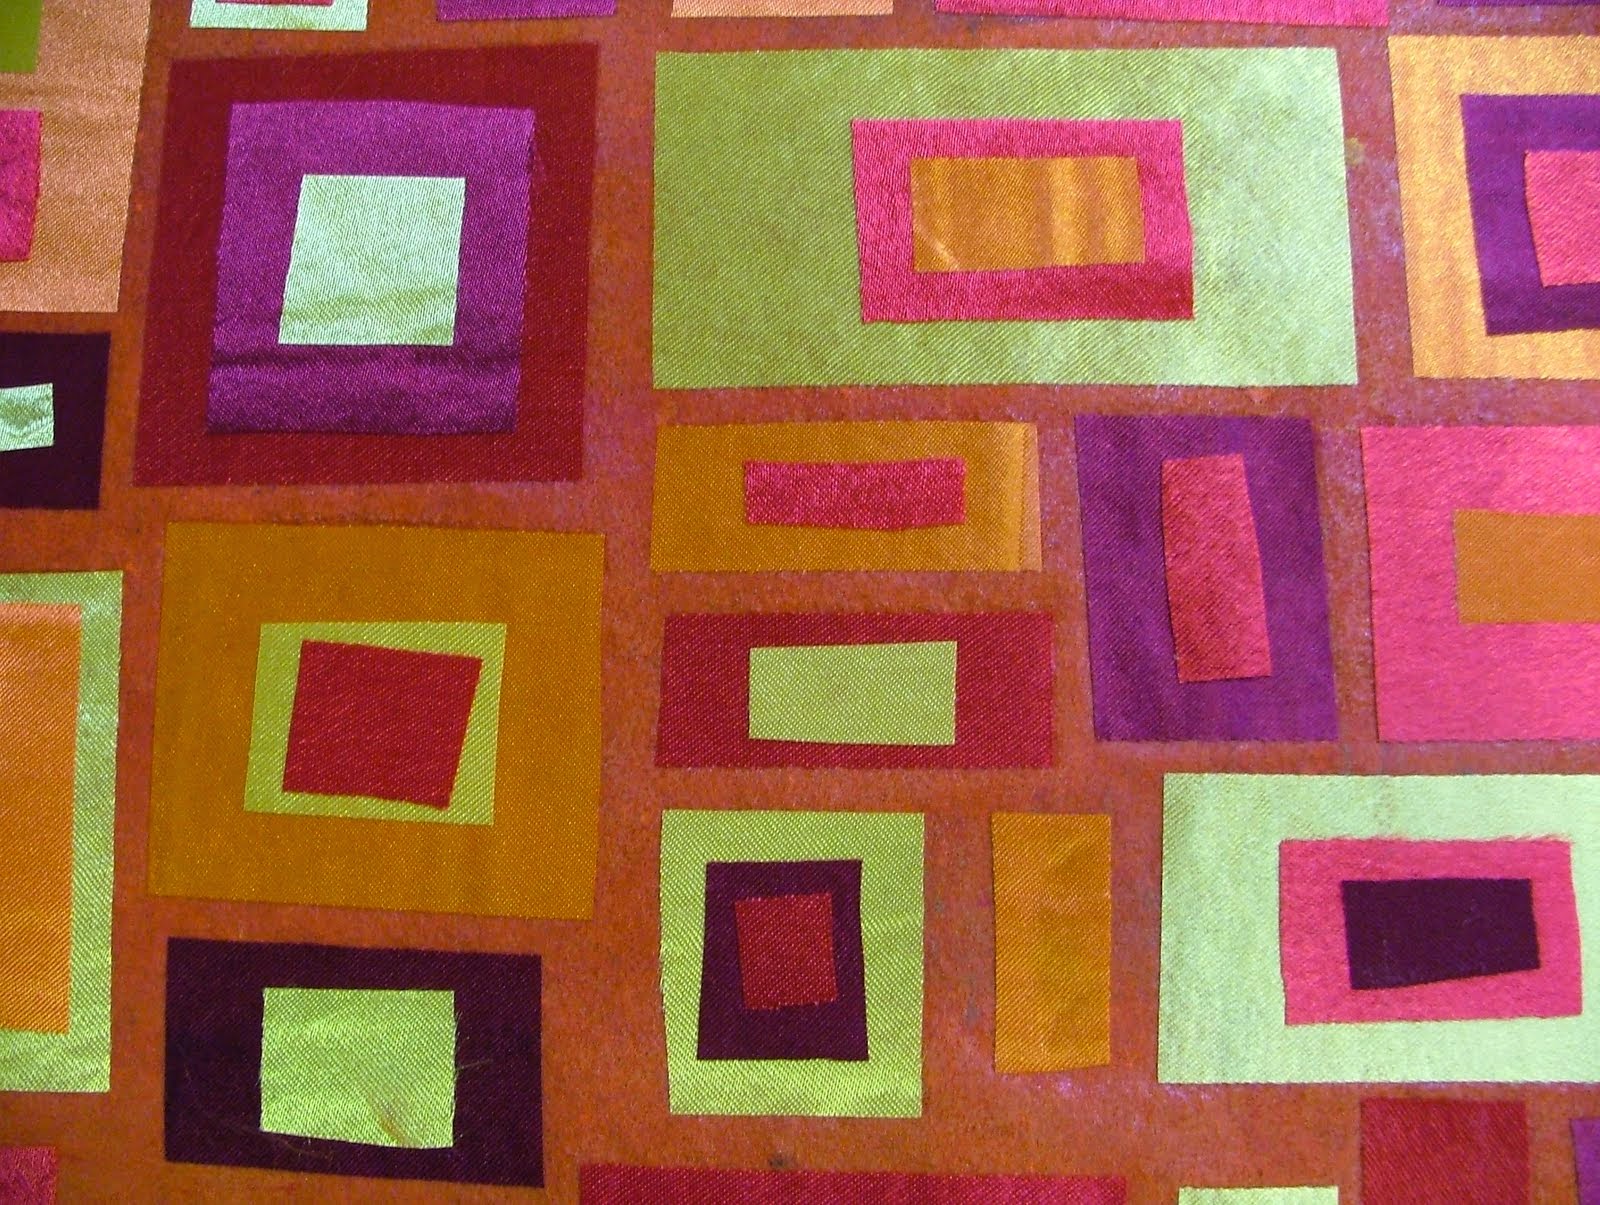
1 Paint Bondaweb with weak acrylic paint and allow it to dry. Iron it onto synthetic felt.

                                Bondaweb on felt


2 Cut out squares and rectangles of synthetics with Bondaweb already applied to the WS. Stick them onto the felt leaving a ¼” space in between the shapes. Add smaller shapes on top of the larger shapes to add interest.

                                   Synthetics on felt

                                            Detail

 3 Paint a second strip of Bondaweb with weak acrylics and allow it to dry.

                            Painted bondaweb

 4 Tear this Bondaweb into smaller pieces and stick them randomly on top of the rectangles. Use a sheet of baking parchment to protect the iron and press them in place. Cover the whole surface of the textile with the coloured Bondaweb.

                                   Bondaweb on surface

                                    Baking parchment

                                        Covered surface

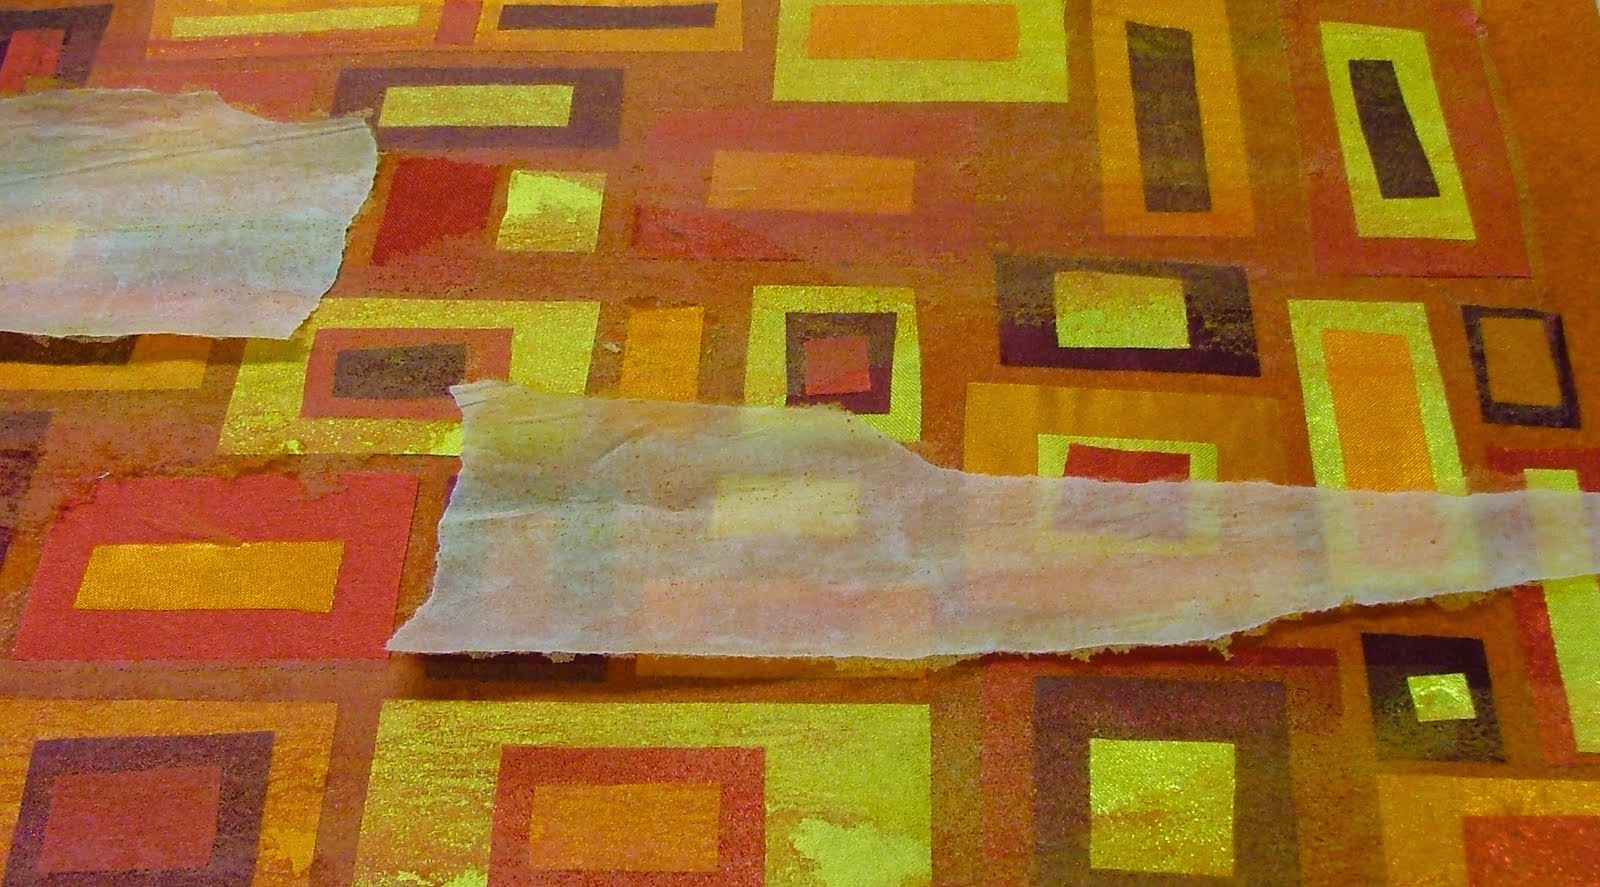
5 Cut pieces of synthetic sheers into small pieces and stick them randomly on top of the painted Bondaweb so that the surface is completely covered.

                                           Adding sheers

                       Completed sheers

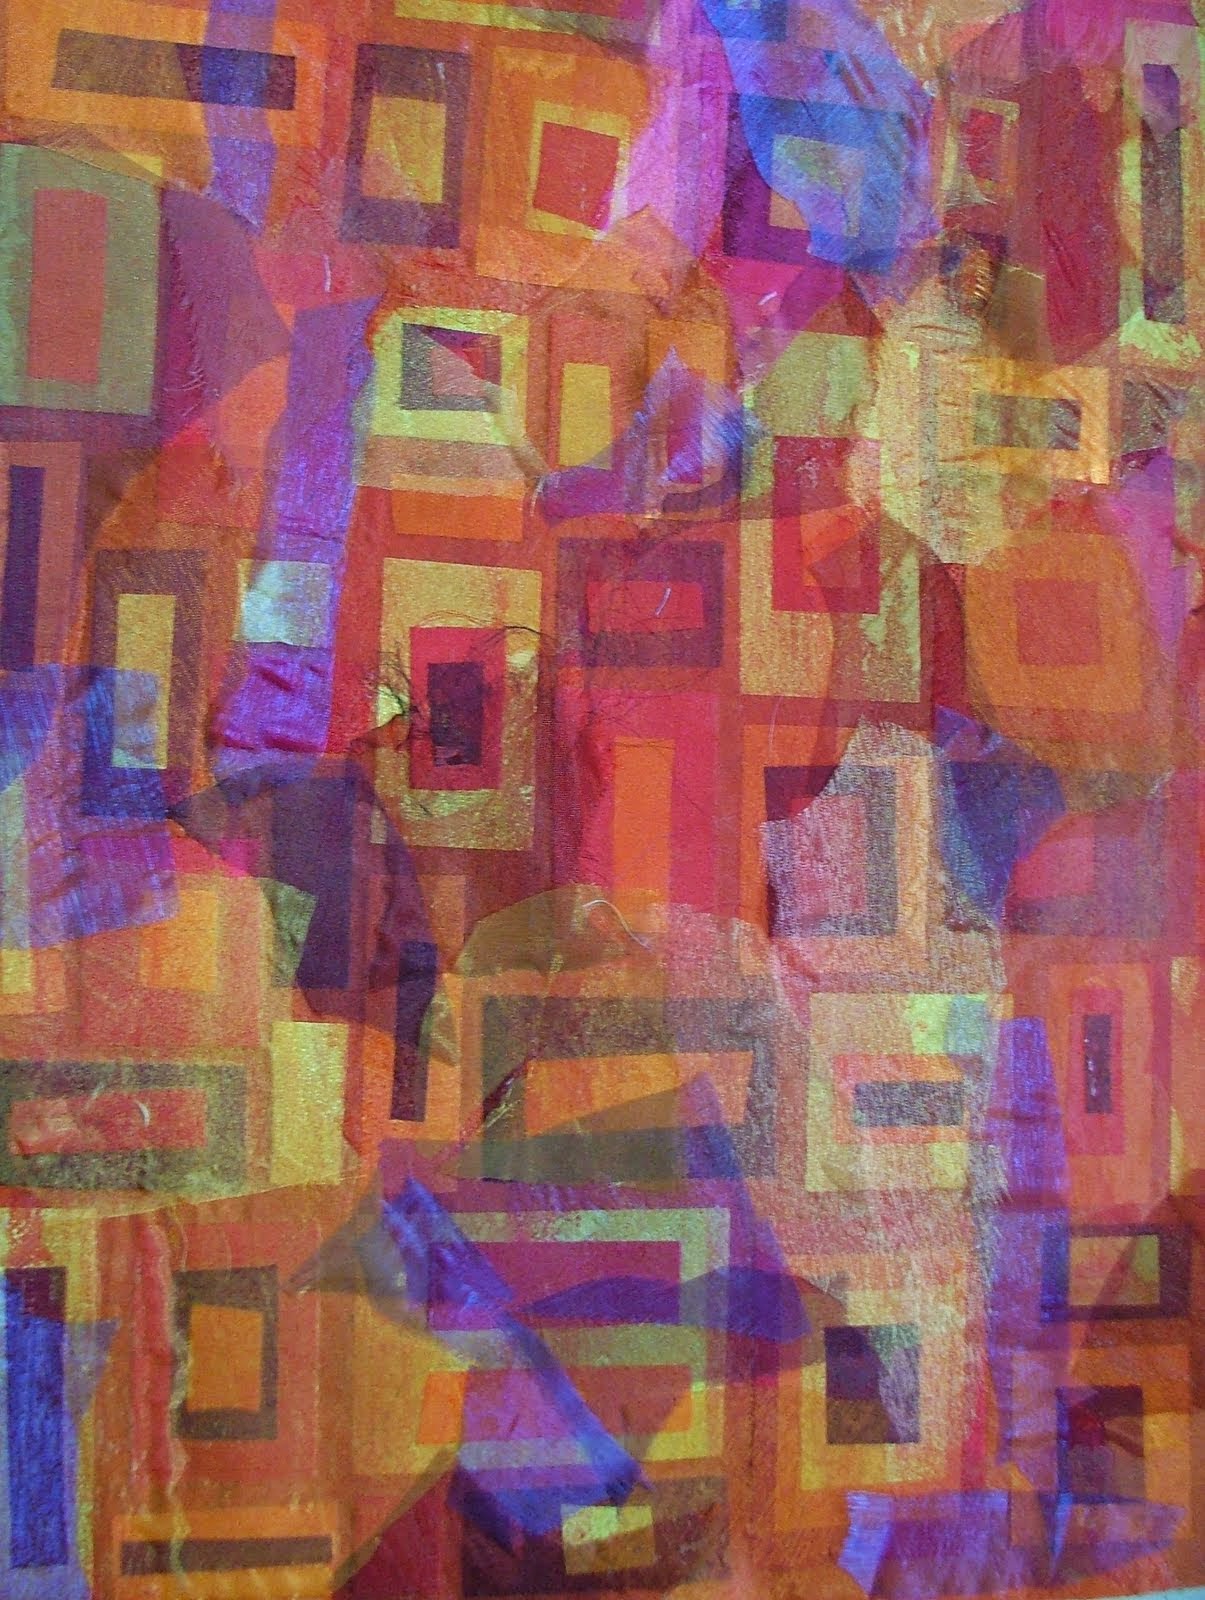
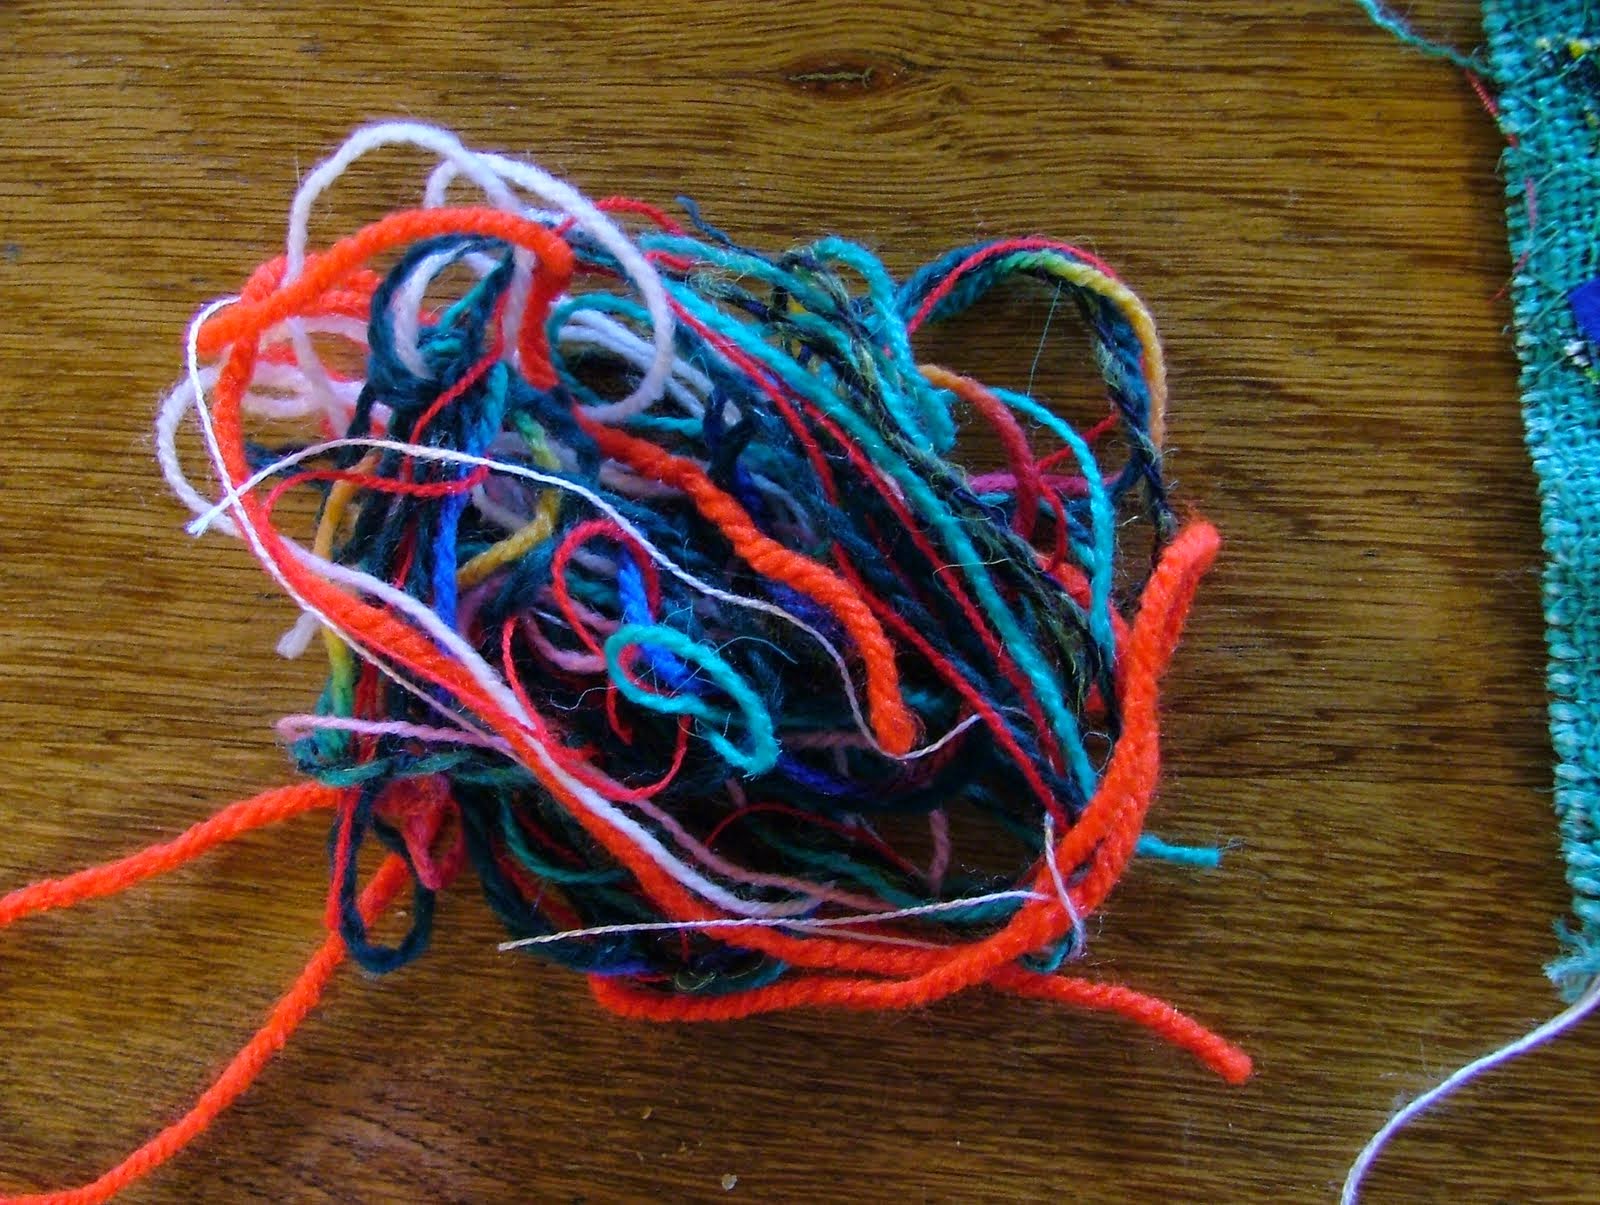
More on this process next time. When I initially read the workshop in its entirety, I have to say that wondered why there were so many phases. I have decided to just work through it and save any comment until after it has been completed.

Sunday 21 September 2014

BLOG 215


I have settled back into the rhythm of quilt making once again, perhaps energised after my holiday and certainly benefitting from a break from routine. So it’s ‘onwards and upwards’ … or perhaps ‘onwards and seam-wards’ in an effort to get this quilt completed.


LADY OF THE LAKE
Last week I showed the extra fat quarters to be included in the remaining blocks, and I also showed the selected infill fabric for around the edge. I completed the remaining blocks and placed them randomly throughout the quilt.

                         Remaining blocks
 

On my design wall I reviewed the blocks, making sure that no repeat fabrics were next door to one another.

                         Design wall


Before constructing the blocks into diagonal lines (NW to SE), I needed to work out the size of the infill triangles around the edge. Now I could say that I used Pythagoras’s theorem, citing that ‘in a right-angled triangle, the square on the hypotenuse is equal to the sum of the squares on the other two sides’ but no, I have a clever triangular ruler that tells me the size I need!!

ASIDE: My maths teacher, Mr Denny, would be so proud of me! I couldn’t see the point in geometry and algebra at school, always questioning how it was going to be relevant to my adult life. I tended to be disruptive, just trying to extract as much mirth as possible from the lessons. But that was ‘life before patchwork’ and now I can’t tell you how many times I have use geometry particulalrly to calculate sizes and construct shapes.  

These infill triangles are going to straighten the edges of the quilt and it is very important that the straight grain of the fabric is on the long side of the triangle. A bias edge around the quilt would be disastrous and lead to stretching and distortion. I used an old fabric as a sample and cut a 12 ½” square which I then cut on both diagonals to give me 4 equal triangles with the straight edges on the long sides.

              Sample square

 I auditioned it up against the edge of the block and saw that it fitted accurately but it left no wriggle room.

                           Sample infill triangle


I therefore decided to cut 13” squares for comfort. I straightened the edge of the newly acquired fabric (no I never wash fabrics before I use them!) and cut out 13” squares. I strongly recommend the right tools for the job in hand; it makes life so much easier. I used a 24”ruler to straighten the edge (note how a black vertical line on the ruler lies against the selvedge) and a 16 ½” square ruler to cut the square.

                              Trim the edge

                                 Cut the square
 

Cut across the diagonals (bias of the fabric) to give 4 triangles with the straight grain going around the outside edge.

                                  4 triangles


Join the quilt blocks together on the diagonal to make lines and add an infill triangle to each end. Make sure the triangle is configured correctly for its position around the edge.

                                  13” triangle

                          Comfortable over-lap


For the corner squares the straight grains need to be at right angles to one another so I cut two 7” squares and divided them across just 1 diagonal.  These were added to the four corners.

                              Corner triangles


And before you know it you have a quilt top! Here it is on the new bed. There is some way to go yet with borders and quilting, but I love the look so far.

                                  First 2 rows

                                        Trying for size

        
                                          New bed

                                      New quilt almost


Sunday 14 September 2014

BLOG 214


Home again, home again jiggerty jig! and feeling really refreshed after a wonderful break in America. We went to the Yellowstone and the Teton National Parks and they were truly amazing. It really is impossible to get your head around the vast scale of these fascinating geographical features. We saw many geysers and fumaroles and, of course, ‘Old Faithful’ (after having to make a 74 mile detour because a bridge was being replaced!) And we saw many animals in the distance …. but not one rotten bear. This was somewhat of a disappointment because I was brought up on ‘Yogi, Booboo and Mr Ranger sir’; we were just heartily glad we hadn’t invested the $45 in a can of bear spray!! Anyway, this isn’t a travel or cooking or gardening blog, just a quilting blog so let’s get back to what really matters in life.

 I found the one quilting shop in Jackson Hole where we were based and made some modest purchases. My main observation was that the prices have risen somewhat since I last bought material in the US. That said, they as still cheaper than I could buy them in the UK. Here are some of the fabrics ($12 p y) I bought because I liked them.

 
                                                  Batiks

 Here are a couple of blues that I bought because I needed them for my Lady of the Lake quilt.

                                 Quilt blues


Here is a picture of a quilt on the wall of the shop which I want to make when I have worked out how to do it.

                                           Wyoming quilt


And these are the bargain fabrics I have just purchased from Quilters Needs (Dot Sherlock) at £4 p y; on the left is the fabric for the triangular in-fills around the edges of the quilt and the fabric for the back of the quilt is on the right. I have batting in stock so there is nothing now to stop me completing this quilt when I have made all the squares. Apart from applying myself, that is.

                          Infill and backing


I don’t take any sewing on holiday these days, I am more likely to be drawing or reading but I have immersed myself in art on this trip as there was a 10 day art festival going on in Jackson Hole. My two favourite artists from this trip are Ringholz (because she works like me with black and colour) and Dean Crouser (because of his freedom with watercolour which is how I would like to paint). Bring their names up on Google images. I’d be interested to know what you think of them.
 
                                 Rinholz bear
                                            Crouser fish
I have been hand sewing on my fabric book since returning home and here are a couple of the pages I am currently working on. It started in Mareka Philips’s inspirational workshop.
 
                                                   Flowers
                                           Tree and stitches