Saturday 30 August 2014

BLOG 213

LADY OF THE LAKE 8 ½” block

 This quilt, made from 8 ½” blocks set on point, can be made to any size you want. I particularly want to cover a 4 foot bed so that it goes almost down to the floor. So in preparation, I have drawn a grid of the blocks on point to work out sizes. My finished block is 8 ½” square on the straight edges and it will measure about 11” from corner to corner.

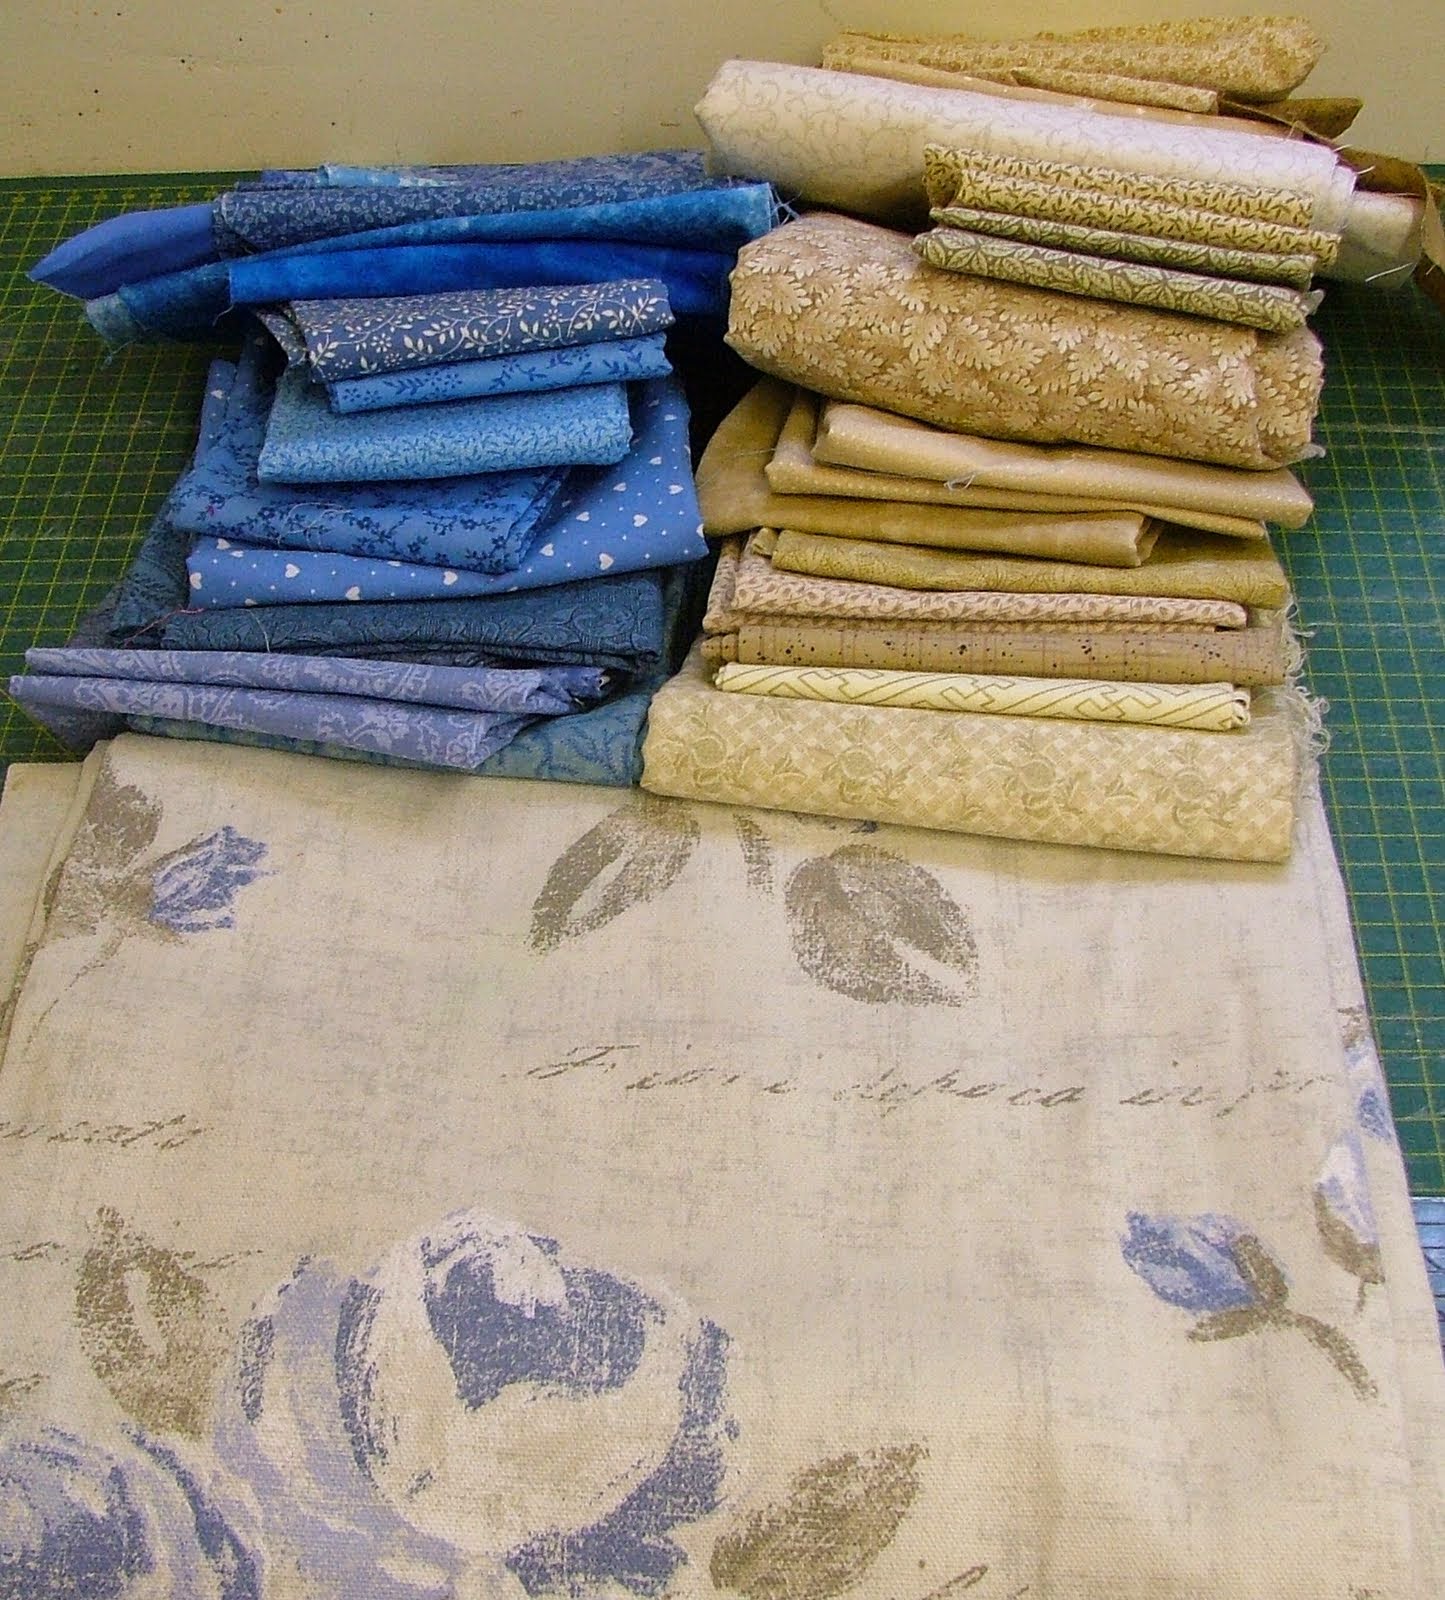
I am using 2 colour ways, blues and beiges, and I want to use up fabrics from my stash. Unfortunately many are not the size I require so predictably I have had to buy in more fat quarters (Oh dear what a chore!!) I cut out as much as possible from each pair of fat quarters so nothing is wasted but then I swap the colours around to give maximum variety.

                                  Palette
 

METHOD

For 2 identical blocks, place one beige fabric RS together onto one blue fabric and cut the following:

1 square at 7” and 2 squares at 6 ¼”

On the 7” square, mark one diagonal line. On the 6 ¼” squares mark both diagonal lines.

                                 Mark the diagonals


Use a neutral thread to sew an accurate ¼” seam on both sides of all the diagonals. Press along the sewn lines afterwards to settle the stitches and the fabric.

                   Sew both sides of diagonals


Use a rotary cutter and ruler to cut along the marked diagonal line on the 7” square.

                     Cut on the marked line


On the 6 ¼” squares, cut along both of the marked diagonal lines. Then cut vertically and horizontally (not marked) across the middle of the square (3 1/8” from the straight edge of the 6 ¼” square).

TIP: If you have a good blade on your rotary cutter, you can do all these cuts without shifting the fabric, making it a much quicker process!

                   Cut diagonals and verticals
 

The 7” squares will produce 2 large squares made up of a blue and a beige triangle.

The 6 ¼” squares will produce 16 small squares.

                         Half square triangles
 

Place them in a pile on the ironing board with the dark (blue) square uppermost. Press the seam towards the dark (blue) fabric.

           Press seam towards the dark fabric

                           Pressed squares


On the cutting board, use a square ruler to trim away the excess fabric from around the edges. Reduce the large square to 6 ½”. Reduce the small squares to 2 ½”.  (Note: 2 small squares will be surplus to requirements.)

 Lay the block out as shown below.

                                     Layout
 

Sew 3 small squares together to create a short line and sew 4 small squares together to create a longer line.

                     Sew squares into lines


Sew the short line to the edge of the large square first and then sew the longer line along the top to complete the block. Make sure that the tips of the triangles are pointed.

                            Completed block


Press the seams lightly at this stage towards to middle of the block as seen below (the seams can be repositioned if necessary when the final top is constructed).

                            Press the seams


                                 2 8” blocks


Beyond the joy of learning how to construct an unfamiliar block, the other part of making a quilt is sheer slog! I work several blocks at a time so I am either cutting a lot or marking or pressing or constructing or pinning on the design wall. The work soon gets done.

Here is a re-cap of the important steps.


                   1 Mark, sew and slice

                                    2 Press

                                    3 Re-size

                                4 Construct

                                    5 Press


And before you know it you are well on your way to making a quilt.

                   Design wall

We fly to the Yellowstone National Park on Sunday/Monday so there won’t be a Blog next week. Whilst I am there, I will be looking out for more fabric for blocks, borders and backing. It should be far cheaper over there!!!!

Sunday 24 August 2014

BLOG 212


Foxgloves inspired by another watercolour artist came next.

 
                      Background

 This time I decided to form the flowers separately as seen below.
 
                              Sample foxglove

 A bit of needle-felting onto a piece of foam followed. It was easy to lift them and drop them into place on the background.

                          Sequence on foam

                    Foxgloves un-felted


I rather liked the picture at the un-felted stage but not after felting. The background appeared to be too fussy and the foxgloves seemed lost. Perhaps some hand/machine stitching would help.

                         Foxgloves felted


As I am still trying to find a method which suits me, I tried another way of working. I made a felted background using a wet-felted method but then decided to work a rooster independently. I have hand needle-felted fibres onto netting before to create flowers and I was able to peel them off and drop them into place before completing the wet-felting process. I decided to use my machine to felt this time and thought I was doing a good job; I liked what I had created.

                      Background with rooster


However, when I tried to peel the fibres off the netting it proved impossible. They were all mashed up together (this comes from the department of the bleeding obvious!!).

                          Reverse of netting

 I positioned the rooster onto the felted background ready to needle-felt more fibres over the top to hide the netting …… and at this stage I began to wonder why I am bothering!! People have wet felted in a particular way for centuries, why is it that I think that I can come up with a method that is entirely different. In my defence, I have said in previous blogs that I much prefer the look of the felt at the fluffy stage; it becomes much flatter and dense after the wet-felting process. So I think I have been trying to create a fluffier foreground (rooster) to go on a flat felted background. It isn’t going to work and takes far longer than the normal wet-felting process but I suppose I needed to satisfy my curiosity. Back to the drawing board!


                  Unfinished picture

And, in the sure and certain knowledge that you can’t keep a good quilter down, here is my next project on the theme of  .… And what do you do with a pile of fabric? …… you make a quilt!! We have just had a room decorated and we have ordered a new bed so I can’t resist making a new quilt to go on it. I like scrap quilts and this one will be more ‘controlled’ in that it will be based on two colours, blue and beige. It is an easily constructed version of the ‘Lady of the Lake’ pattern and I will be showing you how to do it in next week’s blog.

.… And what do you do with a pile of fabric? …… you make a quilt!!

Lady of the Lake


The curtains and fabric samples


The block


Sunday 17 August 2014

BLOG 211


I can’t really get in my workshop at the moment as I am in the middle of the continuing the ‘sort out, clear out and chuck out’ session. It is very untidy but ultimately it will be cathartic.

                                 Workroom clutter

So I am justified in continuing with my felting journey and here we go again! I am trying to ‘paint’ with the fibres and the next couple of samples illustrate that. Here I was attempting to emulate a panel from blogger: ‘Renatos-veltinis’ (Renata-felt).

                 Background fibres


Rather than constructing the flowers straight onto the background, I decided to try and work the poppies independently on foam, by hand with a felting needle, before dropping them in situ. This way I thought I could ‘work’ a better and more accurate flower.

                                Start of poppy

                            Poppy complete

                   Poppy panel unfelted

                     Poppy panel felted

Another poppy panel was influenced by artist Sheila Gill. Paintings that you really like are a good source of inspiration because their creators have already made decisions about what colour looks better where, and they have also created light and shadow to create form. My drawing skills are adequate and they will come in to play at a later date when I have explored the felting techniques and decided what suits me best.

                                   Background

                           Poppy on netting

 
                             Reverse of netting

                                      Poppy in situ

                                     Unfelted panel

                  Felting with netting


And what did I learn?

Felting the flowers gently on netting worked well. They can be made in advance and peeled off easily. I can imagine myself making flowers ‘on my lap’ in front of the TV.

I like the look of the felting best at the fluffy fibre stage but that is just me and it’s not a viable option.
For the first time, I used netting over the fibres to soap them with my hands. I had avoided this advice on some websites as I thought the fibres would be disturbed; they weren’t. I shall definitely use this stage in future.
Some balls of wool that I used for stems didn’t felt well; mohair seemed to perform the best.

 Chenilling
And by way of a diversion, I started to draw patterns from a metal floor in my sketch book. This led to me asking myself how I could interpret it in patchwork. Chenilling came to mind and I thought I would give it a try as a great way of using up fabrics.

                                        Patterns

                                             Layers

                           Divisions of pattern

                                   Sewn channels

                                     First cuts

                                   Washed layers

And what did I learn?

It was very painful to cut all these small channels with small scissors! Even if I had the right tool, which I searched for at the FEC without success, I doubt I would like to continue this exercise.
I found that the top fabric always retains its character but will be a hint of what it was.

The colours of the layers are important. The second layer emphasises the cut and outlines the colours underneath which tend to emerge from the cut.
Machine washing was a bit drastic; there were too many threads to cut away afterwards!


Sunday 10 August 2014

BLOG 210


I had another couple of felting sessions this week. I am motoring now, producing samples and really enjoying the learning process. I found some light, medium and dark bags of felting wool tops on line and now have enough to really play with the technique.

                                            Ready

                                      Steady

                                             Go

                                       Layer 2

                                          Layer 3

                                     Pansies

                                       Felting

                                        Felted

                                Pansies stitched

                              Sunflowers fibres

                              Sunflowers felted

                            Sunflowers stitched

                 Needle felted for comparison


And what have I learned?
I have always enjoyed colour so I think I want to try to be quite ‘painterly’ with the fibres.

The wet felting technique can be messy so needle felting by machine has its attractions (apart from the holes left by the needles). I did a comparison with the sunflower panel with wet felting and machine needle felting. What I found was that I had more control over the fibres when working by machine.
I am not sure at this stage whether the machine stitched detail enhances the finished felt. Hand needle felting the details to flower centres definitely helped the finished look.

Now this is all great fun for me but my daughters brought me to an abrupt halt by saying ‘But what are you going to do with them all?’ And here we have the age old dilemma for the one who is doing the creating. During my entire quilting career I have sewn with a purpose; things were made as samples for workshops, or for competition quilts to promote myself or as innovative ideas for books and the like. So playing for playing’s sake is hard for me and this question has made me ask myself whether I should frame them or make things from them to sell. Then common sense clicks in and I realise that no one would particularly want to buy them at this stage any more than I am confident enough to sell them. So I am going to make for making’s sake because I can’t put a price on my own enjoyment!

I have just returned from the Festival of Quilts at the NEC. Our group always has a wonderful couple of days together and this year, as ‘Les Q-ers’, was no exception. Perhaps you can make out from the picture below that our theme entitled ‘Q 4 Quilters’ was about queueing. Our characters are going to the show and from the show and we attempted to capture the difference between the beginning of the day and the end of the day. And that comparison aspect was the whole point of the quilt, so imagine our horror on arrival when we saw that the quilts were hung back to back. This made no sense at all and was contrary to our instructions. It took us 2 days and very heated discussions with the organisers to get it altered for day 3 of the show. That said, we did receive a ‘Highly Commended’ for our efforts and we were thrilled about that.

                                                                                         Q 4 Quilters