Sunday 25 October 2020

BLOG 519


Blog 519


Even my husband said that last week’s blog was shallow!! And I agreed with him! The trouble was that when you are in the middle of a project, and it’s all about repetition, you don’t particularly want to repeatedly mention the process over and over again! So, instead, I looked back over my week to see what else I had done. On a day to day basis nothing much was the answer, apart from a jigsaw and cat car, so that was what last week’s post was all about. Sorry about that! This week it is much more project -based. I have finished making all the squares I can from the pieces of silk I was given. There are lots of small off-cuts and some heavier bigger pieces which I chose not to use but apart from that, much of the silk has been utilised! I started by placing the lights in the centre of my design wall and worked my way through the medium tones towards the darks around the outer edge. Here is the sequence.


Start 1


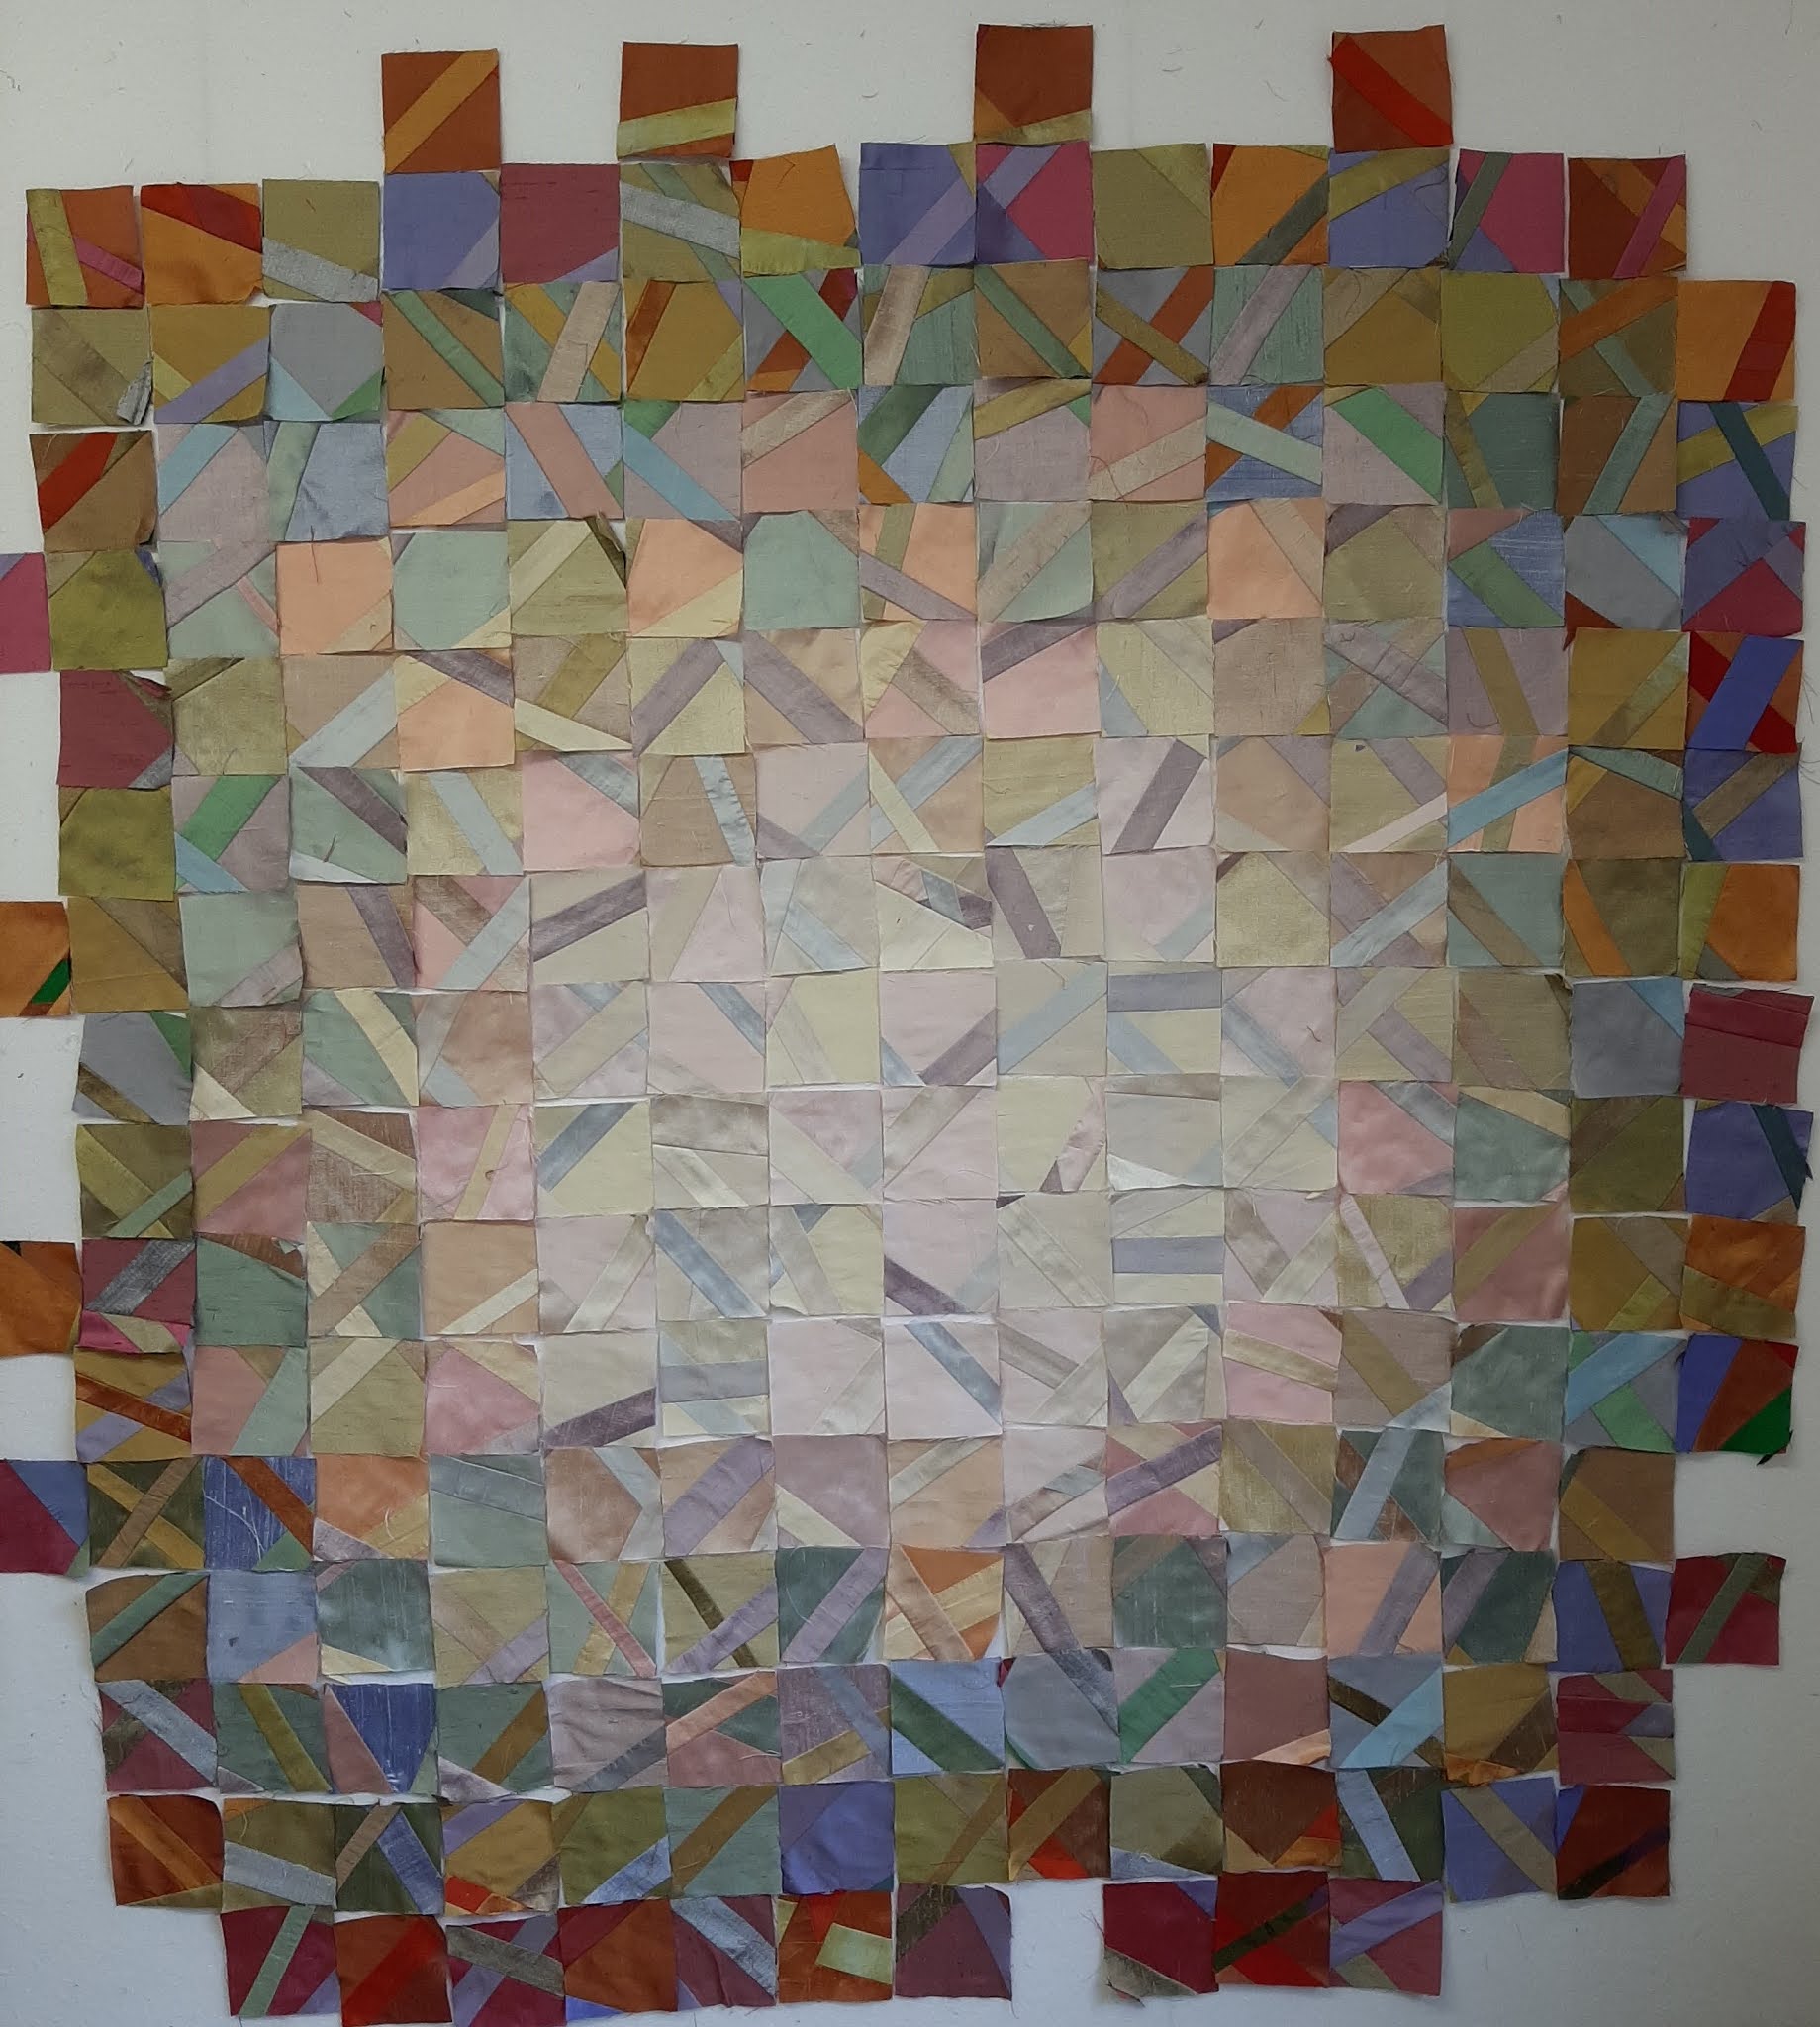
(FYI there is an extra row of dark squares to go along the left hand side; I couldn’t fit them onto the design wall.) Once I had placed all the squares in sequence and jiggled them about, I started at the right hand side and pinned the first row accurately so I didn’t have to re-position them when sewing. I did a string-piecing method where I sewed the first seam and then missed two seams and then presented the fourth third seam (#1, #4, #7 etc.). I clipped the threads at the end of the row and then went back and do the seams that I missed (#2, #5, #8 etc. and then #3, #6, #9 etc.) This means that I didn’t miss a seam and I didn’t waste much thread.

 
Pin the squares

 
Full row

 
Sew the seams


The quilt is well underway now and that leap of faith at the beginning of the process has been justified.

 
Progress 1

 
Progress 2


And do I like what I have done so far….? No, not particularly! I didn’t really enjoy sewing the silks; they fray easily and are troublesome to cut. I think they are visually ‘flat’ to the eye and they don’t have the visual movement that I so enjoy with Batiks and Bali’s. So my husband suggested that I should decide what I can to it to make myself like it!! If only it was that easy!!

Sunday 18 October 2020

BLOG 518


Blog 518


I have had a lovely week jigsawing. The picture was of wild life and it was a joy to do but a challenge in places. I have always been a person who can’t walk past a jigsaw and the quick progress of this 1000 piece specimen goes to prove that. I always do my jigsaws by concentrating on colour and tone and I invariably start with the reds which seem to jump out from the pile. I was rather impressed when I saw a list of benefits from this activity on Google:

·         Improves your short term memory

·         Exercises the left and right side of the brain at the same time

·         Improves your visual-spatial awareness

·         Great as a tool for meditation and stress relief

 
Jigsaw

 
Detail 1

 
Detail 2

 
Detail 3


The same benefits could be applied to Quilt-making and I have done plenty of that over the past 37 years! I am still soldiering on with the silks (slashing, sewing and slashing again) and I have got to the light tones at long last. This is the ‘hard slog’ part of quilt-making and it is pretty tedious but once these final pieces have been completed I can start to play on the design wall and decide what I am going to do with them.

 
Light tones


I have always had cats in the house and research tells me that they may make my life happy and healthier. They can reduce stress too so, with cats and jigsaws and quilting in my life, I am so laid back that I am practically horizontal!


Chivers at 24


Sunday 11 October 2020


Blog 517


I’m not entirely sure that I am enjoying working with silks but, never one to be defeated, I have adopted an ‘I’ve started so I’ll finish’ attitude and I will persevere! I think it is very much a leap of faith to slash and sew and slash again in the hope that it will all come right in the end. And because of that insecurity, I find that I am frequently trialling lay-outs on my design wall as I go along. I believe that I have to get to the end of the line of silks (I laid them out in values from dark to light) for this project to work.

  
Medium/medium values

 
Work in progress

 
Trimmings

 
Playing with squares

 
Dark to medium values

 
Medium to light squares


With the help of the son of one of my close friends, we have managed to locate a couple of areas that are rich in fossils. Both sites are a couple of miles from our home and it has taken a while for us to be sure exactly where they are. This makes our walks a bit more interesting and there is delight when we come across something worth finding. Of course we don’t really know what we are looking at most of the time but there are plenty of web sites that do! Here are a couple of finds which prove conclusively that our local mountains were once under the sea. Fascinating were it not for the fact that I found it amusing that we were a couple of old fossils looking for fossils!!

 
Burley Hill fossil

 
Moel Findeg fossil


It rained heavily this week so gardening was out of the question -   so I broke open a new jigsaw and wiled away the hours busily doing nothing!


Jigsaw


Sunday 4 October 2020

BLOG 516


Blog 516


And diverted I was! I couldn’t wait to start my jigsaw and once it had started I had to see it through to the end! I blame the rainy days when I couldn’t get out to do battle with the garden. Or perhaps it was the fact that I wasn’t making much progress with the daffodils from last week. The picture I posted was naff! And as if to prove the point, the bits were all on the floor when I went in my playroom the next day!! Here endeth that idea!!


Start

 
Finish


Bits on the floor!

As we are in lockdown again in Flintshire, I decided to do something totally different. I pulled out my drawer of silks. Most of these were given to me a year ago by one of my friends from Gresford who was having a throw out; I am so lucky that they came my way! But then the fact that I have them puts on the pressure to use them and the longer I have them the more my conscience pricks! As I have never used silks before, I decided to read up about it on the internet. I rather wish I hadn’t because all sorts of problems were raised, mainly to do with fraying. The main point that I took on board was to sew with a wider seam allowance to discourage fraying. This was doable, but the thought of lining each piece of silk before I using it was a step too far! Anyway I just thought I’d get them out and have a look at them.

 
Silks


Before I knew it I was pressing each piece and then automatically arranging them in a shaded palette from lights through mediums to darks. Most pieces measured 11” x 14” and it was immediately evident that that there were many more lights in the selection.


Pressing

 
Colour palette mediums

 
Complete palette


I wanted to do something that I had never done before so I started with a square and I inserted a strip into it using a colour from nearby in the palette. I just sliced and then I sewed so there was no maths, no precision and little thought. The strips varied in size and the placement was random. Once I was satisfied with my first square, I cut it into 3” squares, to give me 9 smaller squares. These will be my building blocks for a shaded wall hanging but it is obvious that I will have to prepare as many pieces as I can before trialling the idea on my design wall. This is scary stuff when you think how much silk costs, but then I didn’t buy it so I have nothing to lose … except the friendship of the person who gave it to me! I need to make this work so that I can show my friend that I have achieved something worthwhile with it and to prove that she gave it to the right person. She also gave me a load of variegated threads so perhaps I can incorporate them in this piece of work too.

 
Slash and sew

 
Insert

 
3” squares

 
More squares

 
String piecing

 
Building blocks