Monday 29 July 2019

BLOG 454


Blog 454
 
Firstly, I apologise for the late posting of this week’s blog. We have been away for the WE in S Wales at a ‘house-warming’ party. I use these words with caution as the couple who were celebrating their new home tried to move into the house 7 months ago. They had arrived from Aberdeen with 2 furniture vans and bags of optimism and the first thing they did was put the milk in the fridge and turn it on. 10 minutes later the kitchen was full of smoke with a sheet of flame going up the wall. The fire engine was called and they did what they had to do but not before £125,000 worth of damage had been done to the house and furnishings! Thank goodness they had insured the house and contents from midnight the day before. I gave them one of my art cushions as a cheery gift.

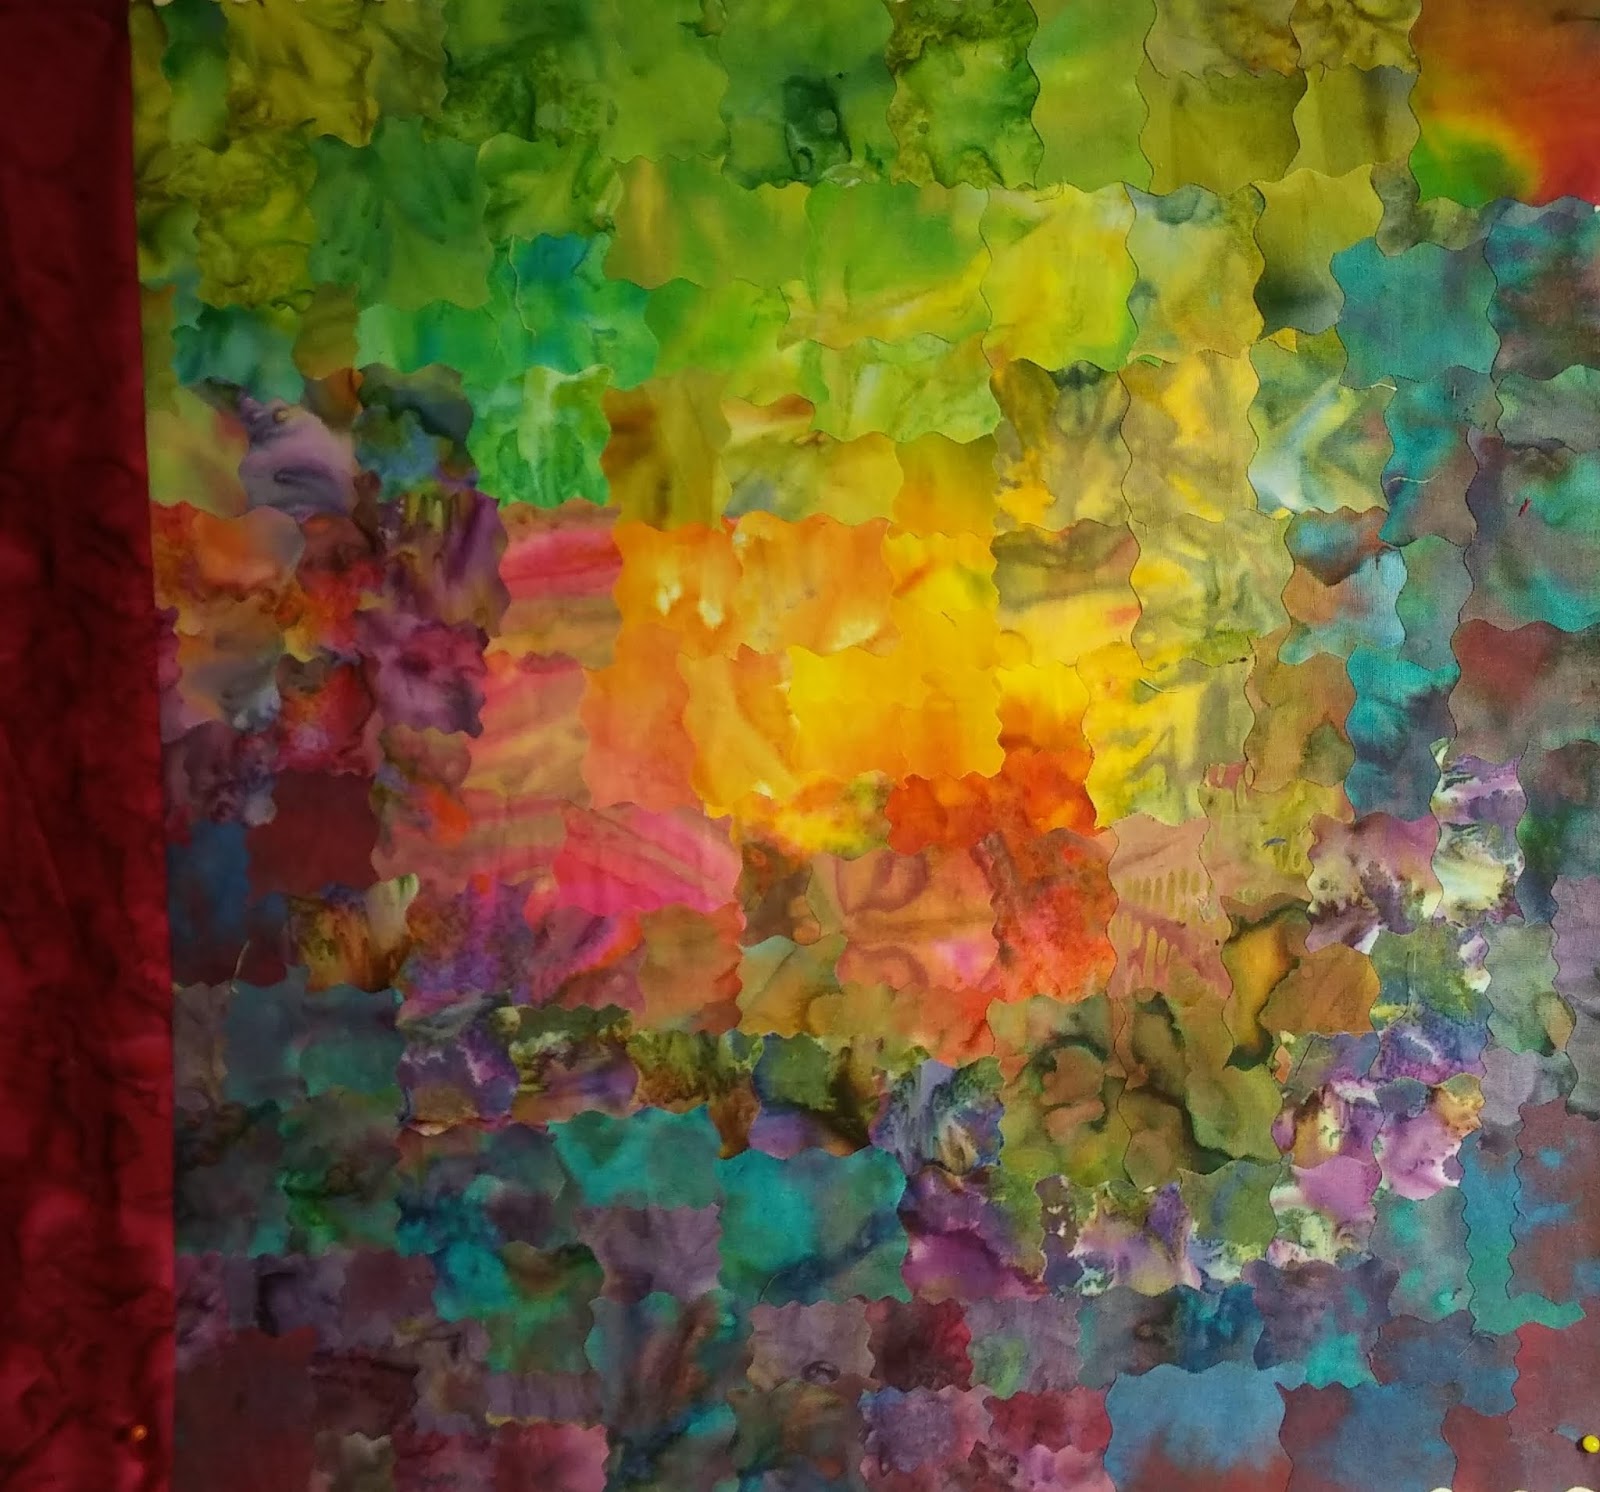
I had completed the painterly background a while ago and needed to add some flowers for interest. I have plenty of ready fused scraps in stock so these became my palette. For inspiration, I turned to art books mainly because they show the structure of flowers which is helpful when I am assembling free-cut pieces.   


       Palette


 Inspiration

  
I played with some ideas first of all but then decided on Rudbeckias because they were flowering in my borders. I free-cut the parts of the flower and ironed them on release paper. Then I was able to peel them off and drop them where I wanted them on the background.


         Creating flowers


          In situ


Once they were pressed onto the ready quilted background, all I had to do was some free-motion stitching to hold the pieces in place and to add some decorative interest.


         Thread work


          Completed cushion


They were delighted with the gift which makes my efforts worthwhile and it will be a constant reminder for them of a lovely garden party.
 
On Thursday I will be travelling down to the NEC with my chums for the Festival of Quilts. Our group quilt was posted a few weeks ago so it will be great to see it hanging in competition and, as usual, we have our fingers crossed that the judges will enjoy it too! I know the viewing public will be amused by it. More next week!


Sunday 21 July 2019

BLOG 453

Blog 453
 
I was very pleased with the way the thread poppy looked after it was released from the dissolving layer.  I was so pleased in fact that I decided to do the same with the three other thread flowers that I had in stock; a Daffodil, Rose and Convolvulus. Each flower was on a different type of dissolving layer and it was interesting to compare them. The Daffodil was sewn on Gutterman’s Solvy and when it was dissolved with boiling water, a very dense sticky layer was left around the sides of the glass bowl. I poured it down the drain rather than the sink for fear of clogging up the pipe work and spent a while with hot water and liquid soap removing it.
         Daffodil
 

         Daffodil submerged


             Daffodil drying


The Convolvulus was sewn on a disposable bag, like the ones often used in hospital laundries which are thrown into the washing machines alongside soiled bedding. This was much more difficult to remove from the threadwork and needed several rinsings before it disappeared entirely. I again poured the residue water down the drain.
            Convolvulus


          Convolvulus submerged


              Convolvulus drying
 
The Rose was sewn onto lightweight dissolvable layers and was by far the best of the three. Because it was so thin, it was obviously going to leave less of a residue anyway. I was given this product so I am not sure what it is called but I will be sourcing it for future projects. You can see on all three flowers the effect that results from adding sheers.


             Rose
 

               Rose submerged
 

               Rose drying


Needless to say, the box of novelty coasters for a 70th birthday (that I showed last week) went down a storm! I have just received pictures of his cake (he trains sheep dogs) and a novelty message which was made for him.  Brilliant! People are so imaginative these days and go that extra mile to make these occasions very special!
 

             Barry’s cake
 

               Barry’s special message


It was our monthly Chester PsnQs meeting this week and I have been a member there for 33 years. I was asked if I could do them a favour at short notice and fill in for a travelling teacher who couldn’t be there as planned because her husband was having heart surgery. I agreed happily and brought many quilts down from the loft to entertain the assembled members. It is many years since I have shown my quilts and talked about them and I was surprised at how well it was received. All my quilts have stories attached to them and memories sewn into them. They are very special to me and map my development in making quilts over three decades. I hasten to add that it was a one off!

Sunday 14 July 2019

BLOG 452

Blog 452
 
I have made progress with the poppy thread picture this week. I placed it into a Pyrex bowl after trimming away some of the excess Solvy from around the edge. I poured boiling water over it and watched as it dissolved away. I changed the water a couple of times until the Solvy was all gone and then I placed the poppy motif onto kitchen roll and left it to dry naturally.


Trimmed


Boiling water


Drying
 
In the meantime, it is worth pointing out that I hate undoing lines of stitches; full stop! But I had to put right the basic error I had made with the scrap quilt (in progress since demonstrating the stitch and flip method at Gresford). So thinking of it as ‘reverse sewing’ changed my attitude towards the project and helped me get on with the job! And what was that basic error? Well, all you have to do is look at the two panels below and it is so obvious!! I can’t believe I made such a basic mistake! I was trying to join together 2 differently constructed blocks but, as one was narrower than the other, there was no way the seams were going line up. I will soon have a pile of strips again and I will work it all out on paper before progressing further. Lesson learned!


Scrap quilt


Reverse sewing
 
I needed another cushion front so decided to make one using my free-style technique of ‘painting’ with fabric. I love working freely in this way and, because all my fabrics are ready prepared with a fusible on the back, it requires little preparation on my part. It’s almost like doing a jigsaw and I just start and fill in to the required size on release paper letting the fabric lead the way. I have selected a rich maroon border and I will soon decide what flowers I am going to add to stand out from the background.


‘Painting’ free style


Completed


Potential border
 
For comparison I have included pictures of another approach to creating a background, this time using 1” background squares. It took ages to construct and wasn’t all that accurate. There is also the bulk of the seam allowances to contend with. I know which method I prefer but I will complete them both as a comparison.


Patchwork ‘painting’


Border fabric


Completed background
 
And just for the fun of it, I have made a box to hold a very different 70th birthday gift for a friend. He was messing about with a huge trifle at his early party last month. I took a quick succession of photographs and I think they should read as follows:-
1 Look what I found! 2 You don’t think I can do it do you? 3 Well I’m going to give it a damn good try! 4 Let’s get stuck in!!


70th Birthday gift


Sunday 7 July 2019

BLOG 451

Blog 451
 
When I was demonstrating at the Gresford Show this year, there was a lot of interest in the floral wall hanging shown below. It represents a year in flowers and was created with sheers and threads, using solvable layers. Each flower was done separately in the way I have described below, before being joined together to make the complete wall hanging.


A Year in Flowers
 
I decided to hone up my skills with this technique again and start another series of flowers, beginning with a field poppy. Firstly I drew the flower onto one of the layers. I used a permanent marker knowing that this would disappear with the Solvy. I used 2 pieces of ‘Gutterman’s Solvy’ so I could trap some sheers in between the layers. These small pieces of transparent fabric add a bit of softness to the edges of the flowers and bleed the colour outwards.


Pattern and sheers


Progress


Flowers


Progress 1


Progress 2


Progress 3
 
This is now ready to be plunged into hot water to dissolve the layers. In the meantime I was asked to make a Taekwondo outfit for my granddaughter’s Mousie! It took most of the afternoon and doesn’t bear close inspections but I did it!!


Milly Mouse
 
I was sewing the poppy at Suzette’s last week and I am always interested in what others are doing around the table. Here’s a sneak preview.


          Peggy


   Pat


Suzette
 
Ad just for the record, this is the closest my cats have ever been to each other. They were on a windowsill at the farthest corner of the house escaping from the Labradors who were in residence! This is an example of safety in numbers.


           Cats