Blog 452
I have made progress with the poppy thread picture this
week. I placed it into a Pyrex bowl after trimming away some of the excess
Solvy from around the edge. I poured boiling water over it and watched as it
dissolved away. I changed the water a couple of times until the Solvy was all
gone and then I placed the poppy motif onto kitchen roll and left it to dry
naturally.

Trimmed

Boiling water

Drying
In the meantime, it is worth pointing out that I hate
undoing lines of stitches; full stop! But I had to put right the basic error I
had made with the scrap quilt (in progress since demonstrating the stitch and
flip method at Gresford). So thinking of it as ‘reverse sewing’ changed my attitude
towards the project and helped me get on with the job! And what was that basic
error? Well, all you have to do is look at the two panels below and it is so obvious!!
I can’t believe I made such a basic mistake! I was trying to join together 2
differently constructed blocks but, as one was narrower than the other, there
was no way the seams were going line up. I will soon have a pile of strips
again and I will work it all out on paper before progressing further. Lesson learned!

Scrap quilt

I needed another cushion front so decided to make one using
my free-style technique of ‘painting’ with fabric. I love working freely in
this way and, because all my fabrics are ready prepared with a fusible on the
back, it requires little preparation on my part. It’s almost like doing a
jigsaw and I just start and fill in to the required size on release paper
letting the fabric lead the way. I have selected a rich maroon border and I
will soon decide what flowers I am going to add to stand out from the
background.

‘Painting’ free style

Completed
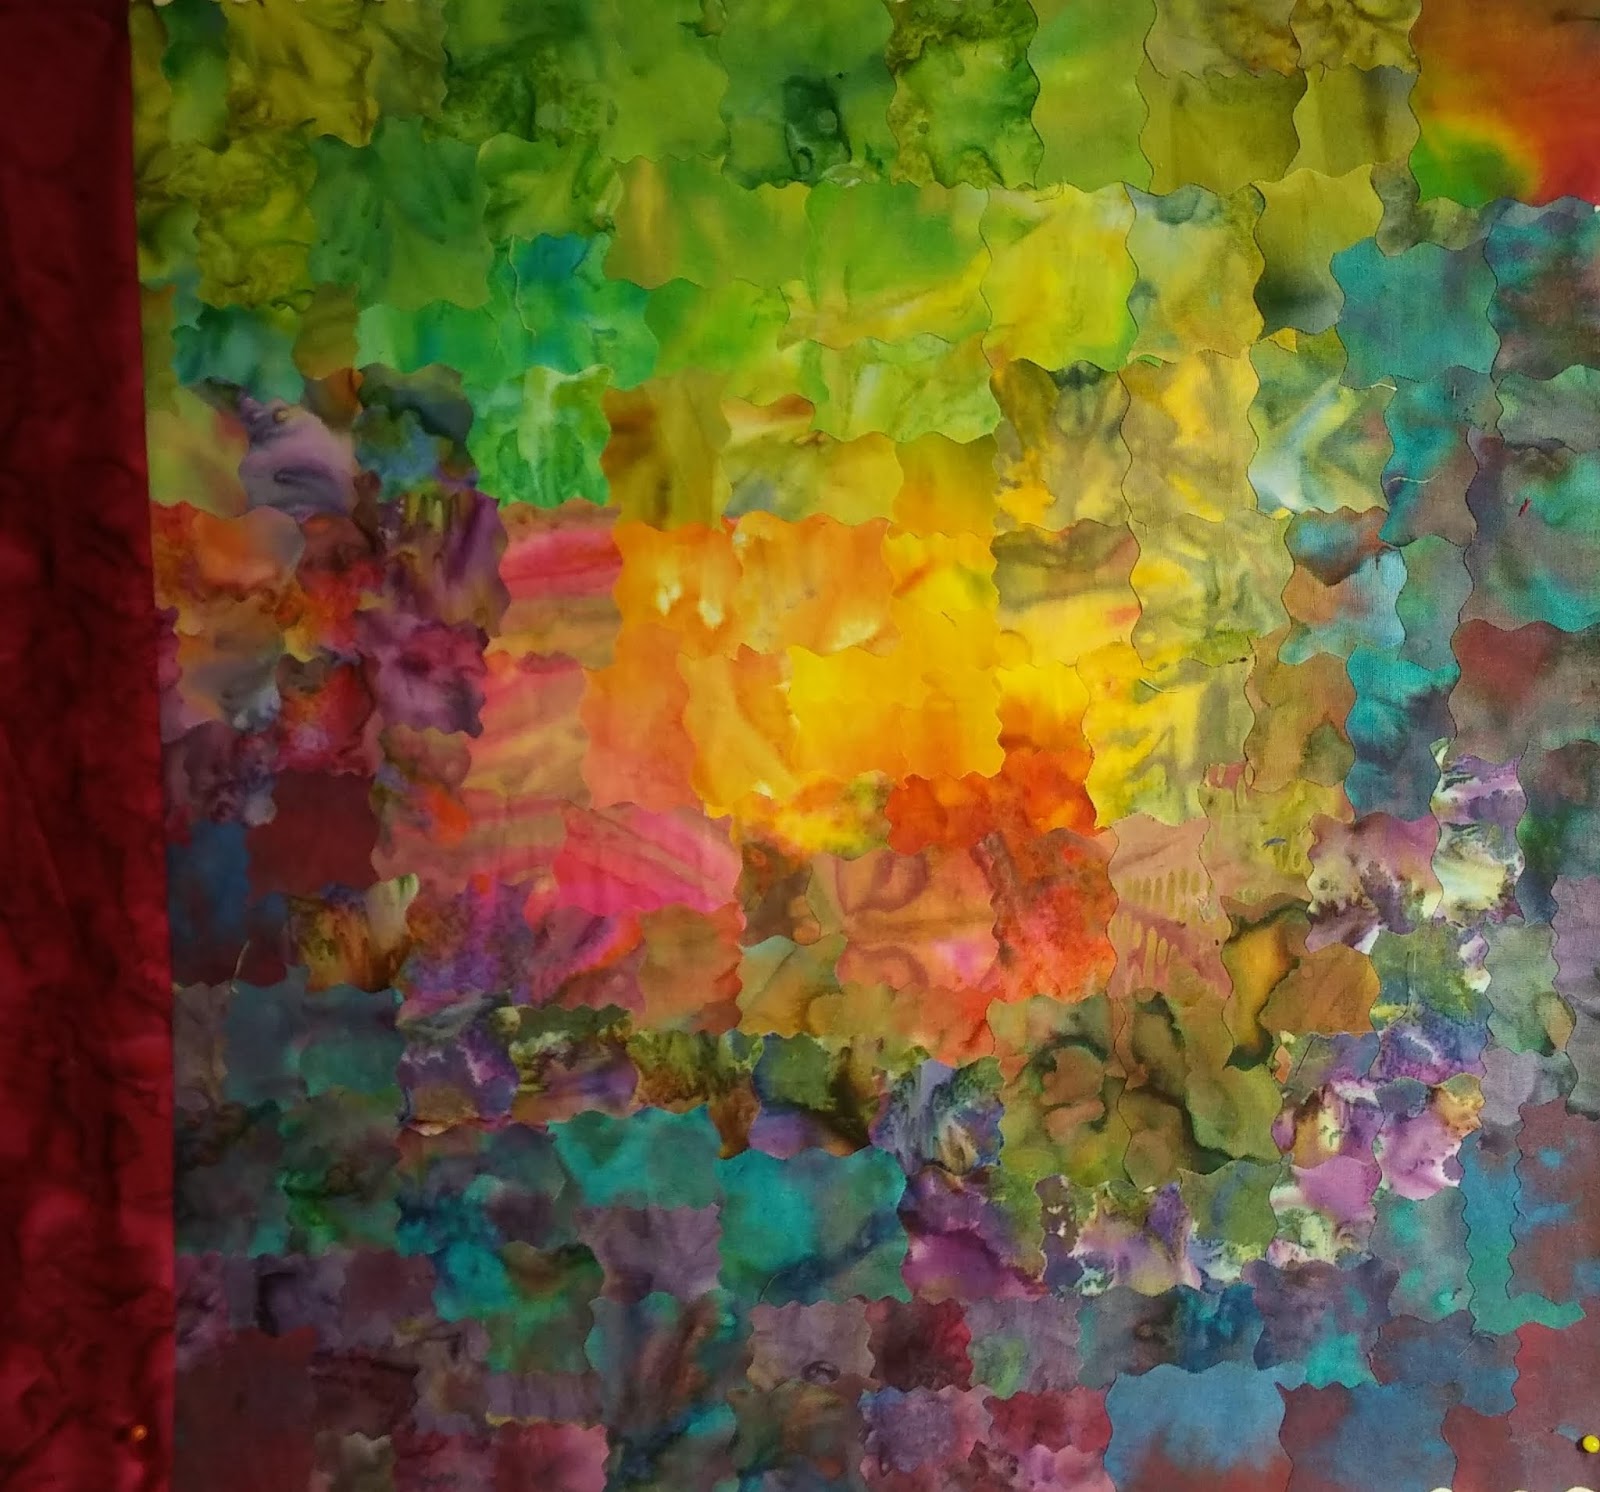
Potential border
For comparison I have included pictures of another approach
to creating a background, this time using 1” background squares. It took ages to
construct and wasn’t all that accurate. There is also the bulk of the seam
allowances to contend with. I know which method I prefer but I will complete
them both as a comparison.

Patchwork ‘painting’

Border fabric

Completed background
And just for the fun of it, I have made a box to hold a very
different 70th birthday gift for a friend. He was messing about with a huge trifle
at his early party last month. I took a quick succession of photographs and I
think they should read as follows:-
1 Look what I found! 2 You don’t think I can do it do you? 3
Well I’m going to give it a damn good try! 4 Let’s get stuck in!!

70th Birthday gift

No comments:
Post a Comment