This week, on a whim and just for the sheer joy of it, I
decided to make a scrap quilt and nothing makes me happier. A precious little
girl I know has moved into a single bed and whether she likes it or not, she is
getting a quilt! This is how I went about it.
I started off by drafting a pattern. I had seen a lovely
quilt when trawling quilting websites but, when I tried, I couldn’t find it
again. I don’t know the originator but one glance told me that I would like to
try and make something similar in scrap fabrics. Here’s my own version of the
pattern. No seams are level to speed up construction.
I chose a 3 metre
length of a light fabric that would be constant throughout the quilt and I cut
it into 5 different widths: 1½”, 2½”, 3½”, 4½” and 5½”
Light fabric
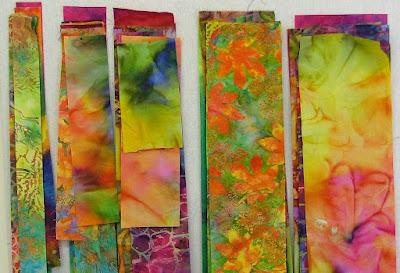
Then I went to my mound of coloured fabrics and started to
iron and cut the same widths in as many different bright fabrics as possible. I
cut sorter lengths so that I could get more variety.
All the strips, when joined, will measure 6½” so, beside my
sewing machine, I matched up the strips in sequence: Light 1½” + Bright 5 ½”,
Light 2½” + Bright 4½” and so on…..
I chose a grey neutral thread and wound up 3 bobbins so I
didn’t have to stop when I got going. I put ¼” foot on my machine and just started
to sew.
When I had sewn 2 strips of each combination, I took the
strips to the ironing board. Placing the dark fabric uppermost, I ironed along
the line of stitches to settle them into the seam.
Keeping them in sequence, I laid the pressed strips next to
my cutting board.
To trim the raw edges of the strips, I lined up a vertical
mark on my ruler with the edge of the strip. This assures me that I will have a
perfect right angle when I trim away the excess fabric to straighten up the
edges.
Straighten up the cutting edge
All the cut strips need to be kept in sequence, ready for
sewing into a block, so I transferred them onto a tray to carry them to my
machine ready for constructing the block.
Patchwork is best done accurately, logically and methodically for
smooth execution and peace of mind!!
More next week when I will have made significant progress
and you will be able to see what I am trying to make. And perhaps I will come
across the quilt I am trying to replicate.


No comments:
Post a Comment