STRINGING THE STARS
continued
When I sit down of an evening to sew for an hour on this
project, I concentrate on one particular block and repeat it over and over
again. This is so I don’t have to think about what I am doing and I can listen
to music or to the radio in between bursts on the sewing machine. When all’s
said and done, making a quilt is about application and stamina once the nuances
of the design and method are solved. It’s sheer slog from here on in but well
worth it in the end!
Half-square triangles
Cut the paper foundation squares at 3”.
Use the light and dark strips in Bags 2 and 3 (see Blog 188)
It is essential that the diagonal line runs exactly down the
middle of the square. Use a normal stitch to join together several light and
dark strips in varying combinations and iron the seams from light to dark.
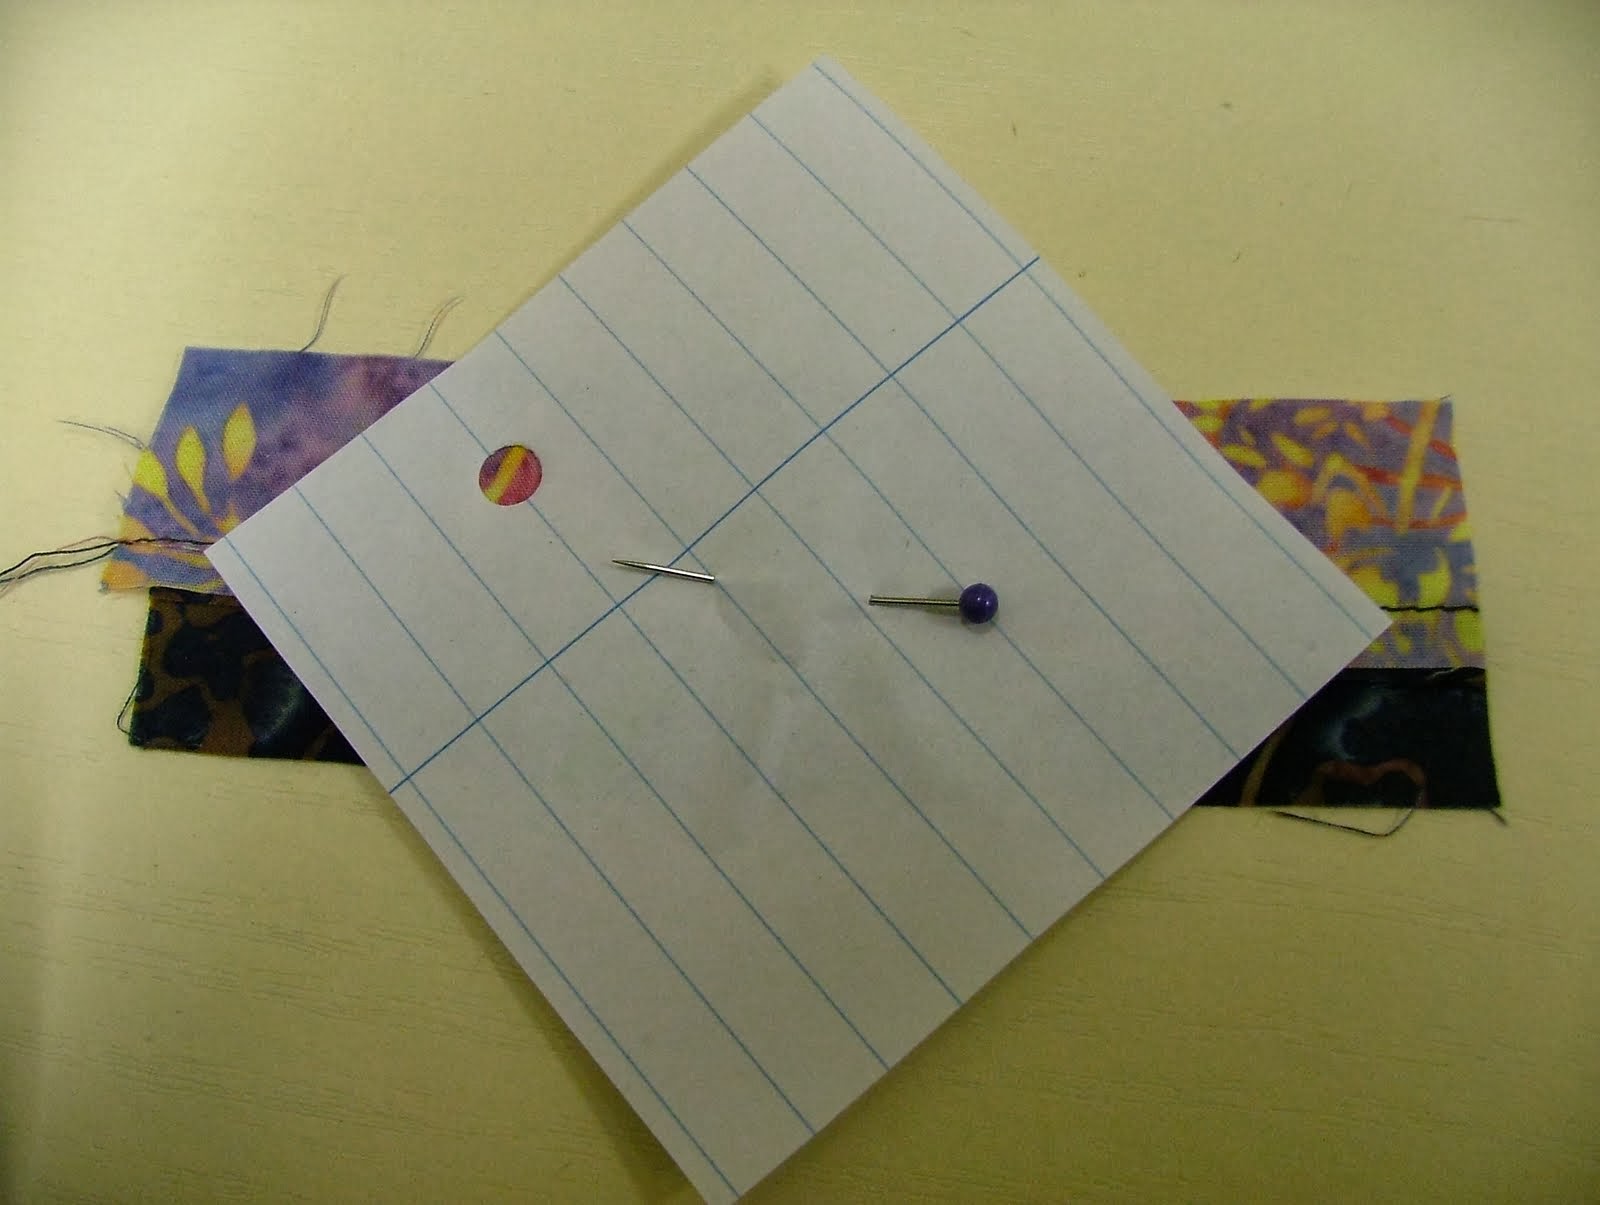
Place a sewn strip RS down on a flat surface and pin a
square of paper over the top. Position it so that the corners of the square lie
right along the sewing line.
Turn the paper over and lay another light strip, RS
together, on top of the light side. Adjust the stitches to perforate the paper
and sew along the strip.
Continue adding strips to both sides of the diagonal to
cover all the paper.
Press the fabrics and trim the square to measure 1 ½”,
making sure that the diagonal line goes exactly from corner to corner.
The corner squares and centre squares are made much more
simply.
Centre and corner squares
Sew strips to the paper foundation with a perforating
stitch, press, trim and remove the papers.
Lay the blocks in sequence prior to constructing the star
block. You may have noticed that the strips in my centre and corner squares are
all positioned to run from SW to NE. This will be constant throughout the
quilt.


No comments:
Post a Comment