Blog 457
If you get pleasure out of making gifts for Christmas,
here’s a little idea for you that will run over 2 blogs. Coasters are useful
and can be bought or personalised for the recipient and you can make a little
decorative box to keep them in. You could use fabrics to match a décor or a
favourite colour or perhaps you could use Christmas fabric for seasonal
coasters. Just use your imagination!
THE COASTER BOX
Cardboard requirements:
Cut the following accurately from strong card (e.g. mount card from art shops
or ask a picture framer if he has off-cuts)
Base: 4” x 4”
4 Base sides: 4” X 2”
Top: 4 3/8” x 4 3/8”
4 Top sides: 4 3/8” x 1”

Other requirements:
fat ¼ metre of lining fabric and long ¼ metre of outer fabric, small amount of
wadding, Pritt stick, masking tape and threads to match the fabrics.

Fabric

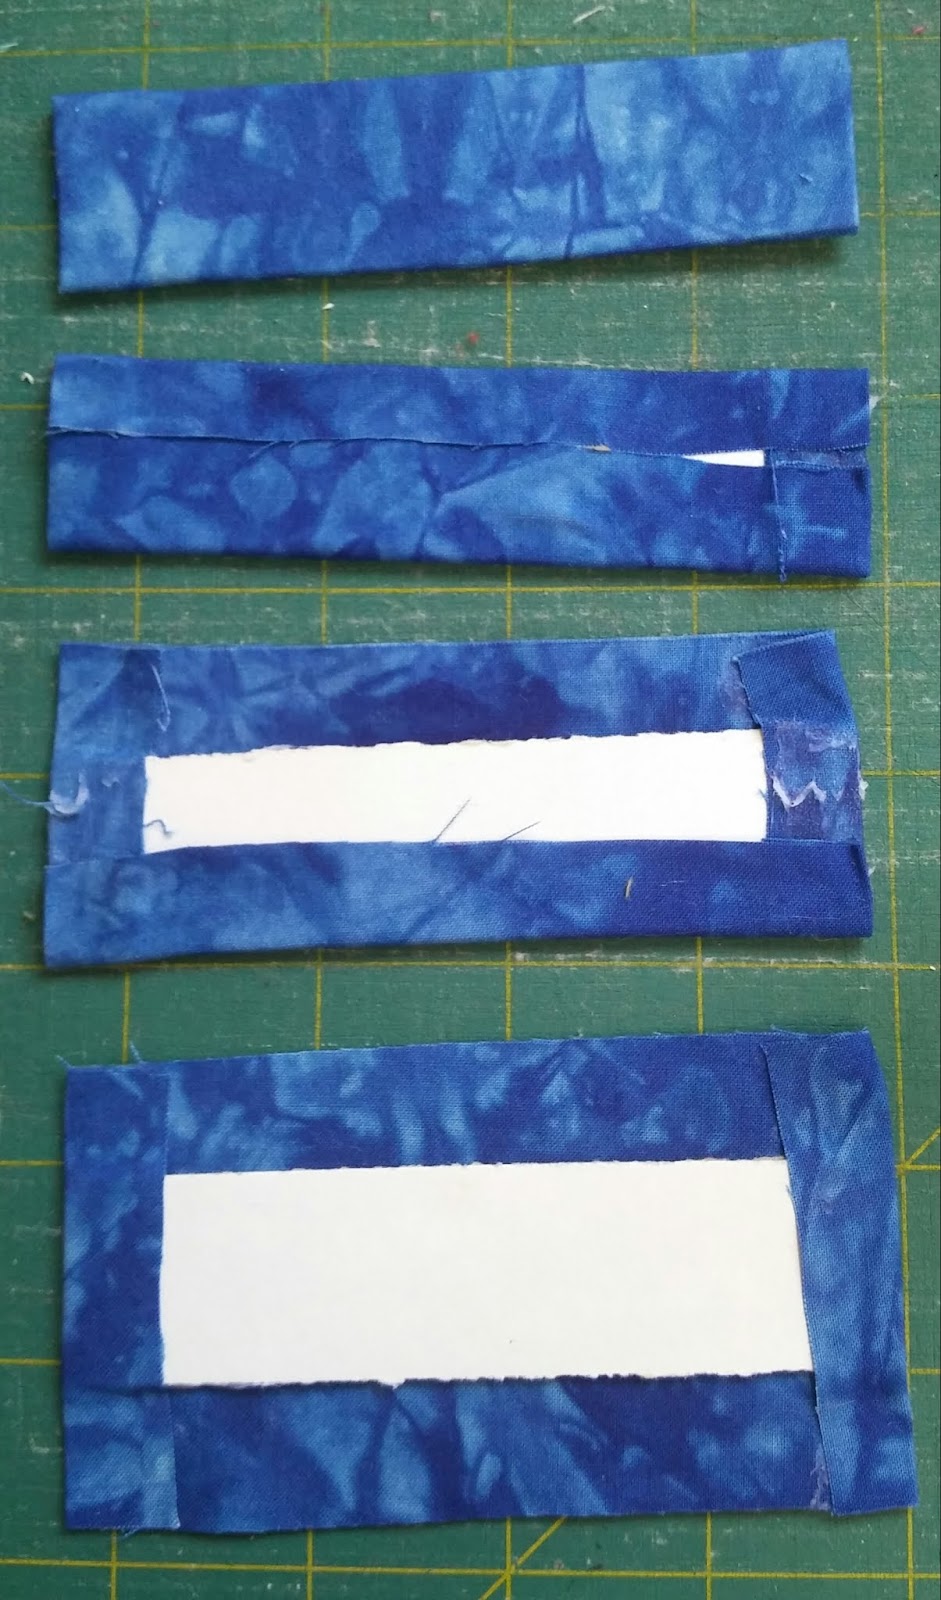
2 Cut one piece of wadding to the exact size of the base
square. Cut 2 pieces of wadding the exact size of the lid square.

3 Stick the wadding onto the base square and stick one piece
onto the lid square. Trim away any excess.

4 Place the lid square, wadding side down, onto the WS of
the prepared fabric. Add Pritt all around the edge of the card (1/2” wide) and
across the corners as shown.

Fold over the opposite sides. Add more glue to the corners
and fold in the two remaining sides.


5 Repeat the sticking method for each of the side shapes,
folding in the short ends first. This completes the lining.

Completed sections
6 Construct the box
as follows: Place a side piece onto the lid square with RS together and
corners matching and secure with pegs. Using a strong thread that matches the fabric,
whip stitch the edges firmly together. Sew all around the square to attach the
four sides. Then stand up two adjacent sides and sew the vertical corners.
Repeat for each corner to construct the lid. Repeat the process to construct
the base.


7 Stick the extra square of wadding to the box lid.


No comments:
Post a Comment