Sunday, 15 September 2019

BLOG 461

Blog 461
 
I have put in a lot of work in my studio but, as you can see from the pics below, we are not there yet! I have filled bag after bag of ‘stuff’ and I gave them to my husband to burn immediately. If there had been any delay, I was afraid that I would want to go through the bags again and reclaim some’ stuff’!! I had hoarded about 10 years of course material from art classes which I have rarely looked at, so out went the portfolios without a backward glance. I had hoarded teaching files, workshop hand-outs, multiple patterns and pictures; all have gone now apart from some favourites that I couldn’t release. I feel cleansed! The final push will be to sort through my archive material and find some way of filing it for posterity!!! This I will do when I sit in front of the fire of an evening.
 
            Studio view 1


              Studio view 2
 
SERVIETTE BOX continued


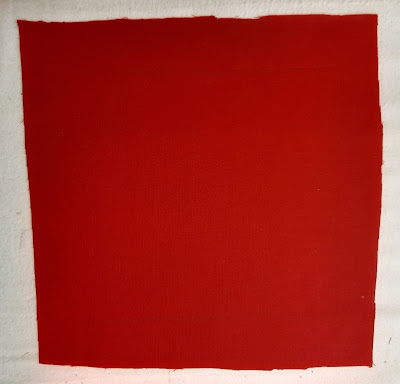
Here is the sequence for a simple decorative design for the top of the serviette box. I glued the pre-cut square of wadding to the top of the box. I then cut out a piece of the lining fabric (1” larger all round than the top of the box) to work on.
 
              Box top


I looked at the motifs on the outer fabric to decide what was worth cutting out and I ironed Bondaweb onto the back of a strip. (NB I have a box of fusible bit and so I used these smaller off-cuts to cover the WS of the fabric, over-lapping where necessary. Over-lapping still works the same because whatever touches the fusible sticks to it) I cut out motifs which I thought would work on the red background.
 

           Fabric


           Fusible bits


             Fused fabric


             Motif 1


              Motif 2


           Design pieces


            Wreath


              Extras
 
I drew round the top of the box with a pencil to give me a guide line for size and I played with the cut outs until I was happy with the design. Once I had removed the backing paper, I was able to iron the motifs in place. After adding another square of wadding behind the red fabric for ‘body’, I used a wandering leaf quilting design to cover the edges of the motifs to prevent fraying, making sure that I didn’t go beyond the marked line. I trimmed away the excess wadding to the size of the top by folding back the red fabric. I stuck it in place with spray glue. Follow the process outlined for the lid of the coaster box to complete the box. Another Xmas gift completed, just requiring the selection of appropriate serviettes to go inside.  


           Thread work


            Trim wadding


               Attach to the lid


           Sew the strip
 

No comments:

Post a Comment