We went to a Christening in Yorkshire yesterday. A lovely
little girl has been adopted into the family and, because she is 3, I was
finding it difficult to buy the right present. Traditional gifts seem to be
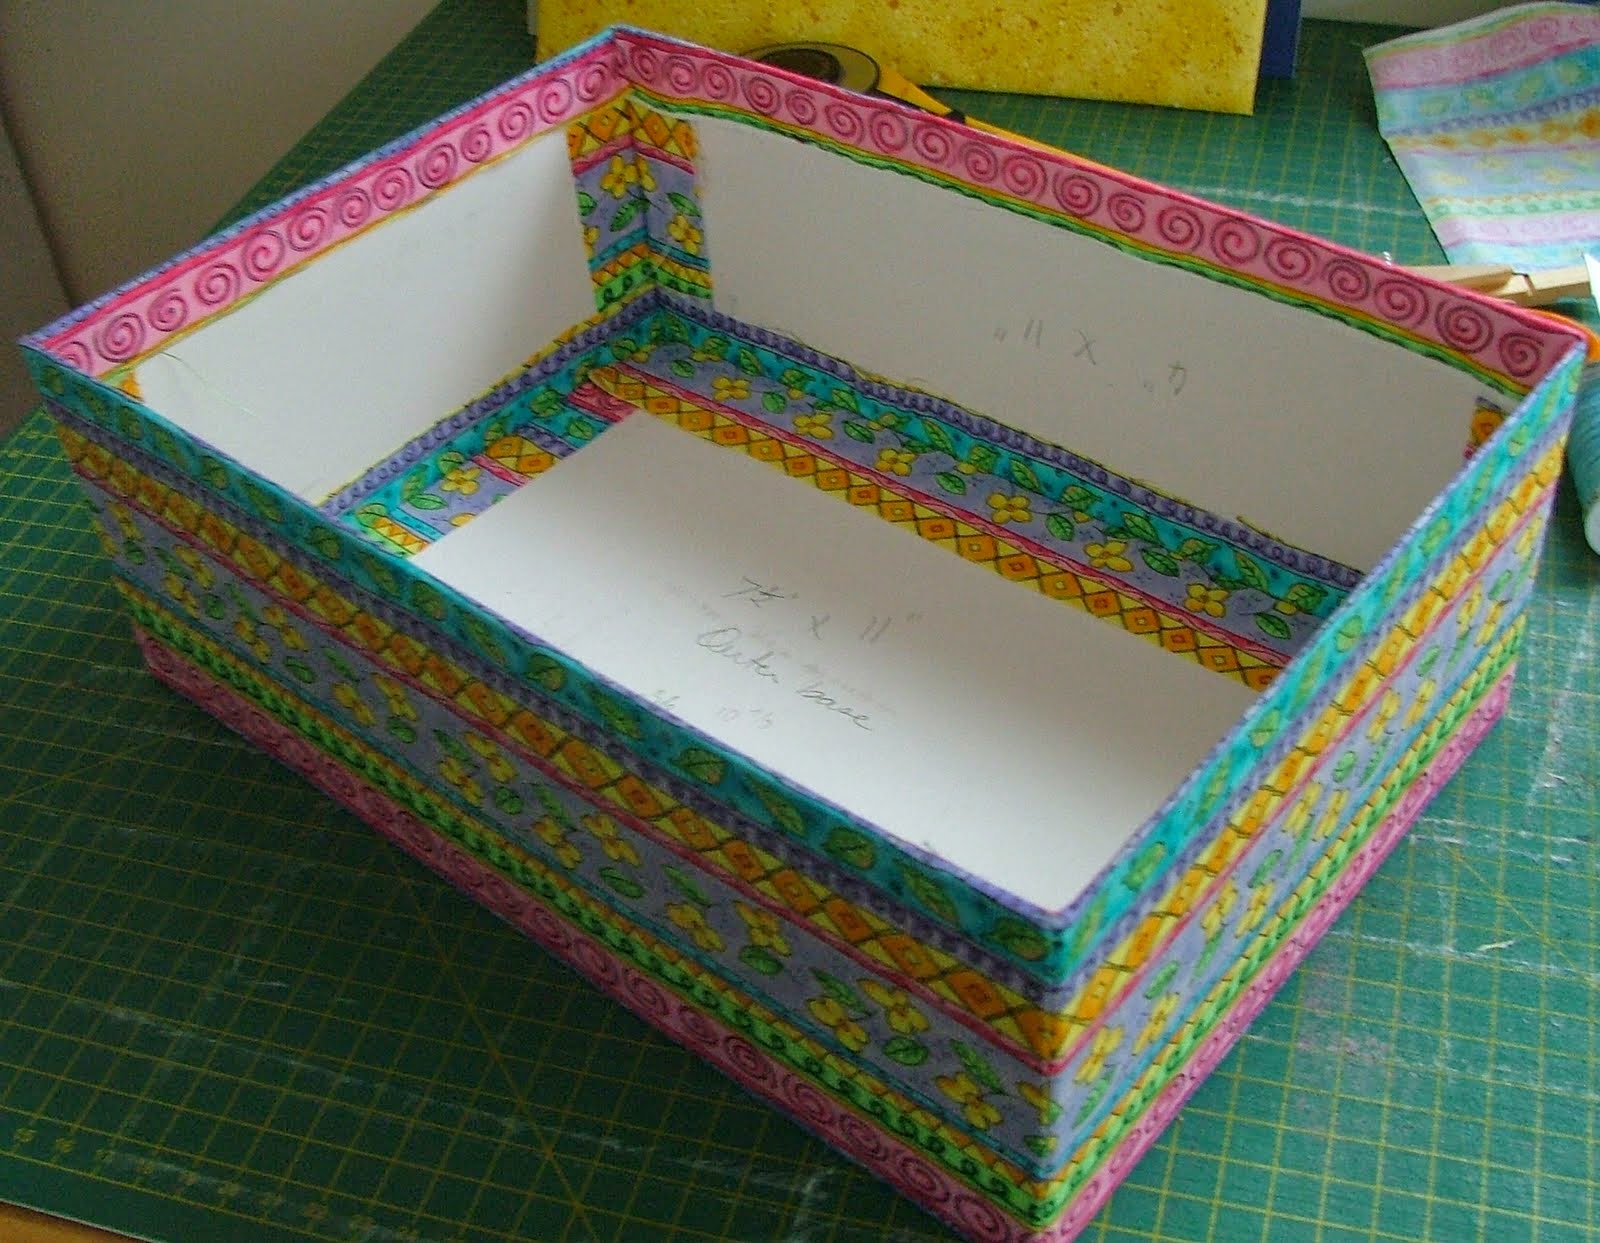
geared towards babies so, after much thought, I decided to make a box for her
to keep her treasures in. Sometimes I’m sure that people think that homemade
stuff is cheap and second rate but the materials and threads alone cost nearly
£20 and that’s without the effort and attention to detail that has gone into the
making of it. I have already ‘taught’ the memorabilia box as a project in BLOG 100
so refer back to it if you are interested in having a go. It makes a lovely gift,
very individual and special.
Be aware that this is just an over-view of the procedure;
step-by-step instructions can be located in Blog 100 (May 2012). First, prepare the card.
Cut the outer fabric, the lining fabric and batting strips
and cover them as per instructions.
Sew the box sides around the base and sew up the sides.
Add the linings on 3 sides and secure with pegs.
Place the lid lining onto the box and fold the hinge onto it
and stick it down firmly.
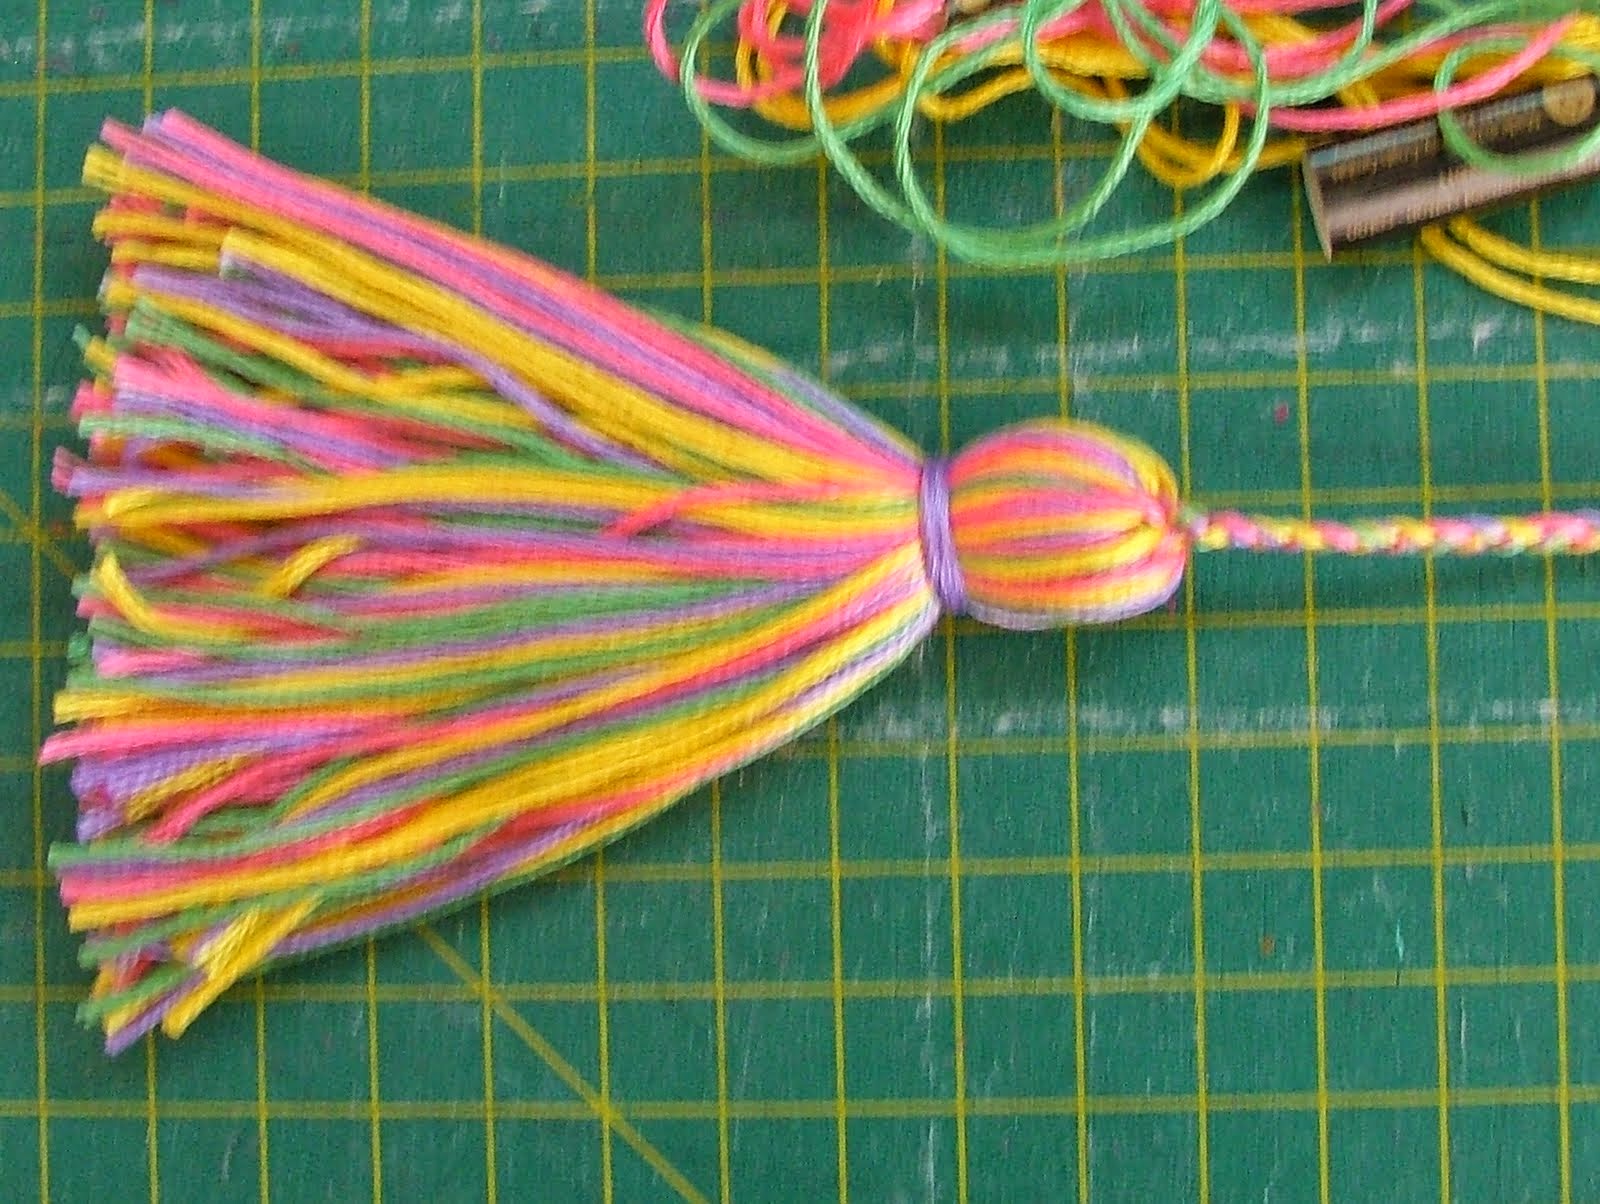
Stick hinge onto top lining.Make a tassel with embroidery thread and stick it in place centrally on top of the lid lining.
Prepare a suitable top and stick it onto the inner lid.
Stick them onto the lid lining and apply weight to sick them all together
thoroughly. And that’s all there is to it apart from adding personal touches to
the inside with labels/gifts/novelties etc. Job done!
ASIDE: This week saw the
finish of our group quilt for the Festival of Quilts. All I am prepared to say
at this stage is that you will be queueing to see it!!


No comments:
Post a Comment