Sunday, 9 June 2013

Blog 152


As the Gresford Exhibition gets closer, there has been more progress on Ella’s quilt. This is the start of the quilting process.


                              Multi-coloured thread


                                               Walking foot


C                                  entre of the quilt

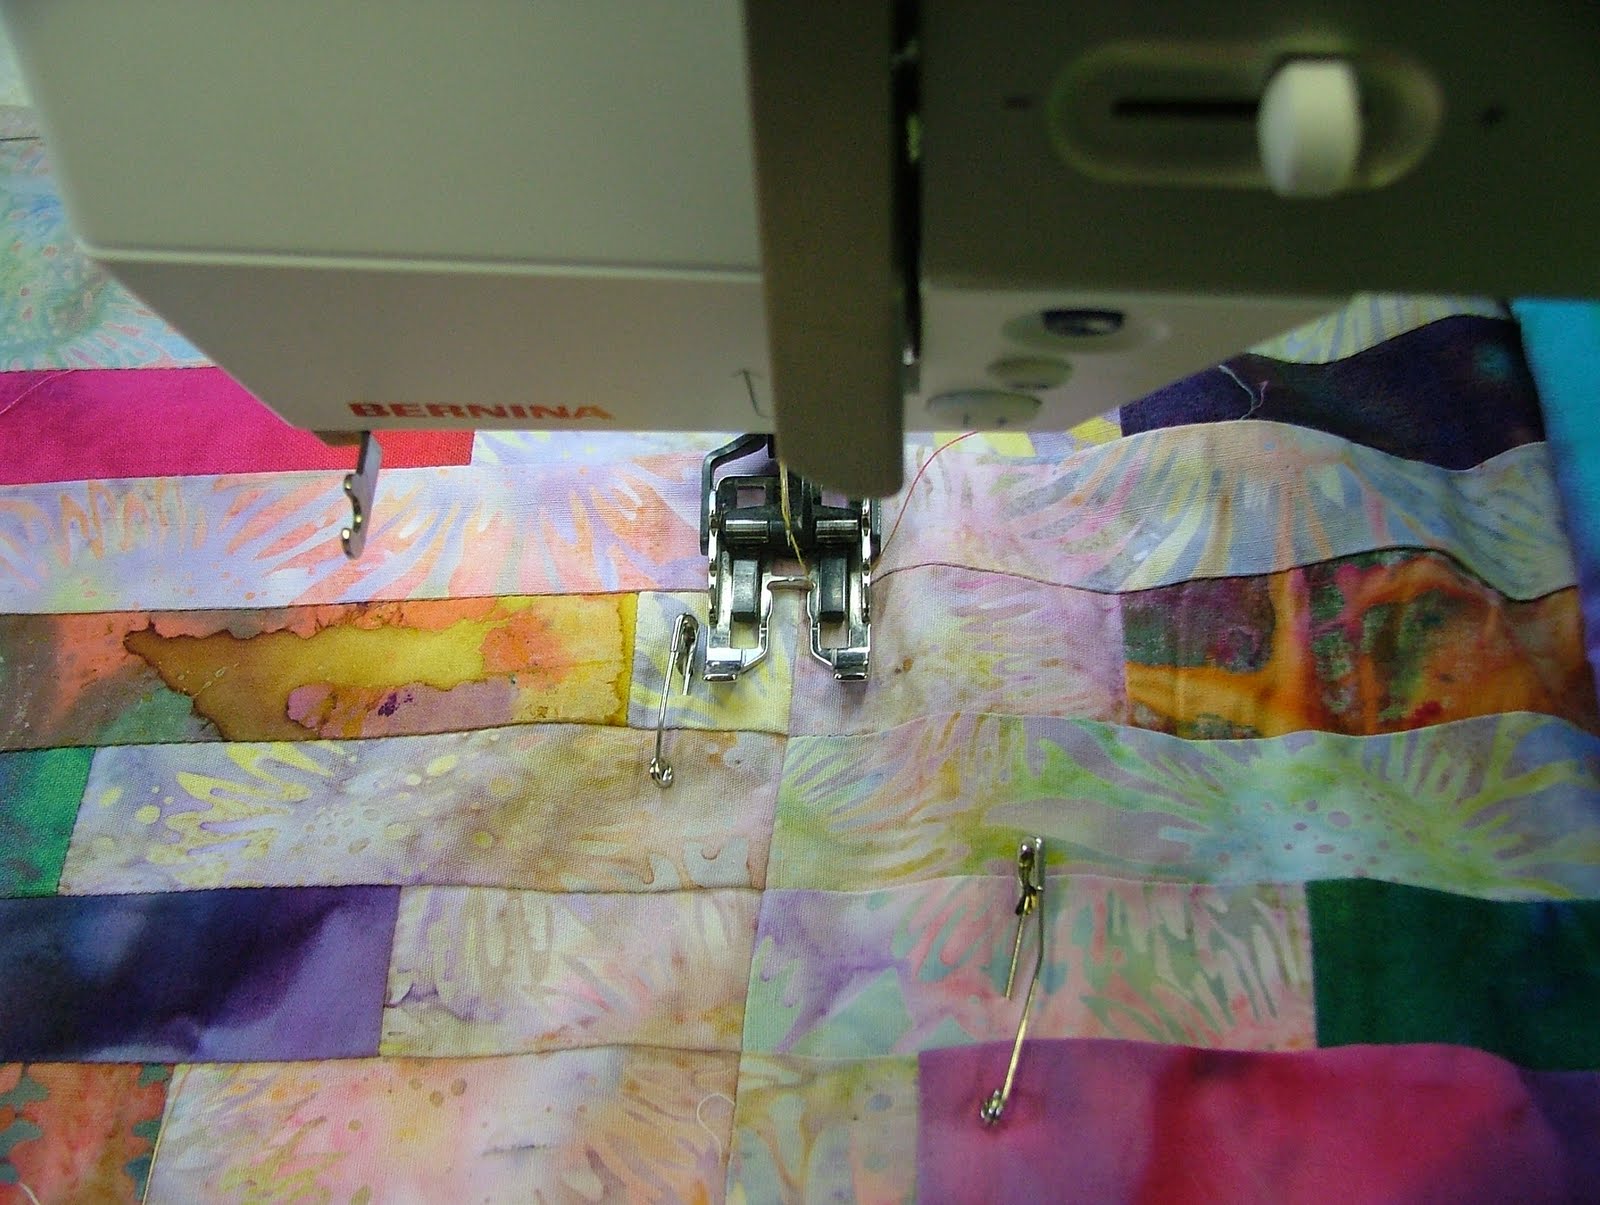
First, I chose to sew a decorative stitch down each of the bulky seams in order to stabilise the quilt from the centre to the edges.


                           Decorative stitches

Then I sewed another decorative stitch around the inner pieced border.  I changed then to a free-motion foot and did continuous leaves with the odd flower/butterfly in the wider outer border. Y ou will notice that I have sewn a line of larger straight stitches around the edge about 1/8” in from the raw  edges. Once I have a quilt at this stage, I feel confident that I can add the binding strip without there being further shifting of the fabrics.


                                         Border detail

 I decided to use the remainder of the fabric from the back of the quilt for the binding. There was a long 15” strip left over and I wanted to cut it on the bias in order to give the edge of the quilt a ‘candy-stripe’ effect. This meant cutting many short strips and sewing many joins; tedious I know but it was the best possible use of the remaining fabric to produce the desired effect. The best way to achieve this was to straighten the top edge of the fabric and to lay the 45 degree line marked on the ruler along the cut edge.


                                                  True bias

 When you cut along the lower edge of the ruler, you have a true bias edge.


                                              First cut

 I cut several 1 ¼” strips for a single binding and joined them together with a diagonal seam.


                                        Many joins


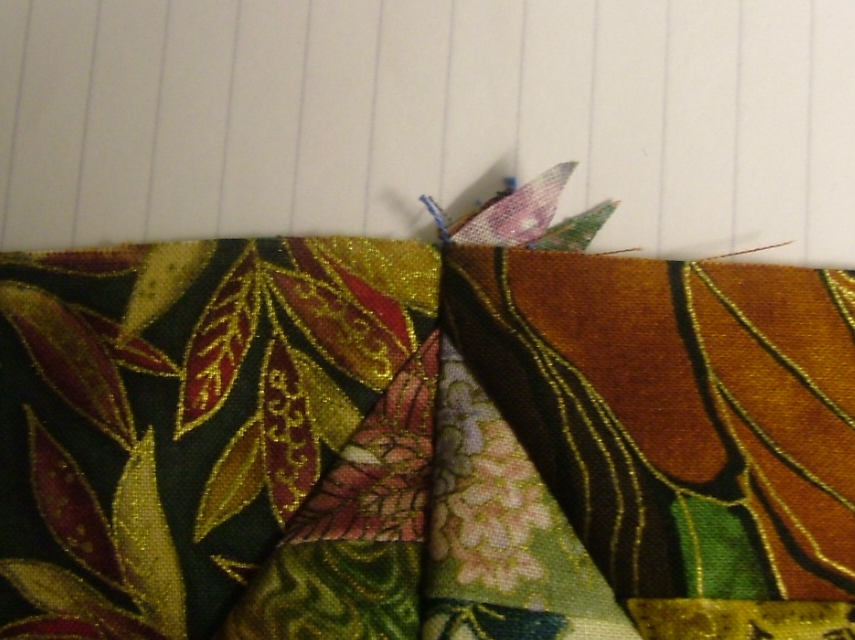
Once the excess wadding and backing fabric were removed from around the edge, the strip was sewn around with an accurate ¼” seam.


                                      Open seam


                                Corner fold

 I am now at the stage where I need to do more quilting in the main body of the quilt but at least I know that the tedious work of binding and hand sewing around the outside edge is well in hand. It will be finished on time!


Saturday, 1 June 2013

BLOG 151


I am posting a prompt blog this time as I will be away for a couple of nights over the weekend., this timme to Abersoch on the Lleyn peninsular.

Two things have been resolved this week. Firstly, I have taken all the pressure off myself by deciding to have the ‘String of Diamonds’ ‘quilted by cheque book’. I have done this once before, for non-competition work, taking a pair of similar quilts to Castle Court Quilters in Whittington in Shropshire. I was thrilled with the result last time, I loved the rambling all-over texture and I was impressed with the speed at which the quilts were returned. Di has agreed to quilt it in the next 2 weeks so I will have a bit of time to bind it before the Gresford exhibition. Phew!

The other thing that I needed to do was to get the rest of the borders on Ella’s quilt before putting in onto the wadding and backing fabric and this is how I went about it. I used offcuts of the bright and light fabrics cut at 4 ½” x 1 ½” and sewed them together to create another border all round. I made sure that it was always the light fabric going round the corners.


                                        Corner border

 
For the final border, I decided to cut the remaining light fabric to get as wide a border as I could manage.


                                  Remaining fabric

 I measured the perimeter of the quilt and worked out that I needed 6 strips. I had 18” to play with so reasoned that I could cut 6 strips at 3” wide.


                                           Measurement


                                            Six strips

But what I had forgotten to factor into my workings out was the extra length that was added to the top and bottom when the borders went on! I was 6” short!!!


                                          6” short

 All I had left now were a few light strips from the inner border. These were joined together and cut to 3” x 1 ½” before being attached to complete the final border. And do I mind? Not really! Although it doesn’t look very professional as far as the blog is concerned, it shows that I too make mistakes and don’t mind admitting it. And putting it in context, this is a quilt for a 4 (nearly) year old’s bed and I expect and accept that it will be abused and ill-used. She will bounce on it, make dens with it, and do goodness knows what else with it. This is not a competition quilt and a label or motif will cover it.


                                  A cobbled corner

 So the quilt got its final press, ready for putting the layers together.


                              Final press

 I am going to use Warm and Natural wadding and a candy strip backing fabric


                                           The layers

 I layer my quilts in the same way as I have described in the past, pinning the backing fabric RS down onto a carpet. And this is where Willow starts to supervise. You may remember that I have said in the past that wadding must be magnetic to cats. I don’t know where she had been sleeping or how she found out that I was pinning a quilt; wadding doesn’t exactly crackle, does it!! But she was there from the start.


              A quick wash before we get down to it


                           This is mine, all mine!


                                OK, you’re nearly winning


                                       The worm turns


                                      Quality control


                                     Meow of approval

 I always pin around the outside edges first, keeping the quilt top as taut as the background fabric. Then I put safety pins either side of all the vertical seams, making sure that there was enough room to sew down the seams with a walking foot so that I don’t have to remove any of the pins. And now some machine quilting awaits me.

BTW: Welcome on board Sue Horder, thanks for signing up to be a follower, one more for me to talk to!

Tuesday, 28 May 2013

BLOG 150


Apologies for the late posting of my blog this week; circumstances beyond our control! Our phone has been faulty intermittently for 3 weeks now and it has been off completely for a good 9 days. This has meant that we cannot be contacted by people except through mobile phones and, as we don’t freely give out our mobile numbers, it has meant that nobody has been able to contact us during this time. It hasn’t bothered us too much as we have been away, but you do start to wonder if you are missing out on vital messages on the computer, and you are unable to access the information that it usually at your fingertips. I’m sure it will get sorted soon.
Another milestone posting! 150 weeks of talking about my quilting endeavours and I didn’t really think it would go on for so long! But after thinking about it, I now realise that I use the blog to keep me quilting and I quilt to keep my blog going. So it is a symbiotic relationship. And again I feel the need to mention that I have only 30 registered followers after all this time. I know there are loads more of you out there because you tell me so when we meet up so make my week by becoming a follower. It is easy (so I am told) and it costs you nothing but it will make me feel less like a ‘Dilly-no mates’. (Welcome aboard Fiona: tell me how you did it so I can tell others!)

This week I have been getting on with the remaining blocks for my scrap diamonds string quilt which I think I will call ‘A String of Diamonds’ thus acknowledging the string piecing method and the resulting shape formation. My thought was that if I could get the quilt top finished by the Bank Holiday WE, I would try to finish it for the Gresford Exhibition in June, or even put it in as a work in progress. 14 more blocks in both light and dark were required, more motorway sewing! Once I had finished and trimmed them, I sat in front of the TV and removed the papers into a fabric bag. It was all too tempting for Chivers who immediately climbed in, sorted the papers out to his satisfaction and settled down for the night …. and for ever after if his behaviour is anything to go by!


                                              Chivers

 Ella’s scrap quilt top also needs finishing for the same exhibition so I have a busy three weeks ahead of me! An understatement!!


                            Ella’s Quilt

 To prepare the border strips I needed to measure both the horizontal and vertical dimensions of the quilt. I did this on my design wall and I measured through the centre of the quilt, not round the outer edges which can stretch after energetic pressing; this is the best advice I can offer for preventing wavy borders. The horizontal measurement is 47 ½” and the vertical 70” and these are the true measurements.


                                       Horizontal


                                          Vertical

I cut the top and bottom horizontal borders at 1 ½” x 47 ½” and they were pinned in place, RS together, at the centre and corners first. I then made the quilt top fit the border by pinning securely and easing in any fullness. To get the lengths I required, I needed to join my strips together. I did this by placing two strips RS together, at right angles to one another. (It sometimes helps to draw a line from edge to edge.)


                                       Diagonal join

 I sewed on the line and trimmed away any extra fabric to leave a small seam allowance.


                                         Sew and trim

 I pressed the seam open.


                                           Press


After adding the horizontal borders, the 70” vertical seams needed extra length to take these borders into account: 70” + 1 ¼” + 1 ¼” = 72 ½”. These were cut accurately and added to the quilt top in the same way to complete the first round of borders. What next I am thinking?

Sunday, 19 May 2013

BLOG 149


During the last 3 weeks, I have continued to create diamond blocks, enjoying the process of slamming fabric under the needle and sewing at motorway speed. It has been a relatively mindless process thus allowing me to think thoughts (usually rubbish) or to listen to the radio or to just sew. The process of string piecing as it is called, certainly hasn’t been hard with no seams to match and random fabrics used. Now I’m not a numbers person really and the last thing I would be caught doing is to count how many pieces of fabric are in a quilt or how many miles of thread I have sewn. This doesn’t interest me and, if I knew this information in advance, I would probably never start a quilt. Suffice it to say that it took me about 1 hour to create a diamond block.

I am going to start to sew the blocks together now to make the rows and then join the rows to create the quilt top. I need to see what it is going to look like, how big it needs to be and whether I am going to add a border.

The horizontal seams that were sewn onto paper and ironed as I went along are well established. Remember that I am a ‘butter-upper’ of seams and so I will contrive to make the seams that join the blocks together go the way I want them to go.

 CREATING THE QUILT TOP

Join one diamond to another diamond, paying special attention to the corners of the diamonds. (Don’t you love to robin peeping from the fabric!)


                            Diamond to diamond

  Join four diamonds together to make a horizontal row and press them lightly on the WS.


                                       Press on the WS

When seen on the WS, all seams should lie flat and tidily.
 

                                    WS seam allowances

Every time you add another block, check to see that there are no duplicated fabrics next door to one another.


                                                       2 rows

Having joined 5 rows of 4 diamonds together, I decided to put it on a single bed to check for length only to discover that it was way too long!


                          Trial fitting


I like the effect of it very much though and was anxious to try it on the bed it is destined for. This again confirmed that it was too long and so some reverse sewing … or unpicking by any other name … followed.


                          Double bed

That’s the stage it is at the moment and I have put it to one side until I get back from Barcelona. We are just having 3 nights away to enjoy a city break.  Can’t wait!


Sunday, 12 May 2013

BLOG 148


CREATING THE BLOCK

It is better to build up a few light and dark panels before attempting to join them together. This allows your range of fabrics to spread throughout the quilt giving a ‘random’ appearance which is vitally important for a scrap quilt.


1 The main reason for sewing onto paper is to create an accurate block every time so before the paper is removed, the blocks need to be trimmed to the edge of the paper with rotary cutter and ruler.


                          Trim the panels


                                           Trimmed panels

 2 Remove the paper from the back. This will be easy if your stitch has been small enough to puncture the paper without tearing it. I usually tug gently on the upper and lower edges and the paper almost falls off.


                                      Remove the paper
                                               
 3 Use a ruler and rotary cutter to cut on the diagonal of one light and one dark panel. Cut the line cleanly and accurately from top left to bottom right.


                Cut on one of the diagonals


                                   Cut 1 dark and 1 light

 4 Repeat the process and cut one light and one dark on the other diagonal, from top right to bottom left.


Cut on the other diagonal


                                   Cut 1 dark and 1 light

 5 Position the eight triangles in sequence to create a diamond block, double-checking that there are no repeat fabrics adjacent to one another.


                       8 triangles create a diamond


6 Place two triangles RS together, so that the raw edges of the diagonal seams are level. Rather than put the two points exactly together, allow the sharpest point to extend a good ¼” beyond the gentler point. Sew an accurate ¼” seam.


                             Extend the sharpest point


7 Sew the four diagonals to each create a rectangle that is one quarter of the design and place them back into sequence. Do not press at this stage.


                     Sew the 4 diagonals

 8 Place two adjacent rectangles, one on top of the other, with RS together. Finger-press the top seam to the left and the underneath seam to the right. Butt the seams up to one another and pin where they meet. Sew the vertical seam with an accurate ¼” seam allowance to create half the diamond. Check to make sure that there is a good ¼” of fabric beyond the tips of the diamonds (this is the seam allowance for joining the diamonds together later).


                                        Butt the seams together


                                     Accurate seam RS


                                          Accurate seam WS

Repeat this process for the lower half of the diamond to complete the block.


9 After checking the direction of the diagonal seams butt the seams together and sew across the middle horizontal seam to complete the diamond.

And these are the building blocks for a diamond string quilt.


                                     Completed block