Blog 435

This
time I thought I’d use squares for simplicity and I thought back to one of the
processes I had tried and taught many years ago when water-colouring with
fabric was all the rage. First I needed to work out the sizes for cutting and so
I scribbled down a ‘masterplan’. You will see that it involved Vilene, the
iron-on light-weight variety, and this was to provide a stable backing.


Fabrics


Once the
fabrics were placed beside the marked Vilene, I was ready to start. The
adhesive side of the Vilene was placed uppermost on an ironing surface because
the squares were going to be stuck to the surface eventually. The squares fitted
into the grid and I created a pleasing blush of colour from darks through to
mediums. When I was happy with the effect, I used a pressing sheet and stuck
the squares to the Vilene with an iron.

Squares
onto Vilene 1 Squares
onto Vilene 2
Squares
onto Vilene 2
Squares
onto Vilene 3
Pressing

Fold and
sew
Fold and
sew continued

F old and
sew final seam

Pressing
the seams

Clipping
the folded seams
Alternating
seams

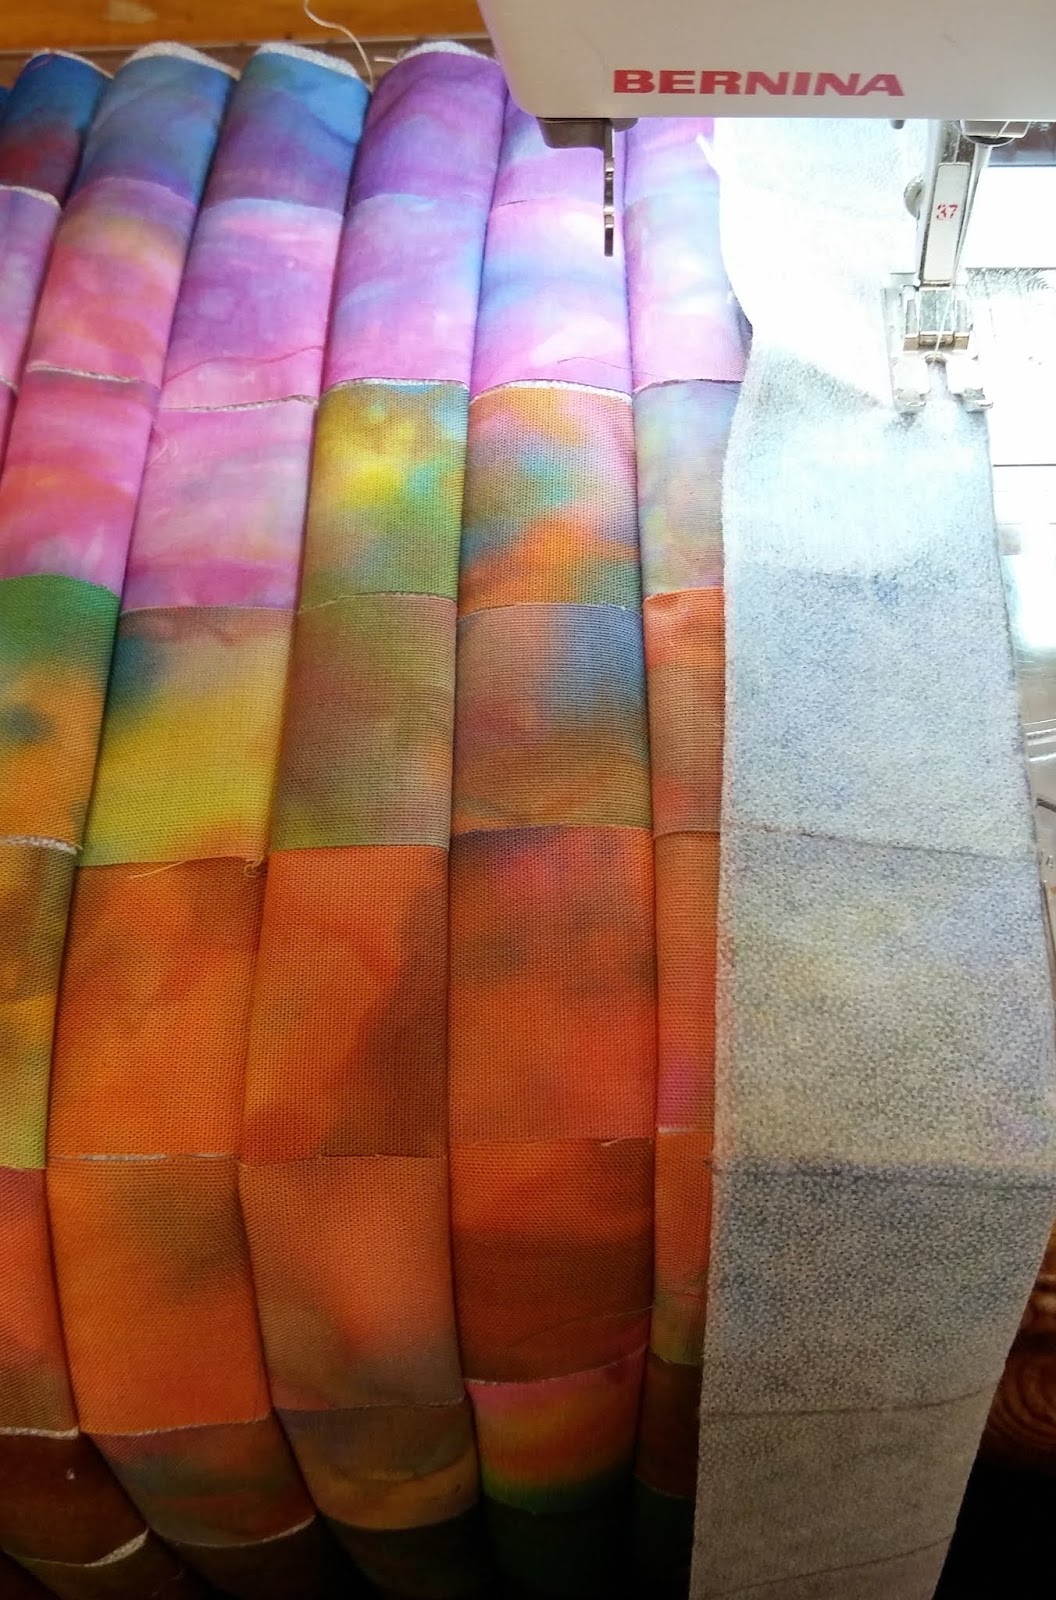
Sewing
the horizontal seams  Completed
patchwork
Completed
patchwork

Another
jigsaw!

 Squares
onto Vilene 2
Squares
onto Vilene 2


 Completed
patchwork
Completed
patchwork
Pros and Cons of the method:
+It is
very quick compared to patchwork over papers.
+It is very
accurate because you are working within a marked grid.
+The
squares are held securely whilst they are being sewn.
-The
method adds an extra layer to the patchwork.
-The
seams are accurate but very bulky with the extra layers.
We were
away at a family funeral in Cardiff on Monday and Tuesday and then we had the
littlies for the day on Wednesday and into Thursday. After they departed, I
immediately got out another jigsaw and indulged myself. It is only now I have
seen this picture that I have spotted that there is a piece missing right in
the middle. How could I have missed that …. And, more to the point, where is
it? ….


No comments:
Post a Comment