Sunday, 14 June 2020

BLOG 500


Blog 500

This is certainly a huge milestone in my blog journey! There will be no singing and dancing though, just a quiet pat on my back as a nod to my commitment to this space every week. I did contemplate finishing at Blog 500 but then I concluded that the blog actually keeps me focused on my sewing just as the sewing provides me with the subject matter for blogging; they are intertwined. And I fear I might not be so productive if I didn’t have the focus of this Sunday blog. In addition I feel a sense of loyalty to my small select band of regular readers, my friends in the dark as I like to think of you, so I will continue for the time being.
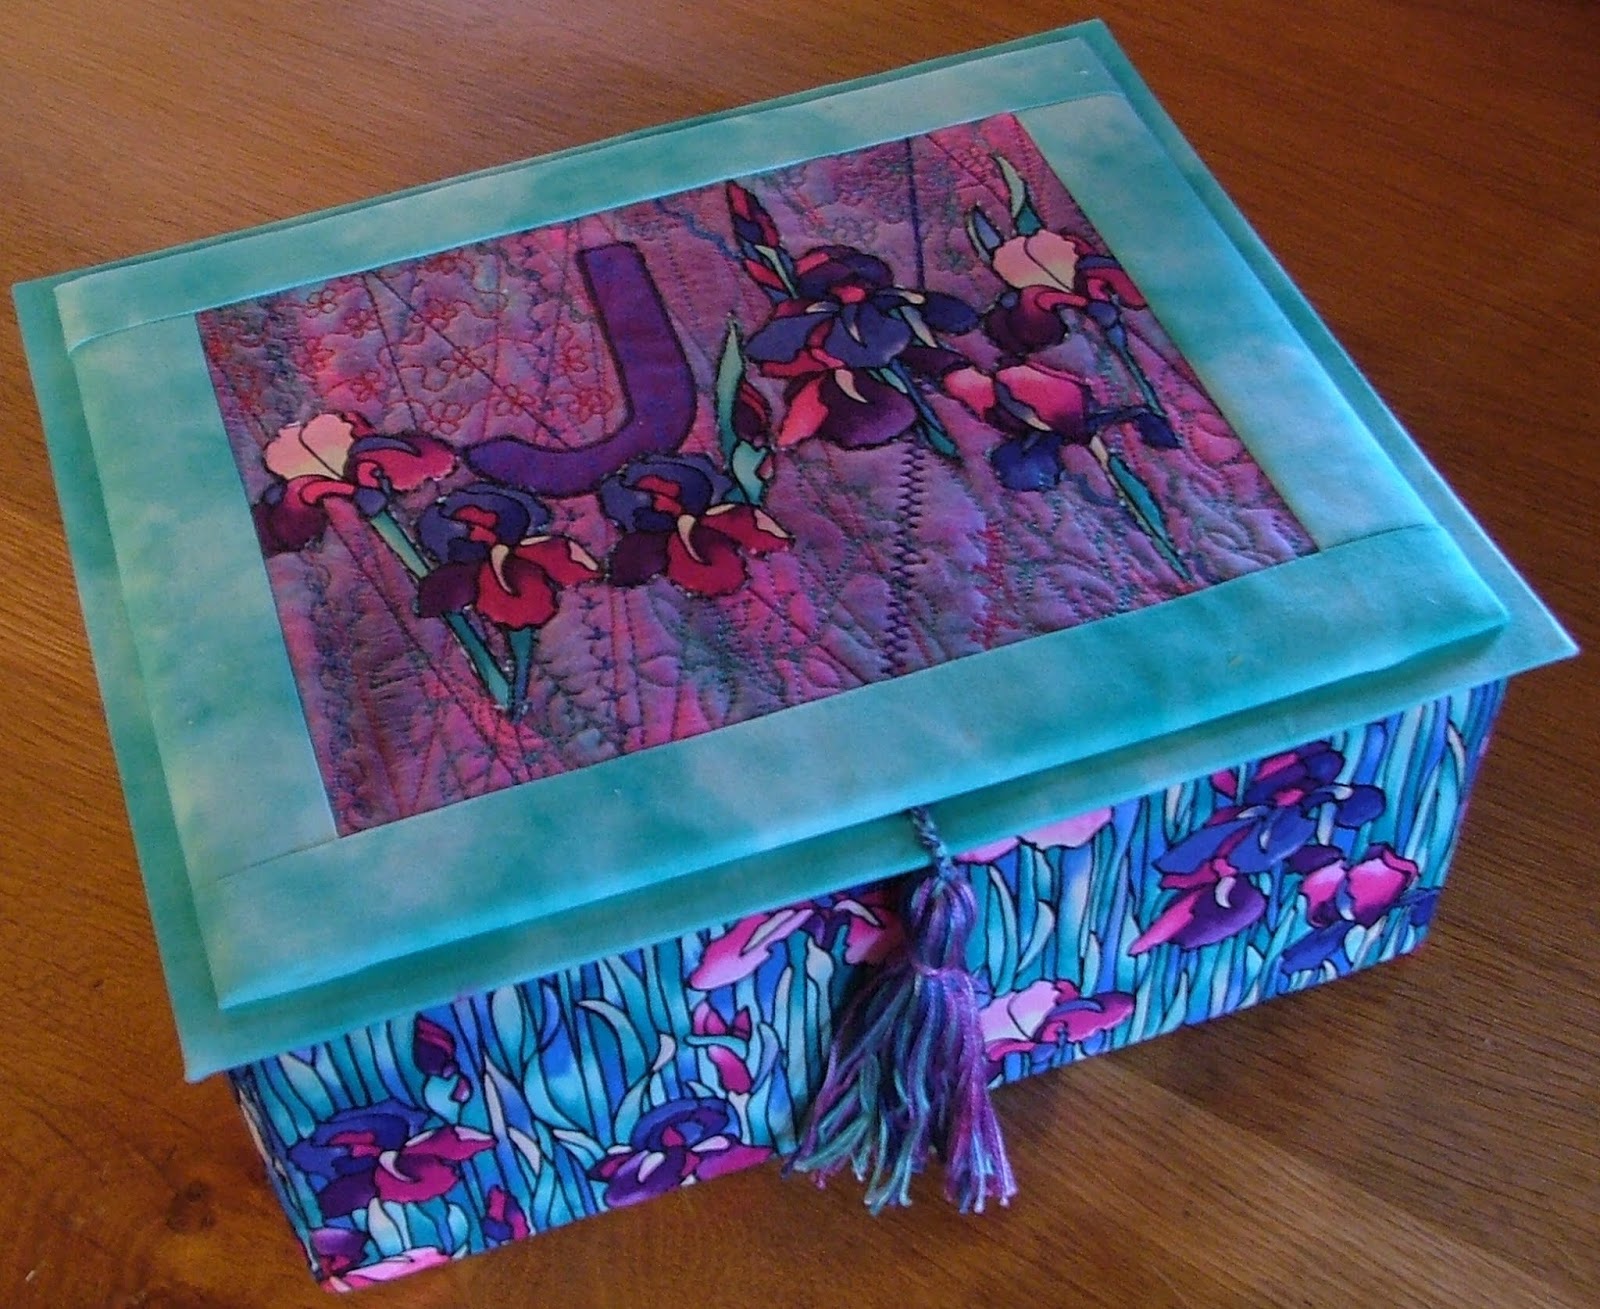
 I started this blog as a journal, a quiet record of my creative endeavours and this is how it has remained. I have never tried to sell anything or become a platform for annoying advertisements; it’s just my on-going diary of creativity. So to mark this occasion I have been through my archives and pulled out some pictures to show the variety and scope of my work, ending with my latest quilt.  I hope you enjoy this show and tell and thank you for your continued interest.


Sunday, 7 June 2020

BLOG 499


Blog 499

I have to say that I am really enjoying the development of this piece of work: it’s colourful, it’s joyful, it’s based on my doodles and so it is very me! I started to build up the surrounding water effect by drawing the shapes on the master pattern but it wasn’t long before I started to cut free hand and the remainder of it was done in this way. Fortunately I had plenty of ready-fused fabrics left over from other projects so nothing slowed down the progress.


        Turtle 1


         Turtle 2


As I was cutting shapes, my mind was pondering the next stage and questioning whether I wanted to continue to build up the picture in this way? I tried a sample shoreline with some palm trees as a sort of ‘heading’ and then it occurred to me that there needed to be some sort of border all round to contain the image. I thought about a coral reef which sent me off on another tack and, after seeing archive pictures of floating plastic bags and detritus in the oceans, I decided that the border should be made from plastic. I’ve never worked with plastics before, but I can learn with the help of all the extensive free information on Google!


        Turtle 3


        Turtle 4


     Detail


As a trial run, my first attempt was with several heat-fused layers of a black bin liner and I cut the palm trees from that. Then I started to root in the cupboards and waste bin to see if there were other plastics I could use.  I wanted bright colours but I had limited supplies so a plastic carrier bag and a freezer bag for peas were used for my next attempt. I didn’t heat these at all but just placed them onto wadding and stitched them with a matching thread and a free motion stitch. I cut out the coral seen above from the red plastic carrier bag. So far so good, I was pleased with progress!


        Plastic carrier bag


          ree machining: red


         Free machining: green


And then it occurred to me that if I am going use plastics in this project, I needed to press and quilt the applied fabric shapes first before adding any. I am at the quilting stage now whilst still experimenting with different plastics and different approaches to producing colours. This is great fun!!   


        Preparing for quilting


        Quilting detail


        Quilting detail 2

Sunday, 31 May 2020

BLOG 498

BLOG 498
 
What a hot week we have had! I just love the sun and the cheery brightness it brings but it was so hot this week that it wasn’t conducive to being ‘in the garden’ gardening as opposed to ‘in the garden’ relaxing! The soil is so dry and hard packed that it is unworkable. The plants are just doing their seasonal thing with the help of some judicious watering so we are largely leaving them to it and enjoying their bounty. Not being outside has meant that I am well employed inside, just keeping cool and enjoying my playroom. Below you can see the progress I have made on my turtle this past week. During the colouring process, all the fused bits were cut out and pinned onto the Master Pattern on the design wall. Displaying the pieces on the design wall in front of me is the only way I can judge the progress of colours and I get a good idea of how the turtle is going to look when it is complete and what sort of impact it is going to make.
 
             Pattern progress 1
 

            Pattern progress 2
 

The next stage was to use the Master Pattern to position all those fused pieces onto the background fabric. This involved removing them all and temporarily placing them back onto the Working Pattern which was the reverse image. (Note to self: draft both patterns onto tracing paper so both can be used on both sides!)
             Pattern pieces on working pattern


I then placed the Master Pattern onto the background fabric on the ironing board and I peeled back a small section to expose the fabric underneath. I took the backing paper off the individual pattern pieces and placed them where they were to go, always double checking their positon by re-covering them with the peeled back Master Pattern.
             Master pattern on background
 

             Placement detail
 

             Discarded paper backing


So far so good! Those with eagle eyes may notice that I have replaced the dark fabric under the chin with a medium tone which I much prefer.
 

               Completed image


And of course when I start to play with fabric, I start to create scraps. And so the cycle begins again…. Will it ever end???
 

             Scraps


At this stage I need to think where I am going next with this piece of work. I have often said that if I knew what a piece of work was going to look when it was finished, I wouldn’t ever get started! I need to feel my way instinctively as I proceed and work spontaneously. So while I ponder on this I have brought out two Linus quilt tops that needed quilting and finishing. One was done with free motion quilting, the other with straight lines sewn using a walking foot.
 

              Linus quilt layering
 

             Linus quilt quilting


            Linus quilt complete


                Another Linus quilt