Sunday, 11 October 2020


Blog 517


I’m not entirely sure that I am enjoying working with silks but, never one to be defeated, I have adopted an ‘I’ve started so I’ll finish’ attitude and I will persevere! I think it is very much a leap of faith to slash and sew and slash again in the hope that it will all come right in the end. And because of that insecurity, I find that I am frequently trialling lay-outs on my design wall as I go along. I believe that I have to get to the end of the line of silks (I laid them out in values from dark to light) for this project to work.

  
Medium/medium values

 
Work in progress

 
Trimmings

 
Playing with squares

 
Dark to medium values

 
Medium to light squares


With the help of the son of one of my close friends, we have managed to locate a couple of areas that are rich in fossils. Both sites are a couple of miles from our home and it has taken a while for us to be sure exactly where they are. This makes our walks a bit more interesting and there is delight when we come across something worth finding. Of course we don’t really know what we are looking at most of the time but there are plenty of web sites that do! Here are a couple of finds which prove conclusively that our local mountains were once under the sea. Fascinating were it not for the fact that I found it amusing that we were a couple of old fossils looking for fossils!!

 
Burley Hill fossil

 
Moel Findeg fossil


It rained heavily this week so gardening was out of the question -   so I broke open a new jigsaw and wiled away the hours busily doing nothing!


Jigsaw


Sunday, 4 October 2020

BLOG 516


Blog 516


And diverted I was! I couldn’t wait to start my jigsaw and once it had started I had to see it through to the end! I blame the rainy days when I couldn’t get out to do battle with the garden. Or perhaps it was the fact that I wasn’t making much progress with the daffodils from last week. The picture I posted was naff! And as if to prove the point, the bits were all on the floor when I went in my playroom the next day!! Here endeth that idea!!


Start

 
Finish


Bits on the floor!

As we are in lockdown again in Flintshire, I decided to do something totally different. I pulled out my drawer of silks. Most of these were given to me a year ago by one of my friends from Gresford who was having a throw out; I am so lucky that they came my way! But then the fact that I have them puts on the pressure to use them and the longer I have them the more my conscience pricks! As I have never used silks before, I decided to read up about it on the internet. I rather wish I hadn’t because all sorts of problems were raised, mainly to do with fraying. The main point that I took on board was to sew with a wider seam allowance to discourage fraying. This was doable, but the thought of lining each piece of silk before I using it was a step too far! Anyway I just thought I’d get them out and have a look at them.

 
Silks


Before I knew it I was pressing each piece and then automatically arranging them in a shaded palette from lights through mediums to darks. Most pieces measured 11” x 14” and it was immediately evident that that there were many more lights in the selection.


Pressing

 
Colour palette mediums

 
Complete palette


I wanted to do something that I had never done before so I started with a square and I inserted a strip into it using a colour from nearby in the palette. I just sliced and then I sewed so there was no maths, no precision and little thought. The strips varied in size and the placement was random. Once I was satisfied with my first square, I cut it into 3” squares, to give me 9 smaller squares. These will be my building blocks for a shaded wall hanging but it is obvious that I will have to prepare as many pieces as I can before trialling the idea on my design wall. This is scary stuff when you think how much silk costs, but then I didn’t buy it so I have nothing to lose … except the friendship of the person who gave it to me! I need to make this work so that I can show my friend that I have achieved something worthwhile with it and to prove that she gave it to the right person. She also gave me a load of variegated threads so perhaps I can incorporate them in this piece of work too.

 
Slash and sew

 
Insert

 
3” squares

 
More squares

 
String piecing

 
Building blocks

Sunday, 27 September 2020

BLOG 515


Blog 515


Another week has passed and you can bear witness to the fact that I am between projects because I have tidied my playroom! It is just waiting to be used and cluttered with impunity. I really need to get my head (and the body will follow!) into a creative project, one which will see me through the autumn and winter months. My husband thinks I am at my most dangerous when I am NOT busy in my room. I start to notice things that need repairing or perhaps a room that needs decorating. Maybe there’s a tree that needs to be dug up or perhaps the house needs to be moved 6“ to the left to get the best of the evening sunshine!!! When I am happily creating I don’t have time to notice stuff in the same way and Rog, bless him, really appreciates the peace and quiet!


Clean studio


I still have a third ready-quilted panel to play with so I thought I’d try something different. I always prepare my background squares on the diagonal because that is the way I colour in. So as the sheers were to hand, I thought I would just try a few diagonal strips on the background to see what they looked like and to see what they added to the over-all look.


Sheers

 
Panel and sheers


I wasn’t too impressed with that (perhaps it needs more refinement) so I thought I would use one of my old (very old) panels that I used to provide when I taught applique many moons ago. It has simple shapes and it was ideal for an idea I had.

 
Panel and pattern


I traced the design onto template plastic and started to prepare the shapes using ready fused fabric. I used a sheet of backing parchment over the pattern so I could construct the image and fuse the shapes together where possible.

 
Template plastic

 
Applique shapes

 
Progress

 
More progress


At this point I thought I would try cutting the image into diagonal strips and place them onto the background. I used 505 Temporary Adhesive to hold the pieces in place.

 
Diagonal cutting

 
Staggered image


The image looks very regimented at this stage and I feel there is much more experimenting to do along these lines. This is the story so far and now, with a new jigsaw to hand, I will be easily diverted!!

 
Jigsaw


Sunday, 20 September 2020

BLOG 514


Blog 514           


Oh Joy! We have had a trip to Yorkshire this week and it is must be the first time we have been away from home for over a year. I cannot tell you how good it felt to be on the open road again and to be staying in someone else’s home! We were in Easingwold, N of York, staying with our daughter and her husband. We visited Castle Howard of ‘Brideshead Revisited’ fame, and walked in the grounds of Duncombe Park. We also walked along Sutton Bank and enjoyed the spectacular views along the ridge. If you are watching the Yorkshire Vet on TV, you will see an image of a horse carved into the hillside; Sutton Bank is along the top of that ridge. Although I was born and bred in Lancashire, I can confirm that Yorkshire is a lovely county (albeit on the wrong side of the Pennines!)


Sutton Bank


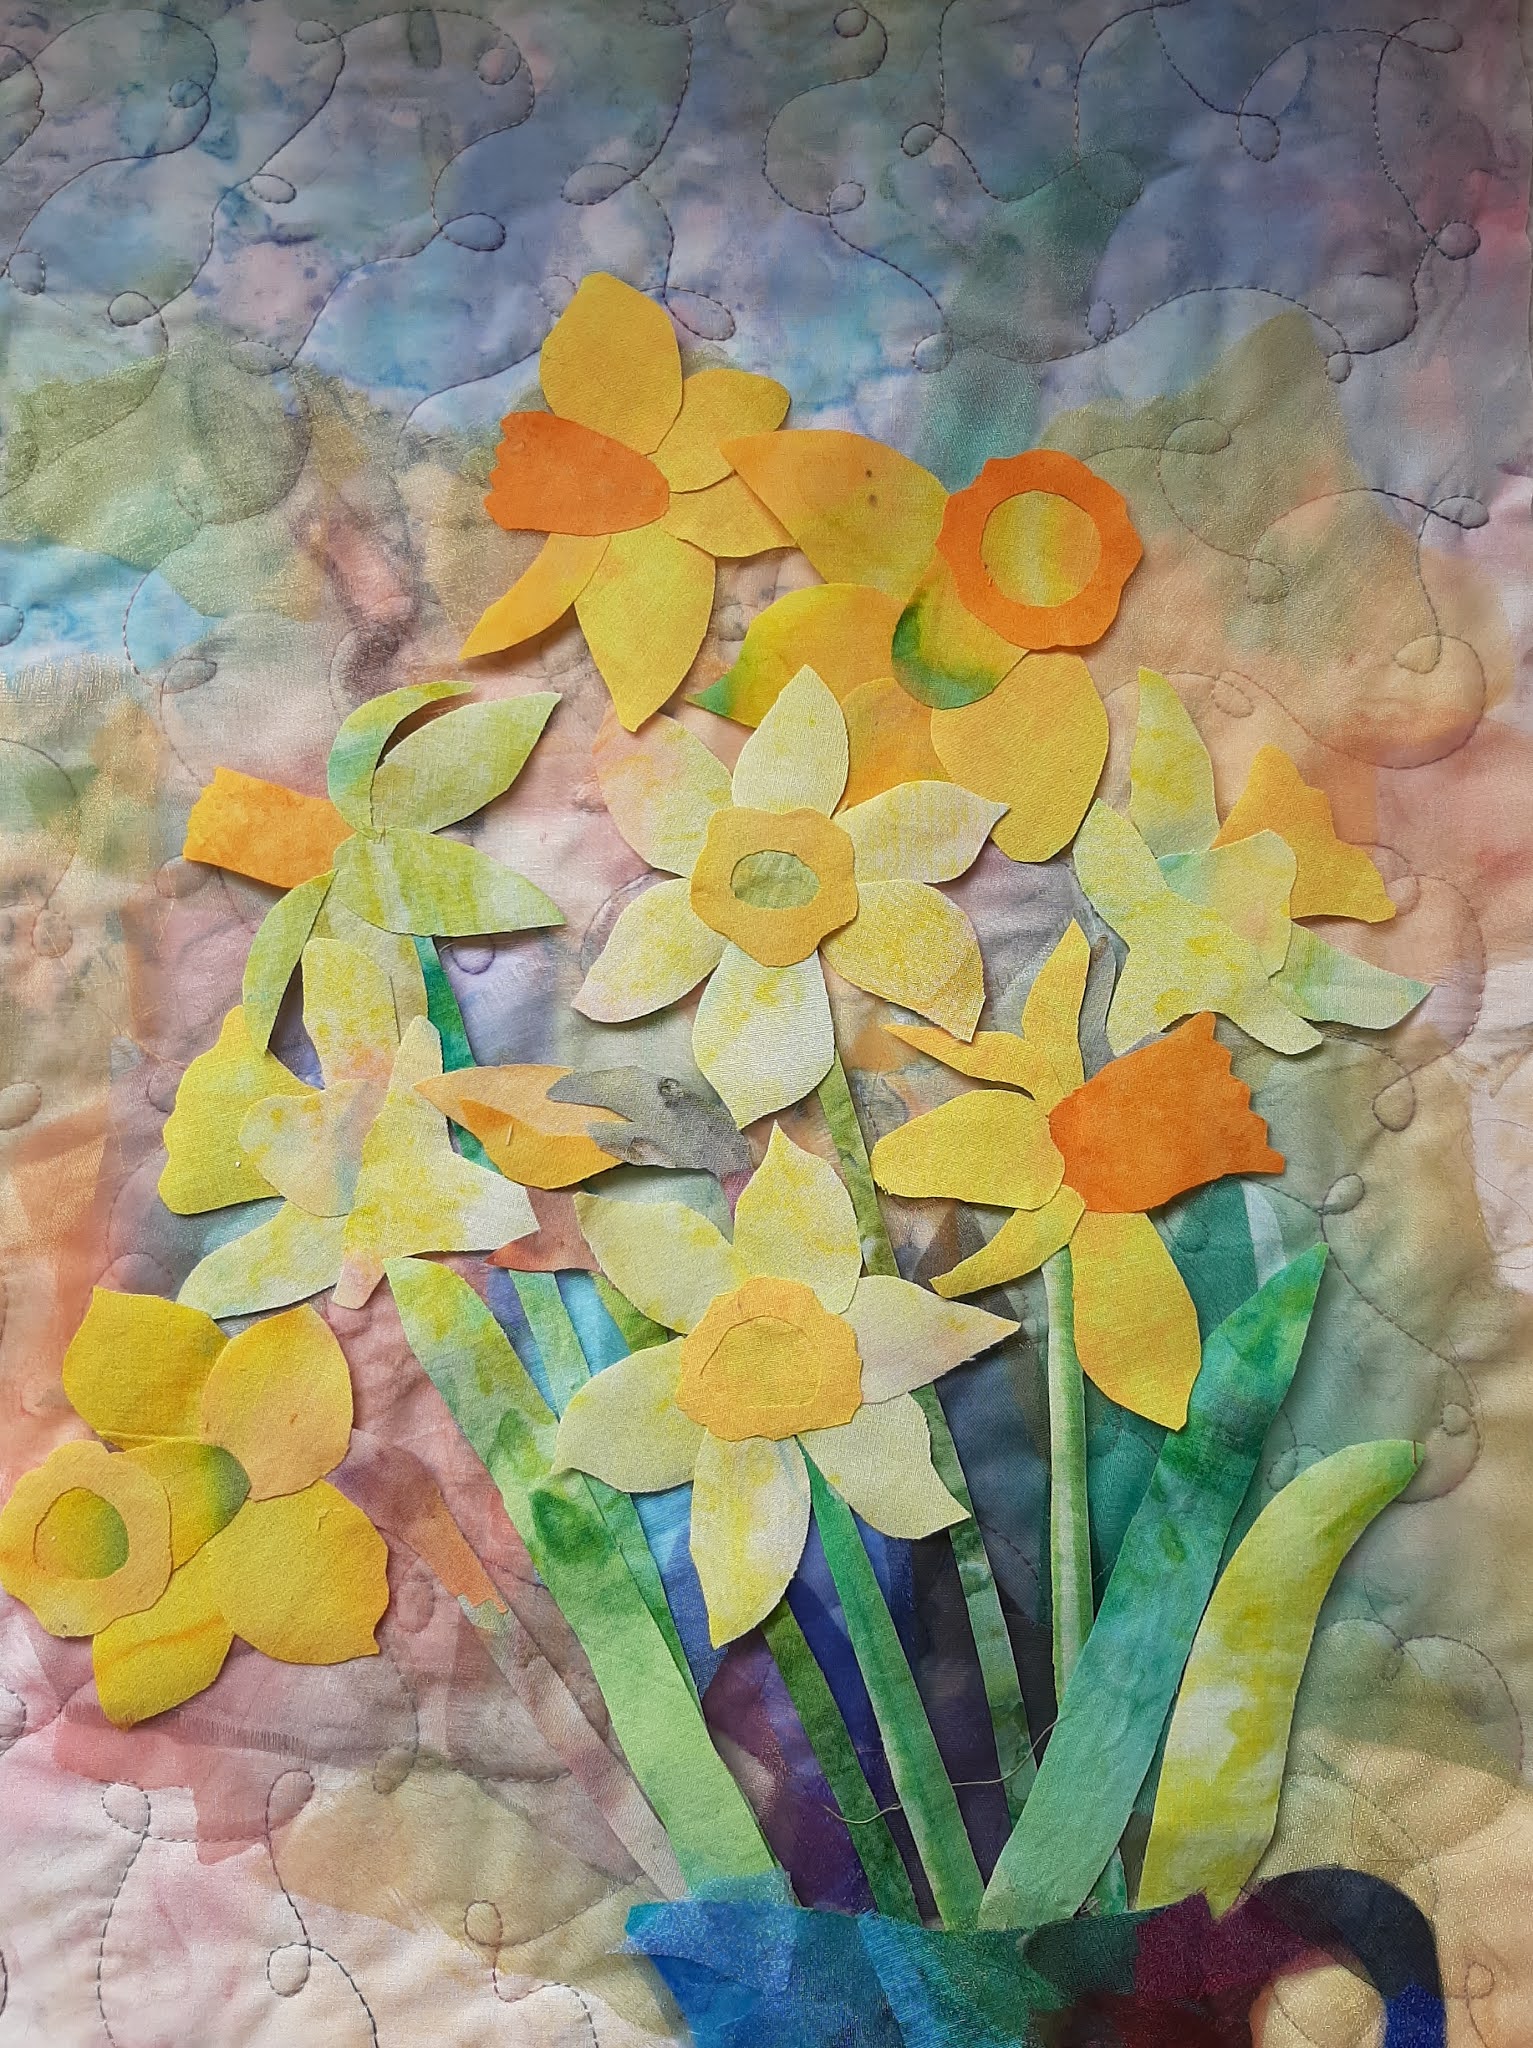
I have managed to continue to work on the ‘still life with daffodils’ wall hanging this week. It is another play piece, one which helps me to hone my skills and allows me the freedom to play. The time spent doing such pieces is never wasted. The play process helps me to decide what I enjoy creatively, which techniques are helpful and which are not worth the effort for the results they yield. Here is the sequence in pictures.

 
Starting point

 
Temporary adhesive

 
Sheers

 
Daffodils

 
Final arrangement

 
Stitch

 
Jug detail

 
Stitch in progress

 
Detail on reverse

 
Finished piece

Sunday, 13 September 2020

BLOG 513


Blog 513


I got distracted this week with another sample picture that has been on my design wall for many months. This is what it used to look like and I decided to have a play with it to see how I could develop it.


Bear


At some stage in the past I had added extra lines of definition with black ink (round the eyes and along the muzzle!) but the process hadn’t given the effect that I had hoped for. I was aiming for a pen and wash effect but the ink just seeped into the fabric and gave a line which was too solid and clumsy. So this sample was going nowhere and it gave me the excuse to play! The first thing I did was to add a layer of painted fusible, followed by a layer of sheers and then I added more stitch.

 
Bear with fusible

 
Bear with sheers

 
Progress

 
Stitch detail

 
Completed sample


And the outcome …? This sample is still going nowhere but it has provided me with the means for exploration. By adding the extra layers, I think there is more colour and depth to the piece (although it is still spoiled by those ink lines!!) The overall effect is one of warmth and I think there are many possibilities here for me to extend this process into my present creative endeavours!


Sunday, 6 September 2020

BLOG 512


Blog 512


I didn’t quite make the promised progress on the ’still life with daffodils’ this week. We have had MEN in, doing the guttering, facia boards and drainpipes for the last 3 weeks and it is amazing how disruptive I have found this. Tools and supplies and scaffolding were delivered and they all had to be stacked and stored. There was sawing and grinding and rasping and banging and hammering going on all day, not to mention the endless cups of tea and home-baked snacks that had to be provided!! The job has been well worth it though. It means no more maintenance for us in the future and it has added a pleasing line of definition all around the roof of our property.

Here’s the progress I managed to make. I sewed the base strip to the background and placed it onto wadding to quilt it first before adding any detail.


Quilted background


Although the background gives enough of a painterly effect, this is why I chose it after all, I felt I wanted to add more depth and this I did by trying out some sheer fabrics. At this stage it is just a whim and I may change my mind somewhere along the line!

 
Daffodils

 
Sheers

 
Sheers and daffodils


I decided I didn’t have sufficient daffodils so I cut out some more on my lap tray in front of the TV (it’s the log fire that makes me want to sit down in front of it and enjoy it!)  I used the reverse of the tray so that shapes didn’t slip about.  


More daffodils


And here is the log burner; isn’t it cosy.  Chivers (24) and Willow (16) know exactly where to sit, although in this instance Chivers has pinched Willow’s bed and he cares not a jot!!

 
That’s my bed!