Sunday, 14 July 2019

BLOG 452

Blog 452
 
I have made progress with the poppy thread picture this week. I placed it into a Pyrex bowl after trimming away some of the excess Solvy from around the edge. I poured boiling water over it and watched as it dissolved away. I changed the water a couple of times until the Solvy was all gone and then I placed the poppy motif onto kitchen roll and left it to dry naturally.


Trimmed


Boiling water


Drying
 
In the meantime, it is worth pointing out that I hate undoing lines of stitches; full stop! But I had to put right the basic error I had made with the scrap quilt (in progress since demonstrating the stitch and flip method at Gresford). So thinking of it as ‘reverse sewing’ changed my attitude towards the project and helped me get on with the job! And what was that basic error? Well, all you have to do is look at the two panels below and it is so obvious!! I can’t believe I made such a basic mistake! I was trying to join together 2 differently constructed blocks but, as one was narrower than the other, there was no way the seams were going line up. I will soon have a pile of strips again and I will work it all out on paper before progressing further. Lesson learned!


Scrap quilt


Reverse sewing
 
I needed another cushion front so decided to make one using my free-style technique of ‘painting’ with fabric. I love working freely in this way and, because all my fabrics are ready prepared with a fusible on the back, it requires little preparation on my part. It’s almost like doing a jigsaw and I just start and fill in to the required size on release paper letting the fabric lead the way. I have selected a rich maroon border and I will soon decide what flowers I am going to add to stand out from the background.


‘Painting’ free style


Completed
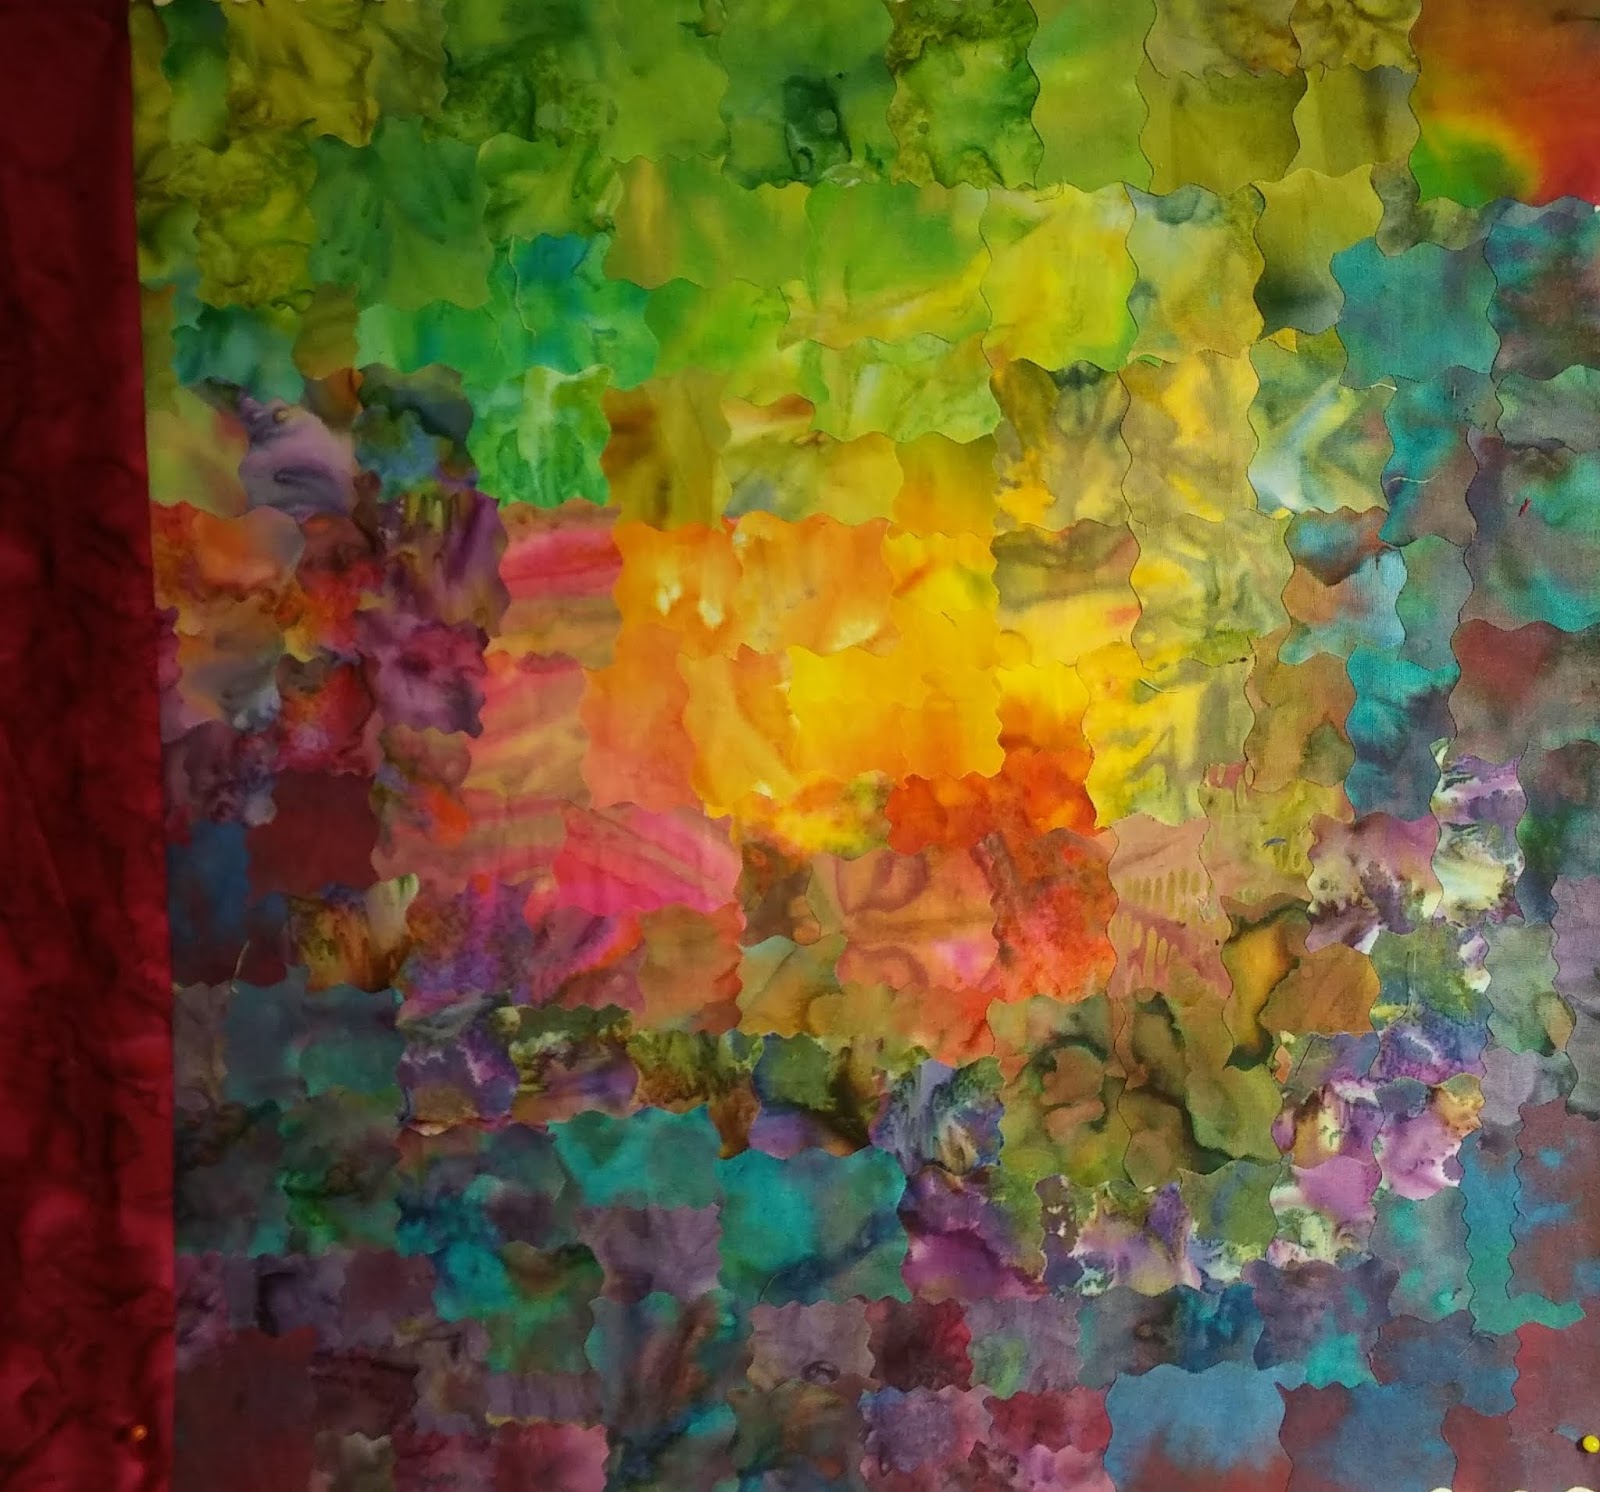


Potential border
 
For comparison I have included pictures of another approach to creating a background, this time using 1” background squares. It took ages to construct and wasn’t all that accurate. There is also the bulk of the seam allowances to contend with. I know which method I prefer but I will complete them both as a comparison.


Patchwork ‘painting’


Border fabric


Completed background
 
And just for the fun of it, I have made a box to hold a very different 70th birthday gift for a friend. He was messing about with a huge trifle at his early party last month. I took a quick succession of photographs and I think they should read as follows:-
1 Look what I found! 2 You don’t think I can do it do you? 3 Well I’m going to give it a damn good try! 4 Let’s get stuck in!!


70th Birthday gift


Sunday, 7 July 2019

BLOG 451

Blog 451
 
When I was demonstrating at the Gresford Show this year, there was a lot of interest in the floral wall hanging shown below. It represents a year in flowers and was created with sheers and threads, using solvable layers. Each flower was done separately in the way I have described below, before being joined together to make the complete wall hanging.


A Year in Flowers
 
I decided to hone up my skills with this technique again and start another series of flowers, beginning with a field poppy. Firstly I drew the flower onto one of the layers. I used a permanent marker knowing that this would disappear with the Solvy. I used 2 pieces of ‘Gutterman’s Solvy’ so I could trap some sheers in between the layers. These small pieces of transparent fabric add a bit of softness to the edges of the flowers and bleed the colour outwards.


Pattern and sheers


Progress


Flowers


Progress 1


Progress 2


Progress 3
 
This is now ready to be plunged into hot water to dissolve the layers. In the meantime I was asked to make a Taekwondo outfit for my granddaughter’s Mousie! It took most of the afternoon and doesn’t bear close inspections but I did it!!


Milly Mouse
 
I was sewing the poppy at Suzette’s last week and I am always interested in what others are doing around the table. Here’s a sneak preview.


          Peggy


   Pat


Suzette
 
Ad just for the record, this is the closest my cats have ever been to each other. They were on a windowsill at the farthest corner of the house escaping from the Labradors who were in residence! This is an example of safety in numbers.


           Cats


Sunday, 30 June 2019

BLOG 450

Blog 450
 
We had a bumper year at Gresford this year, our best yet. The total raised to date is £8815.77 and all of it will be going to our selected charities for the year. Most of the money was raised in the kitchen with all the delicious food on offer and this was closely followed by entry fees, with 1,094 people attending. It is worth all the effort when the results are this good. Next year will be out 40th year and this must make Val Shields very proud as she was the one who had the courage and foresight to launch this event all that time ago.
I mentioned last week that I was doing a scrap project on my machine, one sewn on a paper foundation using a ‘Stitch and Flip’ technique. It was something that I didn’t have to concentrate on and one which I could easily explain/stop/start when the need arose. Someone had given me a pile of plain paper rectangles, nothing special, but just something that I needed to use up (I generally use the lined refill paper pads for this method). Armed with a pile of scraps of different widths I showed people how to sew them in lines onto paper. The most asked question was ‘Why do you use paper?’ and the answer is for accuracy. All I needed to do was cover the paper with the strips and then, after pressing, I could turn it over and cut away the excess fabric around the edge of the paper. The secret of this method it to use a tiny perforating stitch on your sewing machine; one that doesn’t rip the paper as you are stitching but which later tears when it is tugged. Using this method means you don’t have to pre-cut the strips to size before sewing and, as long as you have one straight edge, you can’t go wrong! As the colours were bright, I chose black as a surround fabric. And that’s the story so far.
             Strips


           Stitch and flip
 
 
            Black insert
 
Here are some of my exhibits. It was good to see some old friends again, brought down from boxes in the loft, and to exhibit some of my more recent work.


           Open Gate (and screen)
 

            ‘Sept 12th Tell Mother I’m OK’ (Recording the reactions in the press to the 9/11 atrocities)


         Pos/Neg Jacobean (2 quilts from one pattern)
 

           Altar rail (Signature quilt, ‘Flower pots with cat’ and Liberty Stars)


           Dolphins (2-fabric interpretation one of my doodles)


             Archway to Hollyhocks
 

             Arched windows (The same pattern reversed. With black: hand reverse applique; with cream: machine applique)


            Prancing horse


          Cats in the Sampler
 

           Archway to Hanging Baskets (Sunshine and Shadow crazy quilt and fabric labels)


          A Sampler in the Cabin (Miniature sampler quilt constructed with Liberty fabrics using a log cabin technique)