Sunday 29 January 2012

BLOG 87


Before I forget, I must remind local readers that Quiltfest (http://www.quiltfest.org.uk/)
is going to be held in Llangollen from February 1st – 12th. The guest quilter is
Ferret with her exhibition ‘Here Be Dragons’ staged in the International Pavilion.
In the museum, Magie Relph is showing her exhibition ‘Bucketful of Fabrics’
from 1st – 12th. I will follow Magie in the museum with my
‘Through the Garden Gate’ quilts from 13th February to March 7th.
The popular trading day is 12th February. Be there!

I have been creative this week, working on a river scene. After making the
Bluetit quilt a couple of weeks ago (it has yet to be quilted), I thought I
would like to step outside of the rigid discipline of making 3 ½” background
blocks. I decided instead to build up a picture using horizontal strips, just
to see how it looked. The starting point is the same as I have described
before, with a roughly drawn plan on baking parchment. I then trace the
features, in this case the rocks and foliage, onto a second piece of parchment
and work them independently. The picture shows the rocks in situ and the water
‘painted’.


Riverscape

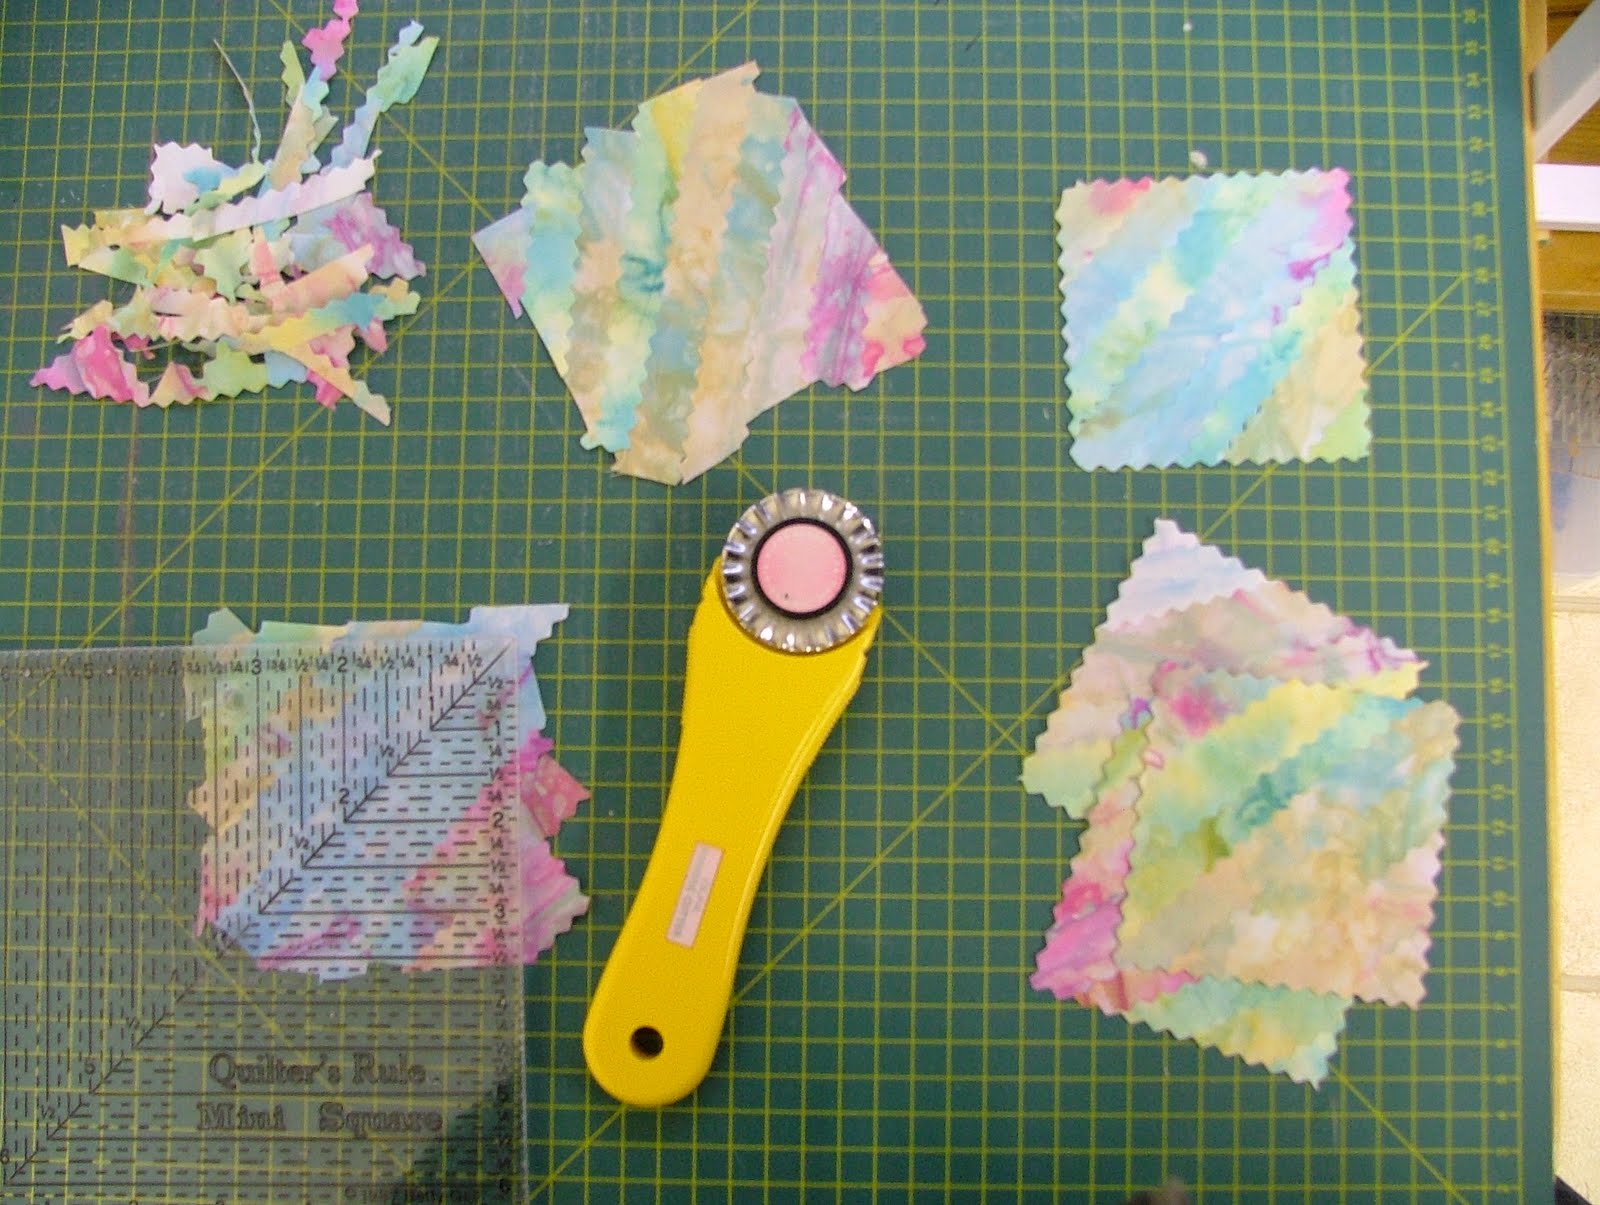
I audition fabrics as I go along, and take pictures at each stage. This way I get
a good impression of how a fabric will fit in with the surrounding features
before I invest time in using it. Here I am considering whether I want a dark
or light horizon.


Auditioning fabrics

I chose the lighter version
and this is the story so far, with only the foliage to go. The machine quilting
is quietly piling up now so I will need to have a few sessions on that discipline
before too long.


Work in progress

The other project that has
been developed during the January sewing session at the Gresford craft group is
the log cabin bag, last mentioned in Blog 78, before Christmas got in the way.

The quilted sections are
ready to be joined together and the best way to illustrate this is with a
diagram. Lay the sections out and sew the base of the bag as shown below. Stop
sewing ¼” from the outer edge with a back stitch; this allows for the seam to
be manipulated at the corners in order to sew up the sides.


Bag construction

Once the base has been secured,
sew up sides A, B C and D in sequence.


Sewing the Base

The lining is sewn in the
same way, using the template pictured in Blog 73. I will complete this project
next week.

Just a thought: Here I am, feeling like Dilly no-mates! There are 13 regular followers
of my blog and they have been ‘registered’ for some time. Now I know from
meeting other quilters that there are many more of you out there who drop in from
time to time. It has always been very specific to my quilting exploits and I am
happy to answer questions that arise from it. All I am asking is that more of
you register as followers so I feel as though I’m not talking to myself every
week!

Sunday 22 January 2012

BLOG 86


This week I am going to share close-up images of our prize winning Meer Kats hanging.
It is home at last and this is the first time I have been able to take detailed pictures. I hope you enjoy them. Here are the mini quilts first:


And now for the Meer Kats:

Sunday 15 January 2012

BLOG 85


This week I have continued to work on the Blue tit wall hanging. I completed the surrounding background first of all, with the aim of getting a smooth and gradual transition from one colour
to another. The colours add depth and interest.

Background

The branch is traced onto baking parchment and worked independently with overlapped horizontal strips. It is then cut to shape.


Branch

I use the second tracing of the bird to build up the plumage. I cut free-form shapes with pinking shears and overlap them slightly on the backing parchment. I iron them gently to stick the pieces together as I go. It is still possible to lift the pieces at this stage if I want to move them to another position.


Plumage


Detail

It is still a very chaotic
process at this stage, with fabric strewn everywhere and tools and
inspirational pictures to hand.


Work in progress

When I am happy with my efforts, I iron the fabric well to fuse all the pieces securely together. Then the bird is peeled off the baking parchment in one piece and it is ready to stick
onto the background when the squares have been fused.


Completed bird

I audition the bird against the background to see how it looks. At this stage I am happy with the results and I now need to prepare the background in order to complete the picture. I draw
a 3” grid of staggered squares onto backing parchment and use this to position
and overlap the squares slightly in straight lines. Then they are fused with an
iron to make the vertical lines. The same grid allows me to fuse the lines together
to construct the background. The bird is dropped on top and any spaces are in-filled
with scraps of colour. The only thing I would like to alter is the tail which I think ought to be darker to stand out
against the foliage.


Positioning

Sunday 8 January 2012

BLOG 84

After a hectic Christmas and New Year, I have had the luxury
of a quiet week and I have spent a lot of quality time in my workroom. I could
hardly call it a studio, that would sound pretentious and I don’t take myself
that seriously! It is actually a workspace in a converted section of the garage
and therefore separate from the house. As such, it doesn’t have any built-in
heating system and so I have to plan well in advance when I am going to enter
this ice box, so I can heat the space in advance. That said, the weather is
mild at present and, if I enter on the crest of a power surge, it is a pleasure
to be in there!

I have made a concentrated effort on a new project this
week. I have been invited to submit a quilt for a group exhibition on the theme
‘Something borrowed; Something blue’. You can see the obvious reference here,
it being the year of the Diamond Jubilee. Obtusely, my design thoughts have
veered well away from an obvious interpretation and I have decided to do a
picture of a Bluetit; a visual delight borrowed from nature and a bit blue in
colour. (It’ll be different, that’s for sure!)

Last week I demonstrated how I fused a collection of
painterly fabrics in preparation for a project. This week I am going to outline
the first step of my method, where I use the fabrics to paint the surrounding
background first.

Background grid

On baking parchment (or on the paper removed from the back
of the fusible web if it is large enough), I draw a grid of 3” squares. These
squares are staggered on the vertical, so that the join on one line is midway
between the joins on adjacent lines.
I devised this staggered square method to construct the water colour gardens for my series of
wrought iron gate quilts. It makes the joins less obvious and gives a softer
transition from one square to another.

Outline of image

On top of the grid I draw an image or pattern of what I want
to ‘paint’ with fabric, in this case a rather formal Bluetit. During the summer
months, this will eventually replace my puffed up Christmas Robin wall hanging
on the kitchen wall.

Robin

As this is my second wall hanging on the subject of birds, it can loosely be called a series (who
knows if I will make more; I certainly don’t!)! Artists, of whatever
discipline, are generally encouraged to create work in a series so that they
can effortlessly explore and develop a technique, a method or an idea to its
fullest extent, and wrestle with and solve any design problems.

Second tracing

I make a second tracing of the bird so I can ‘paint’ this
independently of the background.

Background squares

Using some of the prepared fused fabrics, I start to
construct the background surrounding the bird. I use 2 or 3 fabrics that blend
and I try to reproduce brush strokes with strips cut using a pinked rotary
cutter blade. In this project, the squares are cut at 3 ¼” and pinned in place
onto the prepared grid.

Squares on the grid

More squares

I will develop this further next time. Have a good week.

Tuesday 3 January 2012

BLOG 83

Happy New Year to one and all. I hope it is all that you
would wish for yourself. It took us all day yesterday to take down, label and
pack away all the Christmas paraphernalia and, whilst the house looks very bare
even with my utility quilts draped around, it is good to be the other side of
the occasion. I make no resolutions so I cannot fail. I have no aspirations, so
I can’t be disappointed. All I want is to be healthy and happy and to be
allowed to play!

Talking of playing, I have had a good clean out of my studio.
The design wall is empty creating a blank canvas. The waste bin is also empty,
like an open mouth ready for the many scraps coming its way.


Blank canvas

Empty bin

When tidying, I retrieved fabric from samples and projects
that I didn’t want to finish. All the painterly bits have been overlapped onto
a fusible web and ironed, to transfer the fusible onto the WS of the fabric.


Fused fabric back

It is important to overlap the fabrics around the edges and alongside
one another, so that no fusible gets onto the iron or onto the ironing surface.
Iron from both sides but spend more time working firmly against the paper on
the back, particularly around the edges. This ensures that the fusible is
transferred thoroughly. Allow to cool.


Fused fabric front

Carefully pull the paper from the back so that it can be used
again for designing or construction fused shapes. (My roll of fusible is 36”
wide so it is great for constructing my wall hangings.)


Removing the paper

Pull the the fabrics apart; they will naturally rip along the
joins without harming the fusible. The fabric is now ready for trimming and it
is easy to see where the fusible has been added.


Ready for trimming

I used a rotary cutter with a pinked blade to trim away any unfused
fabric. The fabrics are now ready to
cut and use but as I don’t know yet what I am going to create, I have stored
them in plastic sleeves.


Ready to go


It is so good to
be up and running again!