Sunday 21 December 2014

BLOG 228


It’s that time of year again, the time when I look back over what I have achieved during the past 12 months. All around me people are saying ‘I don’t know where the time has gone since last Christmas’ but I do, because I have a blog to prove it. I can look back on it to confirm that I have been creative and productive and that is where a blog is worth its weight in gold. Whenever I come to the grey face of the computer, habitually on a Sunday morning, I sometimes start by thinking of blogging as a chore but, once I get going, I start to enjoy seeing what I have done during the week. It is second nature to me now to take pictures as I work and these pictures are the basis of my visual blog. I hope you have enjoyed visiting throughout 2014, I’d love to hear your comments. Without further delay though, for your (and my) delight and delectation, here is a summary of my year.

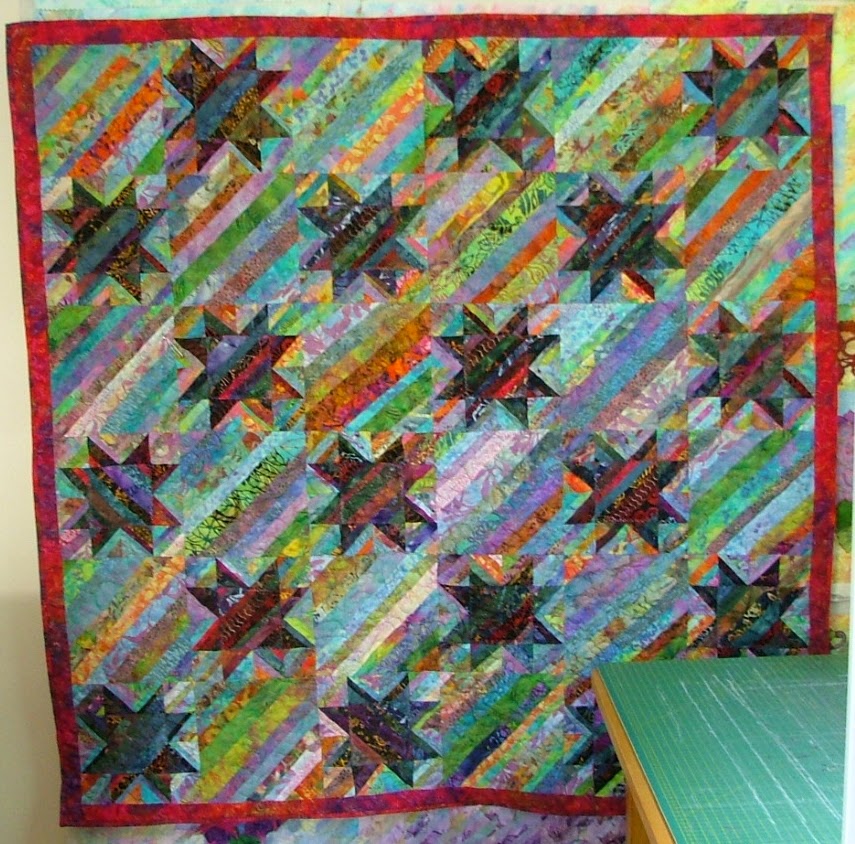
                         Scrappy Trip round the World

                                               String Stars

                                            Faux chenille

           Jacobean hanging

                                               Cat mats

                            Stained glass 1

                            Stained glass 2

                                       Projects for sale

                                              Macie’s box

                                        Tooth fairy cushion

                                                  Q4Quilters

                                            Red Equus

                           Birthday tweets

                                  Soldered sheers

                                        Soldered felt

                               Lady of the Lake quilt

                              Region 13

                                                  Clematis cover

                                   Poppies

                                 Autumn diary

                                               Sheep

                                             Poppies

                        Finished unfinished

                                     Disappearing 4-patch

                                       Richard Box workshop

                                              Felted panel

 
And all that remains is for me to wish you all a happy Christmas and don’t forget to follow your New Year star to wherever it leads you. Dilys x


Sunday 14 December 2014

BLOG 227


It’s that time of the year again when the colours red and green become the focus of attention. As complementary colours, they are just right together and, because I have invested time and effort into red and green quilts, they will be the only colours of my Christmas.

I am still making gifts for those who I know will appreciate them. One of the projects going around at the moment is fabric wreaths made by tying strips onto a metal ring; no skill required! The metal rings are cheaply available from a florist shop and the project is great for using up stashes of Xmas fabric. I have a load of Xmas strips left over from other projects so they require little preparation from me. All you need is a pile of strips 1” x 6”; I just happen to be using mainly red and gold strips with clusters of green and multi-coloured fabric  and a touch of hessian.


                                         Ring and strips

 Here is the wreath in progress, it probably took half an hour to iron and cut fabrics and do the tying this far. It’s quite fiddly and best done when there is something interesting on the telly!

                                           Progress

                                        Wreath detail

 This week I was presented with my new Husqvana Opel 67- sewing machine. Here I am with Russell the shop owner and Hayley the rep for Husqvana. The machine is partially hidden by the quilt but it came home with me and that’s all that matters!!

                                         Presentation


And here it is with work in progress. The first thing I am doing is to make a book of stitches with their reference numbers. With past machines I have done the same and it is an excellent resource which saves me masses of time trying to find a stitch at random. There are 200 stitches listed for this machine and it’s a sad thought really that I will probably only use about half a dozen of them regularly.

                                             Book of stitches

 I can’t tell you how much fun I have had with the soldering iron, burning the patterns and holes on this wall hanging. I was supposed to use a heat gun to melt the felt between the rectangles but it proved impossible, it just wasn’t hot enough. So I burned them away instead with the soldering iron and I sculpted the edge in the same way. I need to do more of this!!

                                    Wall hanging

                                               Detail 1

                                             Detail 2
 

It will take us a while to put up Christmas but in the meantime here is the dresser. Enjoy the run up to Christmas, it will be soon over!

                                 Dressed dresser


Sunday 7 December 2014

BLOG 226


Two more felted strips have been completed as book covers for gifts this week. One is large to take a page-a-week diary and the other is smaller to take a notebook.

 
                                                         Diary cover

                                             Notebook cover
 

The felted wall hanging has been hung in the restless room and here it is in situ. All I need now to complete the refurb is the new quilt which is being quilted-by-chequebook as I speak! It is much lighter than the quilt on the bed at the moment and I think that the blues will tone well with the wall hanging. I won’t know for definite until I see them together but in my mind’s eye I have a good idea of what to expect.

                                            Wall hanging
 

More progress has been made his week on the wall hanging I will be submitting for the exhibition in the Llangollen Quiltfest in February next year. All members in Region 13 of the Quilters’ Guild have been invited to submit an entry on the theme ‘.. I like Region 13 because …’ Whilst not an inspiring theme, there is certainly a lot of scope for interpretation. I have made a map of the region as a backdrop in my painterly style.

                               Region 13


And before there are howls of protest, here’s another with the Isle of Man

                   Region 13 complete

 My idea for this challenge is to highlight the diversity of quilting in our region (or any region for that matter) and to do that, I am making lots of different labels to hang around the edges of the map. Here’s one I made earlier using decorative stitchery. I made a template the size of a typical label and sewed a thread picture onto dyed fabric. Here’s the sequence.

                                       Thread picture

                               First edging stitches

      
                        Completed label

                              Colourwash

                       Crazy patchwork

                    Machine quilting


I am just hoping now that we will get snowed in so that I have the best of excuses to slope off into my creative world. That said though, I am being presented with my new sewing machine on Wednesday so perhaps snow isn’t a good idea after all!

Sunday 30 November 2014

BLOG 225


Just for the record, the ‘birthday tweets’ bird was very well received. It made her laugh out loud and I’m sure she will treasure it (you just know who to make special things for, don’t you?). And what have I been up to this week? Getting on with whatever’s at the top of the pile. I am aiming to completed projects that have been hanging about for a while, adopting a ‘new year, clean slate’ type of mentality. Having said this out loud, well in my blog at least, it will focus my mind and motivate me. I always seem to need a challenge of sorts and I’m always more productive working to a deadline!

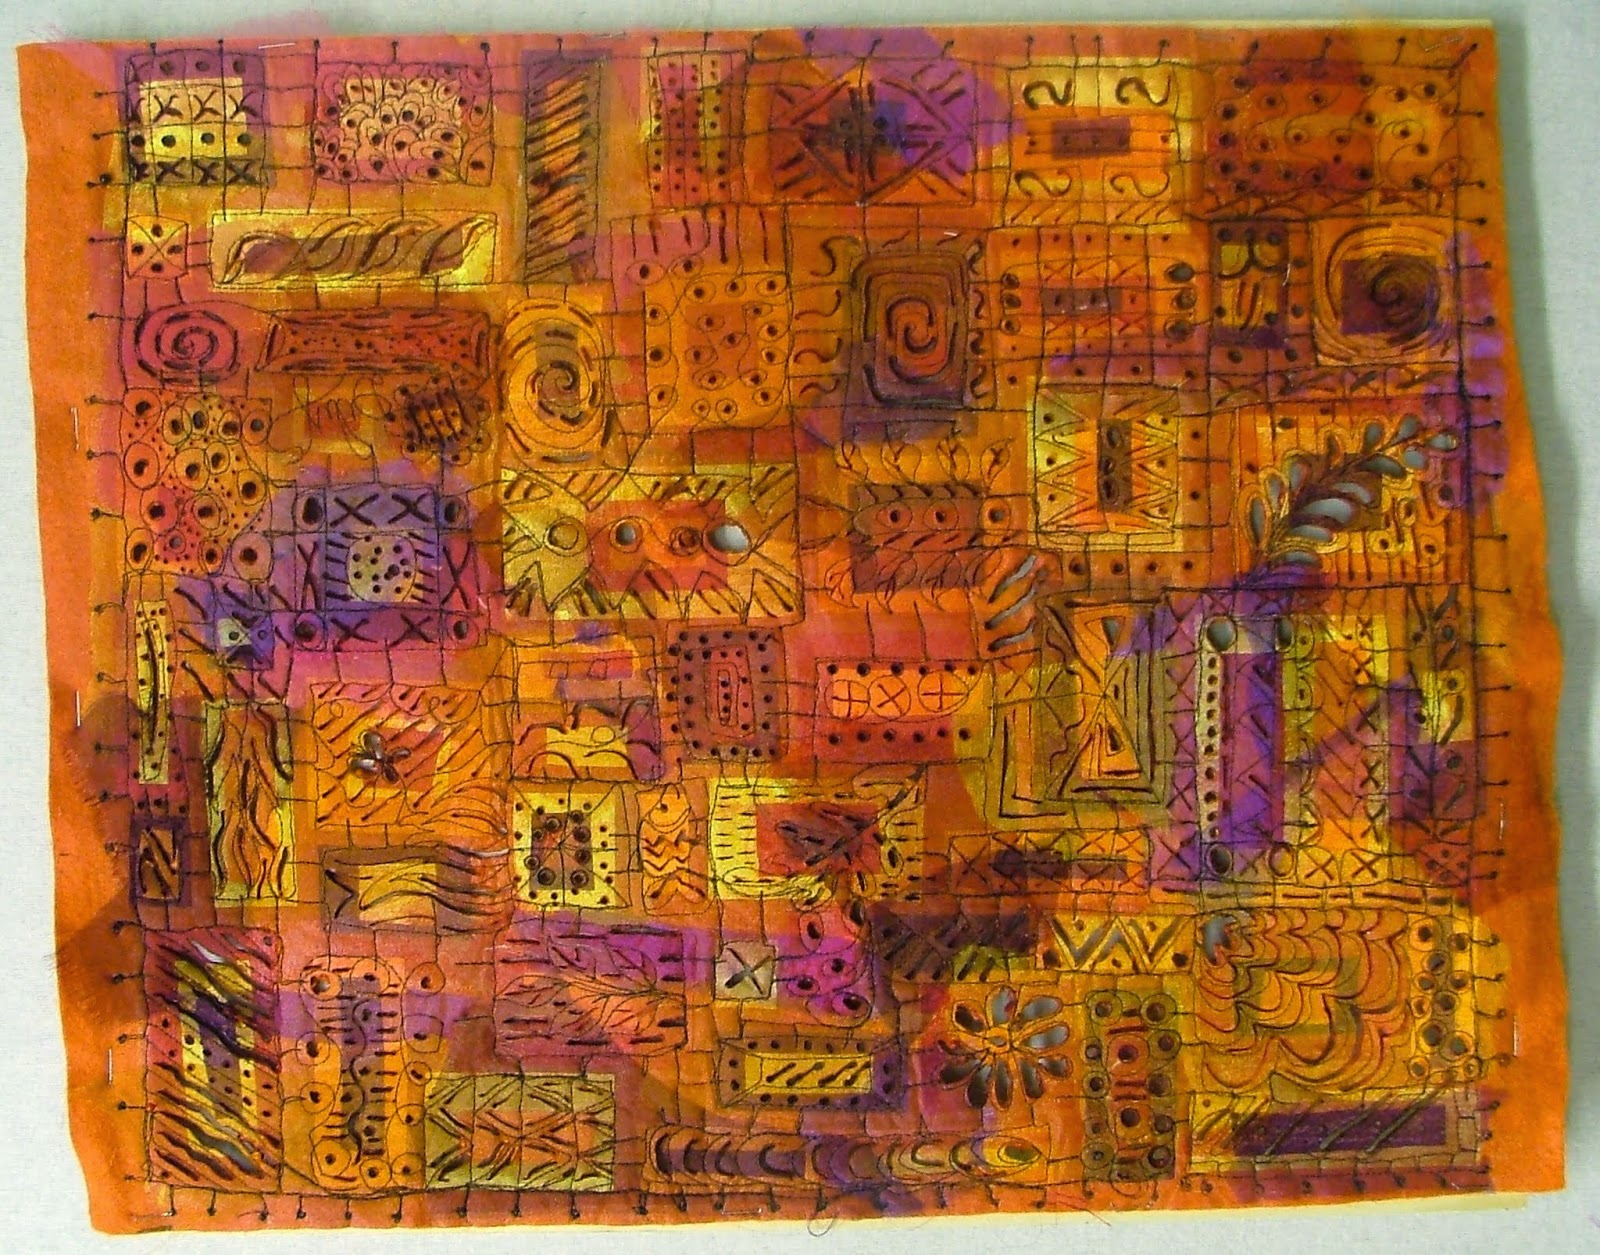
First to progress was the Susan Lenz piece. I have been waiting for good weather to do the soldering outside but, as that hasn’t happened when I have been free to do it, I decided to do it in my studio anyway. With a mask over my nose (which fogged up my glasses) and a fan blowing across my work (which tended to cool the soldering iron) I battled on and this is what it looks like now. I have had great fun doing this; being creative and imaginative with my sewn patterns initially has given me shapes within shapes to burn. I just hope it all works out in the end!


                                          Soldered hanging

                                                 Detail 1

                                                  Detail 2

                                                             Detail 3

                                                Detail 4


The next stage is to use a heat gun to burn away some of the underlying felt to create a lacy effect between the shapes. I have ordered one now and it should be with me by the middle of the week. Fingers crossed that it does what it is supposed to do.

My next project was a small covered notebook in felt for another of my Gresford friends; poppies again by request. ASIDE: My friend is in London at the moment (Nov 30th), making the journey to see Remembrance poppies at the Tower of London. She didn’t see one poppy! All she saw was a muddy trench with wheel barrows, and volunteers on their hands and knees picking up coins which people had thrown into the display, breaking some of the poppies in the process. Just why do people feel the need do that?)

                                               Felted cover

 Over the weekend I have been trying to finish the felted wall hanging that will hang in the restless room. I chose a busy backing fabric that reflected the colours on the front and I chose to do the turn-through method so that I could sew all the way round the hanging and not have to close part of the seam afterwards. (I have described this method many times in past blogs, so I won’t go into detail again.)


                                      Turn through method
 

I always do 3 diagonal stitches across the corner and remove the excess fabric to give a good shape. A blunt tool helps with the shape too.

                                      Blunt tool for corners

 
One of the last things I do is to sign my work and date it. I am thrilled with this piece of work and it was through the process of making a dozen book covers to trial different methods that I came up with a way of working that was comfortable for me. I love it! Next week I will show it in situ and explain how I got it to hang close to the wall.


                                                     Signed