Sunday 30 October 2016

BLOG 321


BLOG 321
 Just back from the grand-children’s’ Hallowe’en party (note to self: remember to remove your green make-up and wipe the spider’s web from your face!) The little ones get so excited about these occasional family parties, with food, games and the tricks or treats. As a family, we have always enjoyed such get-togethers with lots of silliness and fun. It’s great to see that it continues.

It is more of the same this week, with good progress being made on the Corner Log Cabin quilt. All the blocks have now been quilted. Phew!

             Quilted

The 4 smaller corner triangles were quilted as 2 squares. The reason for this is that the straight grain of fabric at the corners needs to be on the 2 shorter sides. You may be able to see the quilting lines, 2” apart, in black thread going diagonally from NE to SW.

             Black thread

Each square was divided on the opposite diagonal to the quilting lines to create 2 triangles which were eventually trimmed, using a triangular ruler, to the exact size I wanted.

 
                Diagonal cut

This is how each corner triangle will appear in the quilt.

             Corner triangle

The larger triangles around the outside edge were cut separately, with the straight grain of fabric running along the long edge of the triangle. I marked the lines with a grey Berol pencil which was just visible against the busy fabric. The exaggerated size of the triangles for quilting meant that there was plenty to trim off to give me the exact size. The long edge was trimmed first to give me a good straight edge for placing the triangular ruler.

           Ready for quilting

             Trimmed long edge

              Completed triangle

            Triangle in situ

              Completed pieces

I just need to construct the quilt now and that is a good job for these darker evenings now that the growing season is over. The garden is glorious after the long, dry and often sunny days that we have enjoyed this month. Here’s some autumnal garden cheer!
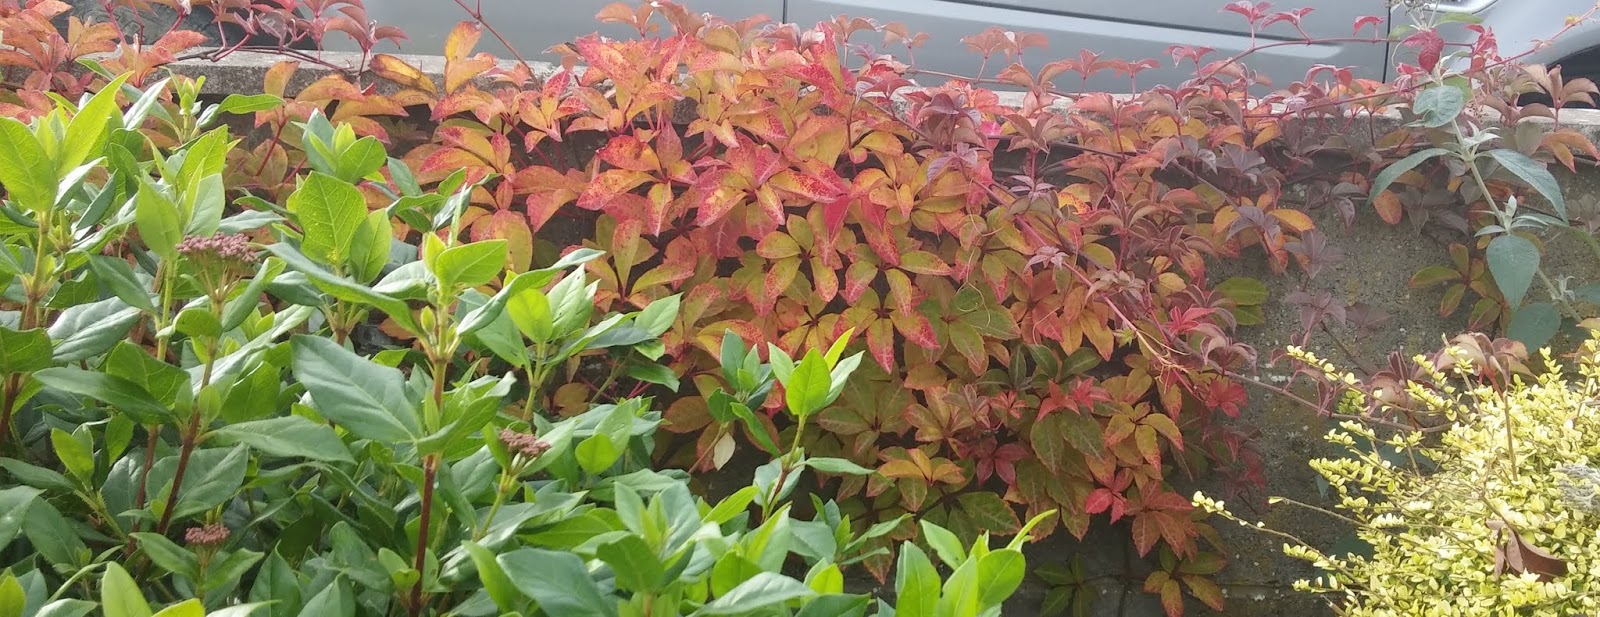
             Autumn 1

            Autumn 2

              Autumn 3

           Autumn 4

           Autumn 5

            Autumn 6

Sunday 23 October 2016

BLOG 320


BLOG 320
As autumn has quietly progressed this week, so has the Corner Log Cabin quilt. I really have my mind well into this project now and I want to see it nearing completion. This is a very special quilt to me as I am using fabrics from a collection that spans some 30 years. Many are left over from my ‘Garden Gate’ series of quilts and you just can’t get fabrics like this anymore. They come from an era when the value (ie the lightness and darkness) of the fabric was used in a popular technique called ’Colourwash’; the busier the fabrics the better the wash. These days, fabrics are sold as collections by the fabric manufacturers.  They are printed in batches from the same range of colours; they have a variety of different sized prints, shades, tints and tones, and they are designed to coordinate. This is great for those setting out on their quilting journey but, in my humble opinion, nothing gives the rich depth of a scrap quilt better than an aging stash!

              Litter bin

 The litter bin tells all and spills the beans about what I have been doing. Each Log Cabin block had to be trimmed to 9 ¼” and I couldn’t do this accurately without a large square ruler; they are brilliant for the job. Once I had squared up one corner, I rotated the block and lined up the ruler with the appropriate marked line. All I needed to do then was to trim the remaining edges. There should be no joining of blocks until they are all the same size.

             Square ruler

              Re-sizing


I placed them beside the machine ready to join together. Unfortunately, I have quilted as many blocks as I can at this stage as I am waiting for more variegated thread to arrive.

               In Progress

               Design wall

And, if you are a regular visitor to this blog, you will know my theory that wadding is magnetic to cats! Here’s the proof and it’s not even a quilt yet.

                Animal magnetism

I also managed to quilt a Linus quilt this week. The technique is called ‘Vanishing 4-patch and it has been hanging about for some time. By tonight, it will be bound in front of the fire and Poldark (… if I can concentrate!)!

                 Linus quilt

                 Detail

And finally, I was asked by my daughter and granddaughters to help with some mermaids for a village scarecrow competition. When I was asked had I got any fabric suitable for hair? …. my stash came into its own again! They drew the faces, I sewed on the hair and shaped the tails and my daughter did the rest. I will show a picture of the completed tableau next week.

                Mermaids


Sunday 16 October 2016

BLOG 319


BLOG 319

I have had a garden week this week whilst the weather is still fairly good. A couple of years ago I planted a Rose of Sharon (Hypericum) and it has proved itself to be a total thug in the border. So I have waged war on it and attempted to remove it. This was a hard battle and judging from the invasive root system, it’s not over yet! Now at least the shrubs trying to bed down with it will have some space to flourish.  To balance this strenuous digging, I have indulged myself by sitting in front of the sewing machine making good progress on two particular projects.

One of the table runners has now been covered in a layer of colourful sheers and is well on its way to being complete for Xmas. This is such a joy to work on because it satisfies the need in me to work with colour!

             Sheers 1

            Sheers 2

            Sheers 3

Not only have I added the sheers, I have also made a start on the intensive stitchery in black thread. This has to be done during the day when the light is good and in short doses so that I maintain a good level of concentration!

          Thread work 1

            Thread work 2

            Thread work 3

On completing the stitchery, the rest of the detail will be added with the soldering iron. The mark-making will alter the surface and add more decoration. I just love it!

            Stitched runner

Nights are drawing in now so I spend more early evening time in the loft room with my sewing machine. It’s very easy to find something to do especially if it is beside the machine, pinned up and ready to go. This is now the case with the corner log cabin blocks. I decided to quilt along each seamline with a free-motion stitch, using a leaf and stem pattern. It is one of my favourite patterns so it is easy for me to do and makes the process very quick.

             Quilted block

As well as deciding on a quilting design, I needed to make a decision on how to join the blocks together so I pinned some on my design wall to get an impression of what they would look like when they are together.

            Block setting

I tried strips of black fabric in between the blocks to see how they looked and I liked the strong definition that resulted. All the blocks will be quilted before being joined together with these black strips, a quilt-as-you-go method I have used many times before. This is a good autumn project!

 
               Joining strips


Sunday 9 October 2016

BLOG 318


BLOG 318 

The Harvest Festival and Quilt exhibition is behind us now. The small church was crammed full of colour from flowers and fabric and we took the quilts down late this afternoon when the exhibition closed. I missed the Saturday of our exhibition because I was at the Quilters’ Guild Regional day at Frodsham. There were 2 very good speakers. The first, Judy Fairless, talked about her journal quilts which were part of the Contemporary quilt group challenge. They were many and varied but for me the sketchbooks that went with them were brilliant! Stewart Hillard was the afternoon speaker. He talked about his quilts and his time on the BBC’s Sewing Bee. He was very eloquent and regaled us with story after story, name-dropping with impunity! He used his ‘campness’ to excellent effect as he kept us entertained for nearly 1 ½. A brilliant day all round!

               Stewart and quilt 1

              Stewart and quilt 2

In my work room I have been working on the final layer of the table runners. Pieces of synthetic voiles and chiffons have been placed along the entire surface, held in place by the layer of a painted fusible.  So the layers that make up the runner are felt, fusible, satins, painted fusible and voiles (a much simplified version of the Susan Lenz method). Now it is time for the decorative stitching with black cotton thread and that is what will take the time.

           Voiles 1

              Voiles 2

                Voiles 3


And here are some images of our exhibition for you to enjoy.

           Harvest altar display

           View down the church

               Modern squares and ancient log cabin

              Flying Geese and Signature quilt

            9-patch and Briar Rose medallion

             Scrap quilt

             Harvest window

            Calendar quilt and Garden Gate

           Cake Stand jewel quilt

A large and important part of this exhibition was the enthusiastic sewing done by the children at the village primary school. The hangings were designed specifically to hang off the ends of the pews. A few of us went into the school, and after a talk about patchwork, we started to work with smaller groups of children. The older children had resource material to look at and they were asked to compose an A4 design in portrait style. They traced or drew what appealed to them before transferring the images onto a fusible and from thence onto batik fabric which they cut out and ironed onto a background. The adults helped with the ironing and the finishing. The pictures were placed onto felt (the remnants of curtain lining removed from a large local school!!) and the children were then allowed and encouraged to do some sewing through the layers. The younger children drew autumn pictures with a patchwork surround using transfer crayons and their designs were ironed onto the calico and finished. The nursery children used stamps to make a small hanging which will hang in school. It was a brilliant effort all round and so much enthusiasm was put into the sewing!

           2 Child quilts

          Child’s quilt detail