Sunday 29 July 2018

BLOG 406

BLOG 406
Tessa’s wall hanging is in the process of being bound; the rug making continues at a snail’s pace; I need more light fabrics to proceed with the current scrap quilt and so I obviously need to start something new! In a bid to use up more of my fabric … and that is what this year is all about! …. I pulled out the drawer of Liberty fabrics. Much of this has been amassed over the years and some has been donated so I think it is about time to make use of it and then pass on what I don’t need to someone else to enjoy.
 

               Liberty collection
 
I have obviously had a few false starts with Liberty projects judging by what came out of the same drawer. (I usually keep stuffing fabric into the small spaces in drawers so it always amazes me how fabric rises like bread when freed from the constrictions of space. It seems to expand as though it is breathing!)  There were a couple of squares, one dark and the other light, possibly the start (and stop) of a string quilt! There was a sample of a needle case, many of which I have made as gifts in the past. I came across a value strip (light through to dark and back again) and of course the mini Liberty sampler quilt (which still isn’t quilted I’m ashamed to say!). 


            Strip work


            Pin cushion


           Value sequence


            Sampler
 
I believe that most scrap quilts start on the ironing board. So as I am sorting through the fabric and pressing it ready for cutting, I am starting to sift through ideas of how I can use it. I have to say that the value strip has made an impression on my mind so perhaps I will use that concept to create something; Liberty fabrics are fabulous for blending in this way. So 3 ½” squares seem like a good idea and as I cut them from the array of fabrics I placed them in a value sequence. Some fabrics are off-cuts; others are sizeable chunks so, as yet, I don’t know what I have to play with. Once pressed, a straight edge is cut, then 3 ½” strips, then squares.


             Ironing board


             Pressed


              Off cut
 
 
           Straight edge


            Squares


           Short sequence


 Longer sequence


Sunday 22 July 2018

BLOG 405

BLOG 405
 HALF SQUARE TRIANGLE SCRAP QUILT
 
I have made considerable progress on the squares for this quilt now. In fact I have used up all my light squares and may need to find more light fabrics (!!!!) so I can use up all the dark squares that I have cut! They have all been trimmed accurately now to 4 ½” squares and this is where the fun begins by starting to explore how I can use them. I have been trailing different blocks and placements on my design wall but as yet I haven’t made a decision on how I will proceed. There’s plenty of time for that!

              I Star


                 2 Stars


              Checker board


              Flying geese


                 Square within a square


            9-patch


               Square on point


                Zigzags


               Positive and negative


              Twisted border
 
SWEETIE JAR RAG RUG


I have also been making steady progress on the rag rug too. I am using the small pieces of Bali’s and Batiks which I have stuffed into a sweetie jar over the years. I am actually cutting out and using off-cuts of off-cuts!! And there is so little wastage! That said, when I started to delve into the jars, I noticed that there were large chunks and strips of fabric that I had stuffed in there for ‘out-of –sight-out-of-mind’ reasons!! I think they may be used to start another scrap quilt, here we go again!
              Chunks of fabric


            Wastage
 

                  Progress
 
I am thrilled to report that I have put together Tessa’s block. Because of the method of construction through pelmet Vilene, they are really not suitable for a quilt so they are to be used as a wall hanging behind their bed. I have joined the 3 ½” squares together as 9-patches and then joined the 9-patches together using a colourful fabric cut at 1”, just sufficient to pull the edges together. There’s a bit more work to do on this yet but rest assured that we all love it!


              Joining strips


            Wall hanging


Monday 16 July 2018

BLOG 404


Blog 404
 
There is an extra-special excuse for the late blog this weekend. The granddaughters!!


           Granddaughters 


This week I have been continuing to cut my fabric up into 5” squares and sew them into half square triangles. I have now given away the remaining cotton fabrics to my local craft group so I can’t look at them anymore and feel guilty for not using them!  This has been a very cathartic process and something I have needed to do for years. The remainder of fabrics suitable for creating gardens will be donated to my Polish friends who are making backgrounds to go behind wrought iron gates. And after this massive clear-out, I will eventually be able to do what I love to do and that is work with Batiks, Bali’s and colour.

There are 5 distinct stages in the preparation of the squares for this scrap quilt. It is naturally a repetitive process and all about sitting at the sewing machine and applying onesself. If I have half an hour to fill, I can do any one of the stages as I have several pieces at every stage, a bit like a conveyor belt!


           1 Sewing 


           2 Pressing 


           3 Separating 


            4 Pressing 


             5 Squaring off 

Another long term project I have started is a small rag rug. I have created one before for a family bathroom and it still looks as good now as when I made it. Such a rug provides a warm place to stand instead of on cold bathroom tiles and all it needs is a periodic shake outside to refresh it. This one will be for an ensuite bathroom. And the reason for starting one (and there usually is a very good reason)? When I investigated my sweetie jars of batiks, I discovered masses of strips and scraps that could hardly be used for making a larger piece of work. So I am cutting them into ¾” strips by 1 ½” length. It is painstaking cutting and not for the faint-hearted but I personally get a buzz from creating something out of practically nothing. This is recycling at its best and all you need it a piece of sacking, a pointed gripping tool (I don’t know what it is called but I loaned it from a friend who’s grandmother used to used it) and fabric …. Oh and a lot of patience! No knotting is involved. One end of the strip is pulled down and up through two holes in the sacking (so that both ends are free on the topside and the backside shows a stitch). So far I have marked a grid with a dark fabric, and I am just going to fill them in with lights and darks.


              Sweetie jars 


First attempt


            Requirements 


             Progress 


Sunday 8 July 2018

BLOG 403

BLOG 403
 
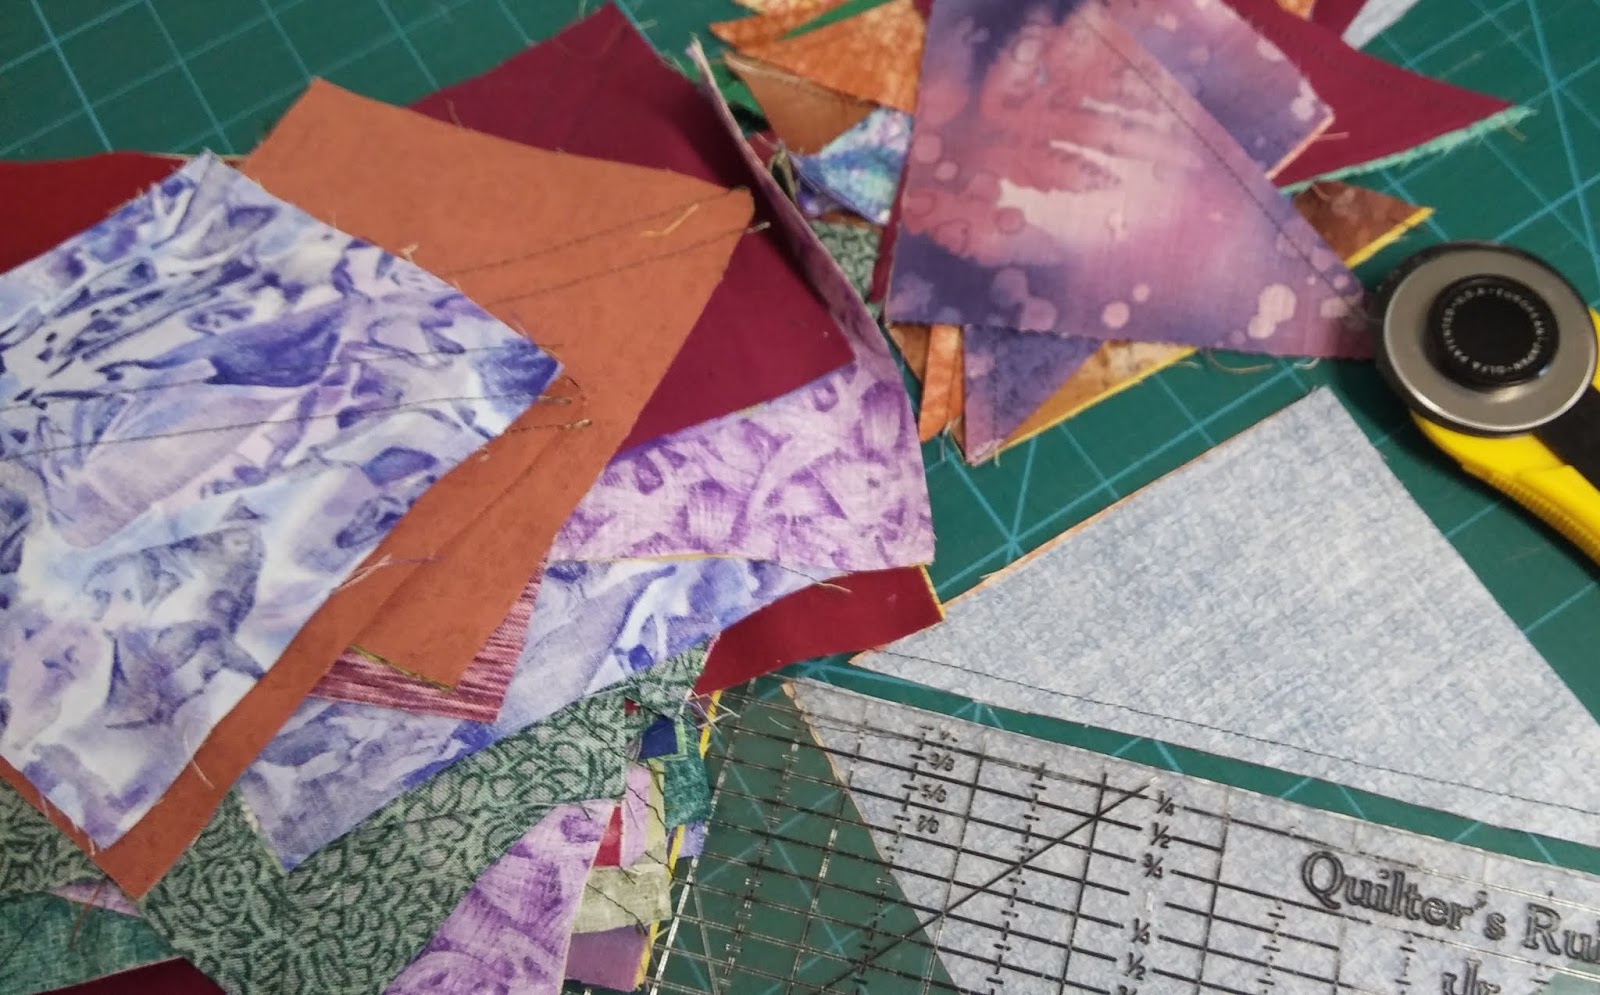
When I feel like it, I cut a few more 5” squares to make more half-square triangles for the current scrap quilt. This exercise is really a way of getting the most out of my remaining scrap fabrics and clearing the rest out as give-aways so I can draw a line under them.  The more observant of you may have noticed that there are no florals in this quilt but perhaps you may recall that last year I made 2 quilts with my remaining floral fabrics, a crazy quilt and a corner log cabin. This particular patchwork square is very versatile and there are lots of combinations of settings, just as in the lights and darks of the log cabin design.
 
              Scrap squares
 

                More squares


             Different setting
 
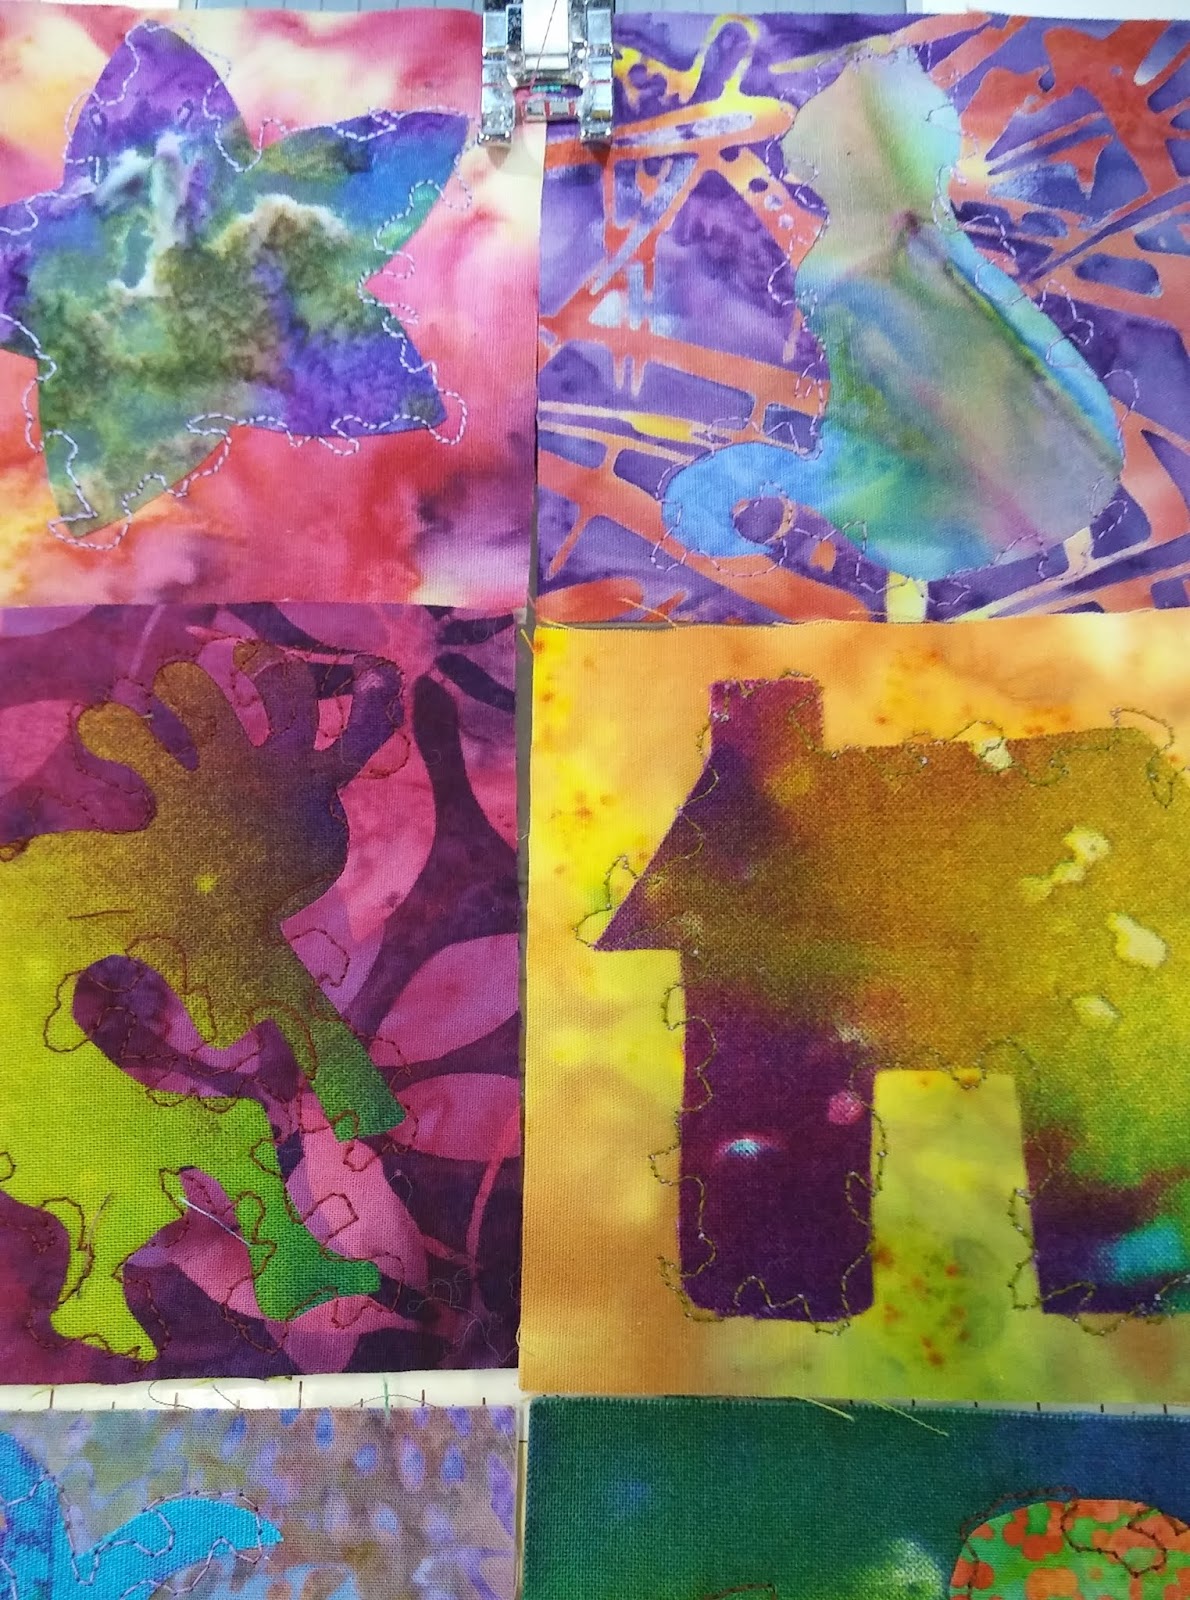
I was saying last week that I was wondering what to tackle next, but of course there are the 279 3” quilt squares that I made for my daughter Tess, to represent her daily breast cancer ordeal from diagnosis to the finish of her treatment.


I laid them out in piles of repeated motifs near to my sewing machine, mainly to make sure that they were going to be spread equally throughout the quilt and that I wasn’t going to be left with several of the same! From these I chose 9 different squares and placed them in sequence beside my machine. Remember that these squares have been meticulously cut to size so I am able to place them accurately edge to edge in order to sew a wide zigzag across them. I have chosen several variegated threads for an interesting effect.
             Tessa’s squares


              9-patch
 
I started with 1 and 2 on the top row and sewed them together, before picking up 1 and 2 on the second row and feeding them through straight after. These were followed by 1 and 2 from row 3. On my machine foot there are some useful red marks, the centre one being in the centre of the foot. I made sure that this mark went accurately down the middle of the 2 squares.


              Zigzag


                 Machine foot
 
 
           Continuous zigzag
 
 
When the vertical line of zigzags is completed, all the squares are joined together with thread in sequence and this helps to keep them in order. (And just as I was about to join the third square in each row, I noticed that I had placed 2 star motifs in the same 9-patch!!)


                Altered block
 
I joined the third square in each row in the same way to complete the vertical seams.


             Vertical seams
 
The squares were then rotated 90 degrees so I could zigzag each horizontal seam to complete the 9-patch block.


               Horizontal seams


             Detail
 
I am not sure how I am going to ‘set’ them in sequence to make a quilt, but I shall keep making 9-patch blocks and adding them to my design wall while I ponder it. (To sash or not to sash ….??)


               Design wall 1


              Design wall 2