Sunday 25 February 2018

BLOG 385


BLOG 385
Another busy week for me, accompanied by glorious sunshine, bright blue skies and viciously bitter temperatures. But all that considered, isn’t it great that Spring is gradually edging closer? I can hear the birds singing territorially and enjoy the many spring flowers that are evident. Little do they know that more snow is just around the corner as we continue to experience a ‘proper’ winter this year. Mind you, the lengthening daylight causes me a bit of a dilemma because now I feel guilty sitting down and reading with an early log fire and my late afternoon cup of tea! …But I’ll get over it!


I have continued to make the panels for my Contemporary Welsh 2 quilt. Now I know what I am doing (!), I have found that this repeat project is going more smoothly. All the skills I have fine-tuned over the years are finally coming together in these latest pieces; it is very satisfying and should keep me interested and occupied for a little while.


Contemporary work


 2 BARGELLO QUILT My second Linus quilt started life as 1 yard of a very uninteresting piece of fabric. It is graded in colour from reds, through to browns to olives and beiges and it is certainly not my usual choice of fabric. When I bought it years ago, I was doing a lot of hand applique and I suspect I chose it because of the subtle tonal changes! I probably thought it would be useful at the time but it has remained folded, unloved and unused in the bottom of a storage basket. It’s time to shine has now come!


I ironed the fabric with RS together and with both selvedges lined up accurately. After both edges were trimmed, I sewed them with a ¼”seam to join the fabric in a complete circle. The seam was ironed open and the fabric was ironed flat for ease of cutting as many 2” strips as I could from the fabric (16).


             Shaded fabric


              RS together


               2” strips


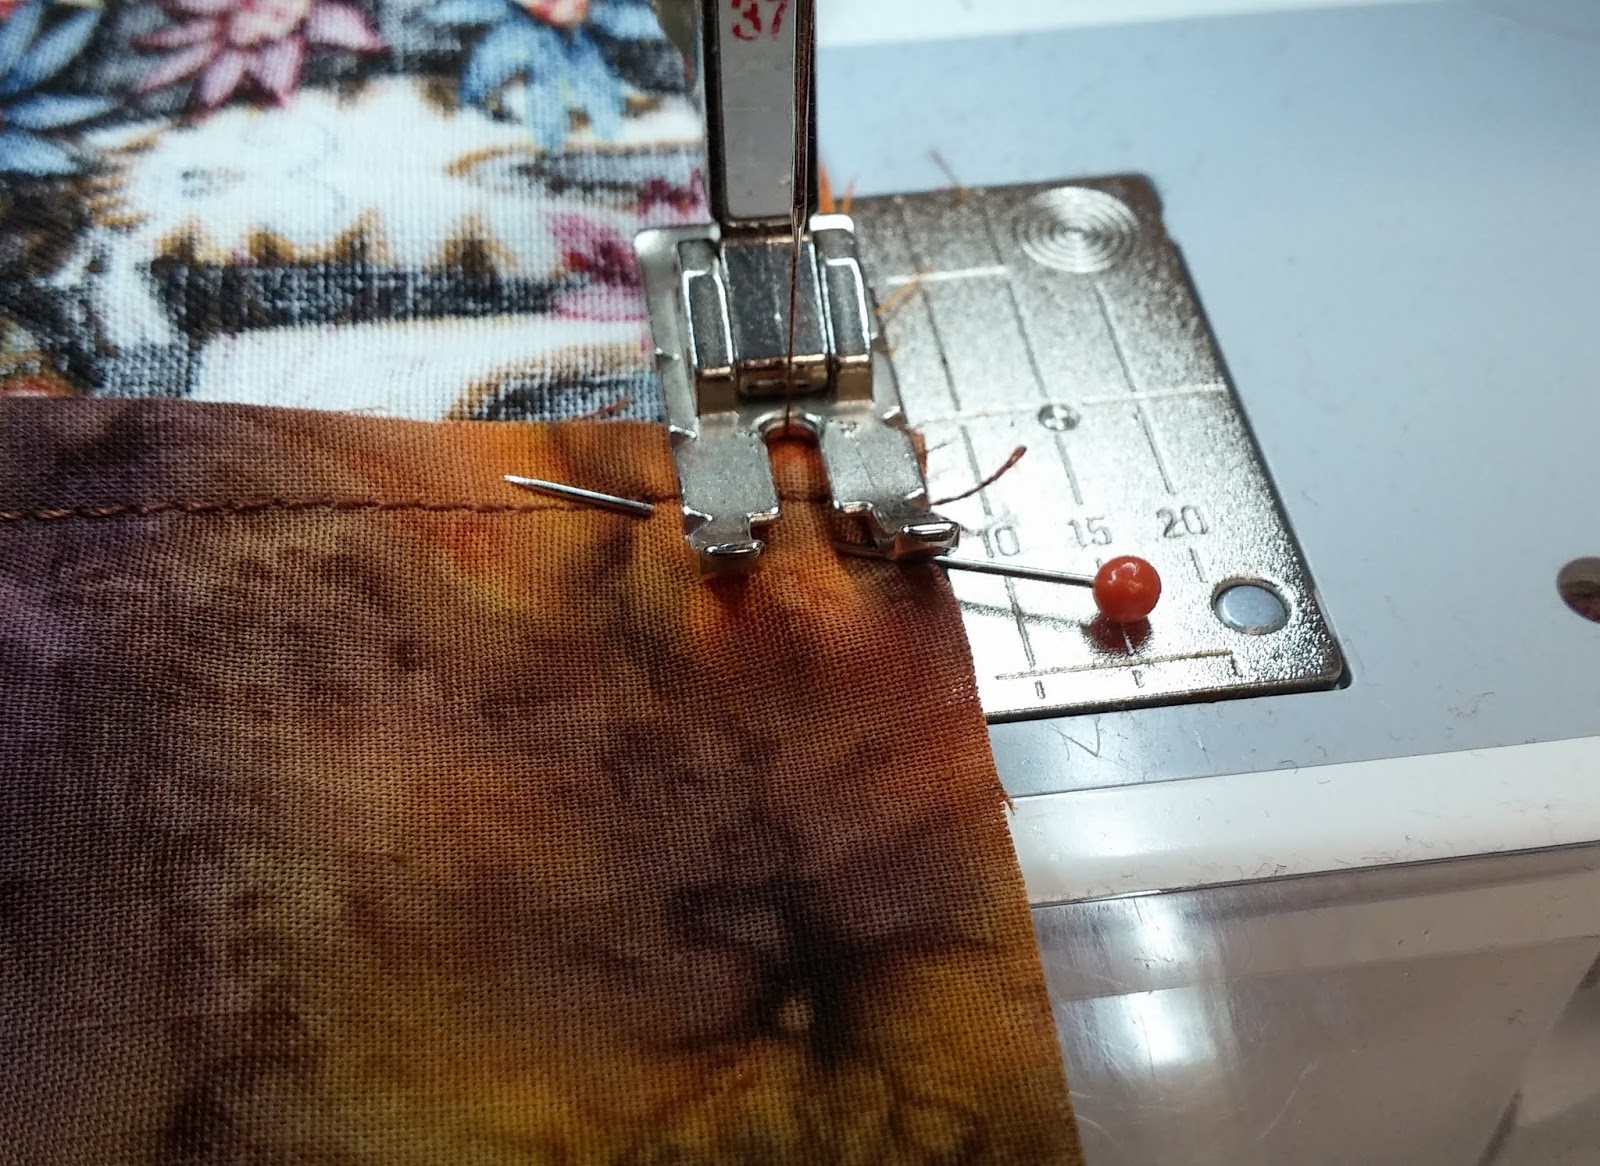
 I turned all the strips RS out ready to sew. I measured 3” away from the seam on my starting strip and put a pin there. I lined up the seam of my next strip so that it lay RS together on top of the pin to produce a staggered effect. I sewed along the long edge to join the strips together ‘in the round’, allowing the machine to do what it is designed to do without introducing any tension; it went together accurately and easily. I repeated this process for every strip, always making sure that the colour sequence was the same way round each time.

          
 RS out 


              3” stagger


               ¼” seams


             Staggered effect 


Still ‘in the round’, I eased the strips onto the ironing board and pressed all the seams in the same direction. I also pressed a sharp edge so that I could cut the circle of fabric open to reveal the Bargello effect. This has turned an uninteresting piece of fabric into a rather attractive design and it was so easily done! Having re-created the fabric, I now had to figure out how to make it into a quilt top of an acceptable size; at the moment it measures 42” x 24”.


               WS


                Iron seams


               Press and cut


               Bargello


After some deliberation and auditioning of fabrics, I decided to use the cat fabric that I had used in the previous Linus quilt. This necessitated a bit of reverse sewing (unpicking!) so I could fit in some extra vertical lines but I am happy with the result and particularly like the linear style of this quilt. Job done!


            Auditioning fabric


                   Completed top


Sunday 18 February 2018

BLOG 384


BLOG 384
 
Last week we enjoyed our pancakes on Tuesday and saw the start of Lent on Wednesday. Ever since I was a little girl at Sunday school, I have given up something for the 6 weeks leading up to Easter and this year is no exception. But this year, as well as giving something up, I have also decided to take something on! I am going to make a Linus quilt for each week of Lent so that someone will benefit from my efforts somewhere along the line. The first quilt started with a treasured cat fabric which I have had for many years, always thinking I would make something really special with it. But sometimes we can get too fixated on a fabric believing it is too good to use and then, before you know it, it has gone out of fashion and it looks dated. And you then wonder why you bought it in the first place! I have many fabrics like that believe me. So the message here is to use and enjoy your fabrics before they get ‘bin-bagged’ by the family!

 1 PATCHWORK CAT QUILT
This was constructed using simple patchwork technique. I cut 6 ½” squares (because I have a 6 ½” ruler and it was easy to cut!) from both the cat fabric and a complementary batik and drew a rough plan of what I wanted to achieve.


              Cat fabric


              6 ½” squares


              Rough plan
I sewed the blocks together in pairs, making sure that 12 had the cat on the right hand side and 9 had the cat on the left hand side. These were then sewn together to make rows of 6 squares.


             Sewing sequence 1


             Sewing sequence 2


            2 Rows
I pinned at the seams, making sure that they butted up against one another and sewed the rows together to construct the quilt top. Job done!


            Pin the seams


              Quilt top
I attended a willow weaving workshop a few days ago; this was something I have always wanted to have a go at. Really, I want a flock of sheep for our paddock but, having had a go at a hare, the sheep are not going to happen! The course was run at Ruthin Craft Centre by Juliette Hamilton and she was a very good teacher. It was hands-on, full-on and we worked non-stop.  We all moved forward together at each stage and every one of us walked out with a hare. Impressive! I even followed one home in a car; it was sitting in the passenger seat looking out of the window! My Hare Flick (‘Allo ‘Allo) will go out into the garden when the weather improves and after it has been treated.


             Hare Flick


Sunday 11 February 2018

BLOG 383


BLOG 383


This week I have been making some poppies which will go towards the display in the Gresford show this year. We have all been asked to contribute poppies, making them in whatever medium we choose. We are aiming for 500 and they are starting to trickle in. Some have been knitted, some crocheted but many have been sewn. Someone in the morning group (Lorna?) brought in a batch she had made using the British Legion poppy. This was such a simple approach and it was very effective too. It suddenly made the task less daunting and became do-able for me!

            British Legion poppy
I made a template from the original poppy and cut out several and added some slightly larger red circles, and black circles for the centre.


             Pattern pieces
As I wanted the flower to appear dimensional, I cut into the top shaped red piece on either side of the centre. This allowed me to over-lap the cut edges and my first line of sewing was across them to hold them in place on the underneath red circle.


           Making the tuck
The black circle was placed in the centre and I sewed short lines on the vertical, the horizontal and both diagonals to hold it down. There is a lot of bulk under the machine foot so these stabilising rows helped to squash it all down.


            Securing the centre


             Stabilising rows
Then it was a case of some scribbles radiating from the centre to complete the poppies.  Simple really but very effective. To finish we were asked to sew safety pins onto the back so that it will make it easier to attach them to a background for a display purposes. Job done!


              Finished poppy
I also made some more of my daily squares. In truth, I am generally playing catch up on this project but I am bang up to date now thankfully. They are sewn onto a heavy interfacing with a meandering stitch and then cut finally to 3½” square.


              Tree motif

 
Sewn Squares
 
                
               Trimming


            Sewn squares

                   Other motifs


Sunday 4 February 2018

BLOG 382


BLOG 382

And for your delight and delectation this week, I am posting pictures of Llangollen Quiltfest which is on in the Royal Pavilion and the Museum, 1st to 28th Feb, 10am to 4pm. It is a wonderful display of quilts from the members of the Quilters’ Guild, Region 13. The variety is amazing from traditional to contemporary and it is very inspirational. Try and make an effort to see this exhibition, it is well worth enjoying these quilts ‘in the flesh’ as it were! Here is small selection:-

            1


                  2


     3

              4


                 5


              6     

            7


              8


                9 


              10


            11


                12 


                13


              14


                15 


          16


               17