Sunday 30 November 2014

BLOG 225


Just for the record, the ‘birthday tweets’ bird was very well received. It made her laugh out loud and I’m sure she will treasure it (you just know who to make special things for, don’t you?). And what have I been up to this week? Getting on with whatever’s at the top of the pile. I am aiming to completed projects that have been hanging about for a while, adopting a ‘new year, clean slate’ type of mentality. Having said this out loud, well in my blog at least, it will focus my mind and motivate me. I always seem to need a challenge of sorts and I’m always more productive working to a deadline!

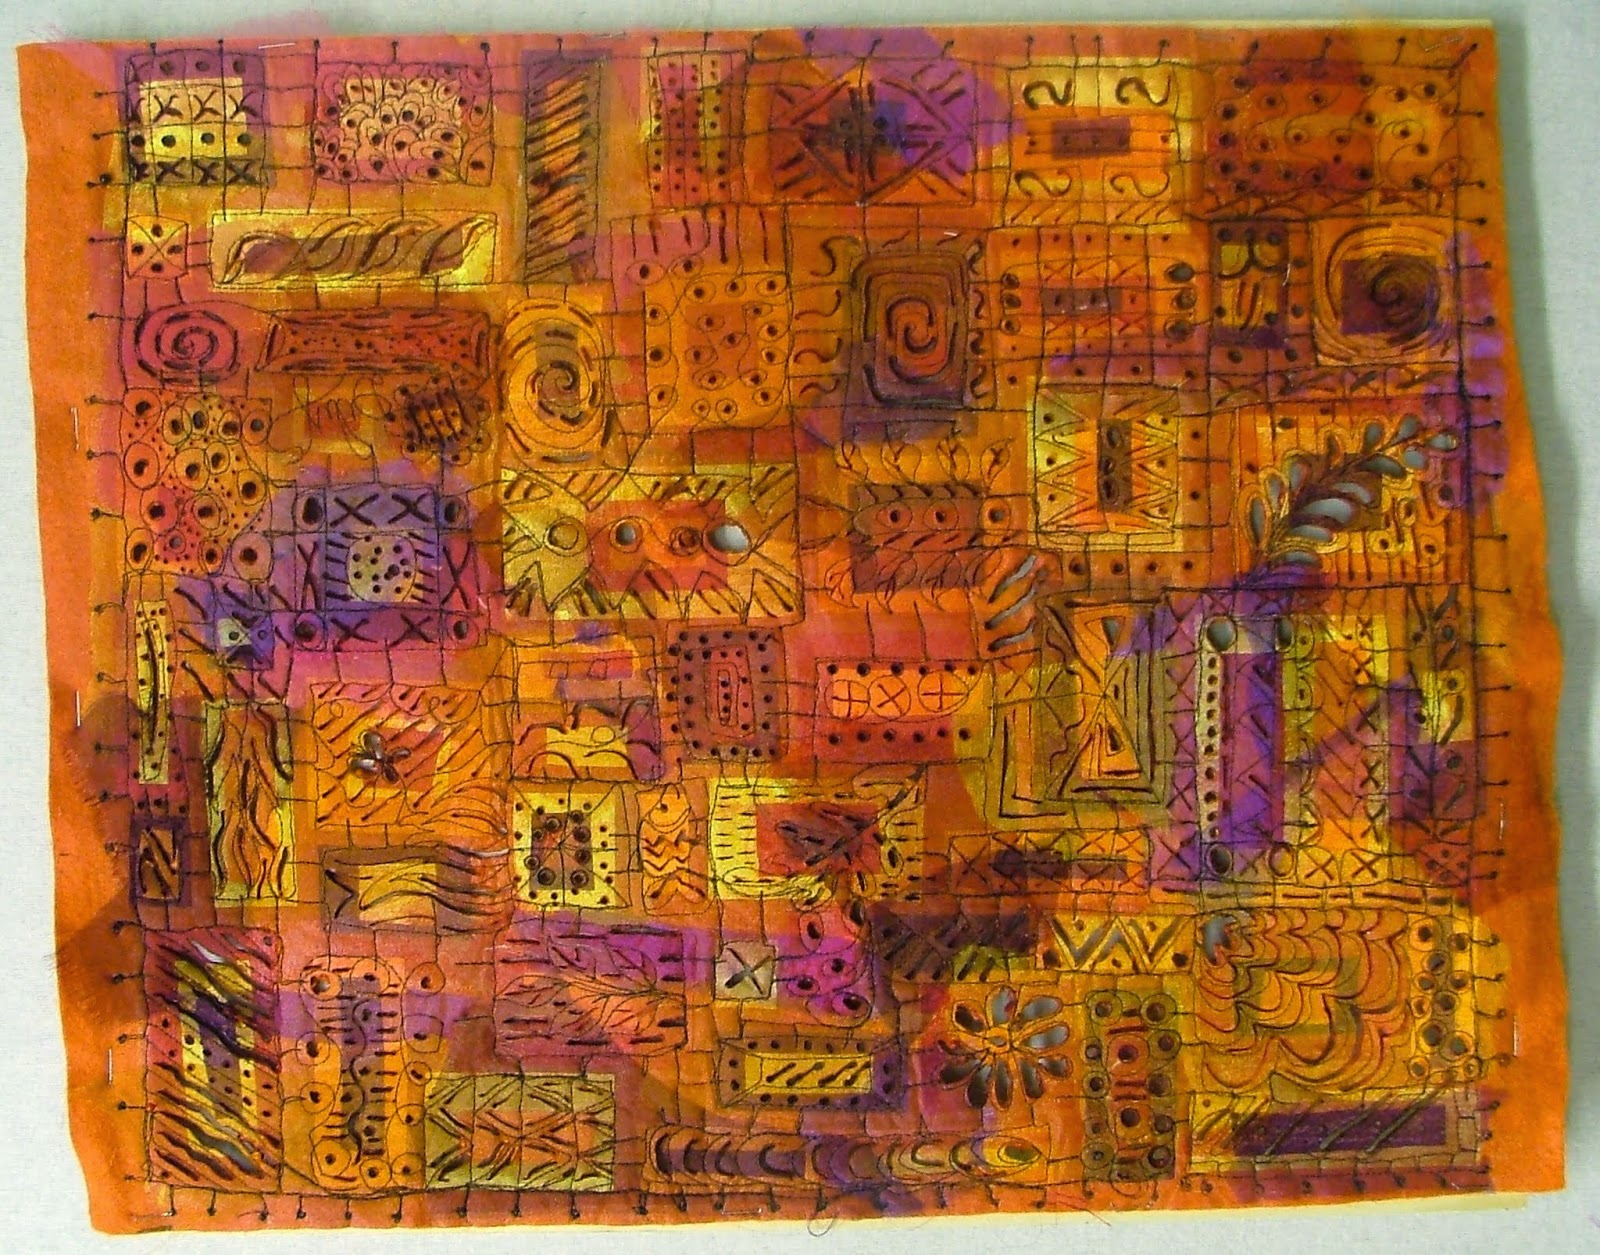
First to progress was the Susan Lenz piece. I have been waiting for good weather to do the soldering outside but, as that hasn’t happened when I have been free to do it, I decided to do it in my studio anyway. With a mask over my nose (which fogged up my glasses) and a fan blowing across my work (which tended to cool the soldering iron) I battled on and this is what it looks like now. I have had great fun doing this; being creative and imaginative with my sewn patterns initially has given me shapes within shapes to burn. I just hope it all works out in the end!


                                          Soldered hanging

                                                 Detail 1

                                                  Detail 2

                                                             Detail 3

                                                Detail 4


The next stage is to use a heat gun to burn away some of the underlying felt to create a lacy effect between the shapes. I have ordered one now and it should be with me by the middle of the week. Fingers crossed that it does what it is supposed to do.

My next project was a small covered notebook in felt for another of my Gresford friends; poppies again by request. ASIDE: My friend is in London at the moment (Nov 30th), making the journey to see Remembrance poppies at the Tower of London. She didn’t see one poppy! All she saw was a muddy trench with wheel barrows, and volunteers on their hands and knees picking up coins which people had thrown into the display, breaking some of the poppies in the process. Just why do people feel the need do that?)

                                               Felted cover

 Over the weekend I have been trying to finish the felted wall hanging that will hang in the restless room. I chose a busy backing fabric that reflected the colours on the front and I chose to do the turn-through method so that I could sew all the way round the hanging and not have to close part of the seam afterwards. (I have described this method many times in past blogs, so I won’t go into detail again.)


                                      Turn through method
 

I always do 3 diagonal stitches across the corner and remove the excess fabric to give a good shape. A blunt tool helps with the shape too.

                                      Blunt tool for corners

 
One of the last things I do is to sign my work and date it. I am thrilled with this piece of work and it was through the process of making a dozen book covers to trial different methods that I came up with a way of working that was comfortable for me. I love it! Next week I will show it in situ and explain how I got it to hang close to the wall.


                                                     Signed


Sunday 23 November 2014

BLOG 224


Do you remember from an earlier blog that I said that my Bernina sewing machine of 25 years had died and then I found out later that it wasn’t repairable? It just stopped, with not so much as a cough or splutter, when I was attending a Richard Box workshop. I had to continue the workshop on his even older Bernina.

And do you recall many moons ago that I showed a quilt called ‘Red Equus’ on my blog? It was for the ’In the Red’ challenge organised by Chris Porter. Well, these challenge quilts have been touring the spring and autumn quilt shows run by Grosvenor and apparently, unbeknownst to me, the quilts were accumulating votes for Viewer’s Choice.

YOU’LL NEVER GUESS WHAT!! ‘Red Equus’ won and the prize … wait for it … is a Husqvana Opel 670 sewing machine. In December, I will be presented with this machine. What timing eh, I’m absolutely thrilled!

                                                                          Red Equus

 And now, down to earth again, I am continuing to complete on-going projects. The main priority is the felted wall hanging for the ‘restless room’. This is needle-felted and it started off with background  layers of colour to create a distant panorama.

                                  Background panorama


Detail was added to the foreground to include poppies, daisies and foxgloves.  I am now at the stage where I would like to add machine stitching in order to enhance and define the foreground detail.

                                          Foreground detail

                                                         Left

                                                     Centre

                                                Right
 

A chum has her birthday today so I wanted to make her smile. So what do you do? You find a stone and felt it. This is a first attempt following an internet tutorial.

                                          Felted stone

 
Then what do you do with the felted stone? You make a bird to stand on it!

 
                                           Bird and stone

 
Here’s a close up of the bird showing layers of fabric and stitches, something I learned with Suzette Smart.

 
                                            Bird detail

 And here’s the end product, ‘Birthday Tweets’ from on bird to another!


                                                                        Birthday tweets

Sunday 16 November 2014

BLOG 223


This week, as promised, I am sharing with you an illustrated method of how I make my book covers . My covers just happen to be made of felt but this method can be adapted to  any textile.

Measure the size of the book to be covered from top to bottom vertically and from edge to edge horizontally, with the book shut.

For the size of the prepared textile for the front cover, add 1” to these vertical and horizontal measurements to allow for seam allowances.

For the lining the fabric will have the same vertical measurement as above, but add 13” to the horizontal measurements for seam allowances and flaps.

Make your fabric/felt/embroidery slightly larger and trim off the excess to the calculated cover size.

Choose a fabric to complement the cover and cut it to the calculated lining size.

                                   Complementary fabric

 Find and pin the centres of both the cover and linings along the top and bottom edges.

                                              Pin the centres

With RS together, sew the lining to the cover along the vertical edges only, with a ¼” seam and neutral thread.

                                          Sew vertical edges

Line up the centring pins and re-pin the lining to the cover.

 
                                             Line up centres

 Working on an ironing board, fold under the excess fabric along one vertical edge to form a flap underneath. Make sure that the flap lies flat and straight and that the top fold is level with the raw edge. Iron to flatten the fabric and sharpen the crease ready for sewing.

                                    Fold under excess


Secure the edges with horizontal pins for easy removal. Repeat for the other edge.

                               Iron and pin

 You are now ready to sew around the edge to attach the cover to the lining.

                                            Ready to sew

Sew a ¼” seam around the outer edge leaving a 4” space on the lower edge for turning through. Remember to sew 3 diagonal stitches across each corner to help with shaping.

                                    Diagonal stitches

 Trim off the excess fabric to within 1/8” of the stitches.

                                     Trim the corners

                                     Space for turning

 Turn it through so that the flaps lie against the lining and not against the cover. Work the corners with a blunt tool to give a good shape. Iron it well to give sharp edges all around.

                                                  Cover

                                                      Lining
 

Turn under the seam allowances of the opening and secure with pins.

                                          Secure with pins

 From the RS, sew a line of stitches all around the cover, about 1/8” in from the edge to complete. This will close the turn-through space.

                                         Edge stitches

                                  Completed cover

Sunday 9 November 2014

BLOG 222


I took my saleable felted items, shown in last week’s blog, to Gresford and sold them all. Not only that, I received orders for 6 more, mainly poppies!!! So as you can imagine, I have spent most of this week attempting to fulfil these orders. I don’t want to do items for sale constantly because that would be like mass-production and it would be a very repetitive process. I would rather move forward and develop my skills, building on the groundwork I have laid so far. That said, this foray into selling has given me a focus, a means to an end, and I find that working to order is very productive; I am almost churning them out! But that’s not who I am, I need to make creative progress for my own peace of mind. Anyone who is creative knows that it is scary playing around with ideas and seemingly making no progress, but nothing is ever lost whilst playing. My playing with felt has allowed me to find out how to use the fibres and felt them successfully wet and dry, I have discovered how I personally like to work with felt and I have enjoyed discovering that I can actually ‘paint’ with the strands of colour. Very satisfying! Here are some of the new book covers.

                                                  Diasies

                                    Daisies front

                                   Daisies back

                                                 Clematis

                                    Clematis completed

                                             Autumn

                                  Autumn front

                                    Autumn back
 

Next week I will run through the method I have fine-tuned to cover a book. I have tried many ways but now have an all-in-one method that suits me. In between all the felting, I found time to get out my ready-bonded fabric bits and, just to ring the changes, I tried a wash of colour with some of the off-cuts. This is A4 size and I likey a lotey!

                                       Colourwash

                                                Detail


Whilst child-minding this week, I made a café for our 2 year old granddaughter. We had a cooker, utensils, crockery, plasticine cakes and other goodies, and we set out some small tables with table cloths. After a while, I asked my husband to continue playing with her whilst I went to prepare our lunch. This is what I came back to! Katie just continued to serve him despite his comatosed state!!

                          Childcare Granddad-style


Sunday 2 November 2014

BLOG 221


This week I am about to take you on a tour of my workroom and what I am about to show you is dreadful really, I feel quite ashamed! It will make you wonder how I can ever manage to create anything at all. The purpose of showing my room is to shame me into doing something about it! That said, this chaotic environment hasn’t stopped me being creative and you will have seen projects that have emerged from the squalor over the last few blogs. At the time everything I needed was at hand somewhere and just needed to be dug out. BUT I have now got to the stage where I can’t stand it anymore and I need to claw back some order and calm before continuing.

                                Entrance

                                     Left side

                             Right side

                                          Far end

                                                    Cutting table

                          Machine and work surface

 And here is the ‘after’ picture following a couple of hours of hard labour! The process was cathartic and, in the process, I have unearthed work-in-progress which had ended up at the bottom of the pile. I shall now spend time doing some finishing off.

                                                        After

 Last week I sold a few diaries covered with felt at Gresford craft group and I have made more to take this coming week. I am still trying to work out my preferred way of making them so these are definitely prototypes. This is just a way of using up the vast amounts of felt that arrived when I order lights, mediums and darks without knowing what I was going to get! I was horrified when huge boxes arrived over-flowing with wool tops. Once the costs have been recovered by felt book sales, I will not make any more to sell. Here’s this week’s stock!

                                          Small note book

                                              Diary front

                                              Diary back

                                       Second poppy scene

                                                     Detail

                                          Completed cover

                                 Coloured cover

                                                    Saleable items