BLOG 345
I am working hard on the scrap crazy quilt with the faint hope
that I can get it finished for the Gresford show in June. Today I can’t say
that the show is next month which brings it scarily close whereas tomorrow I will
be able to! Gosh! Will I get it finished in time, especially with 12 days taken
out for a holiday? With the light and dark scrap bags close to hand, I got my
head down and pressed on, ever optimistic. When I go to the local craft clubs
that I attend, where hand sewing is a necessity, I usually start the centres
off. These are then pinned onto paper when I get home and I continue them by machine.
Lights and darks


Several rows of 10 blocks have been completed and I needed
to try the top for size, so I know how many more are required. (That’s wasn’t a
very helpful exercise as the 20 I need seems all the more daunting but it looks
good so that will hopefully spur me on!)


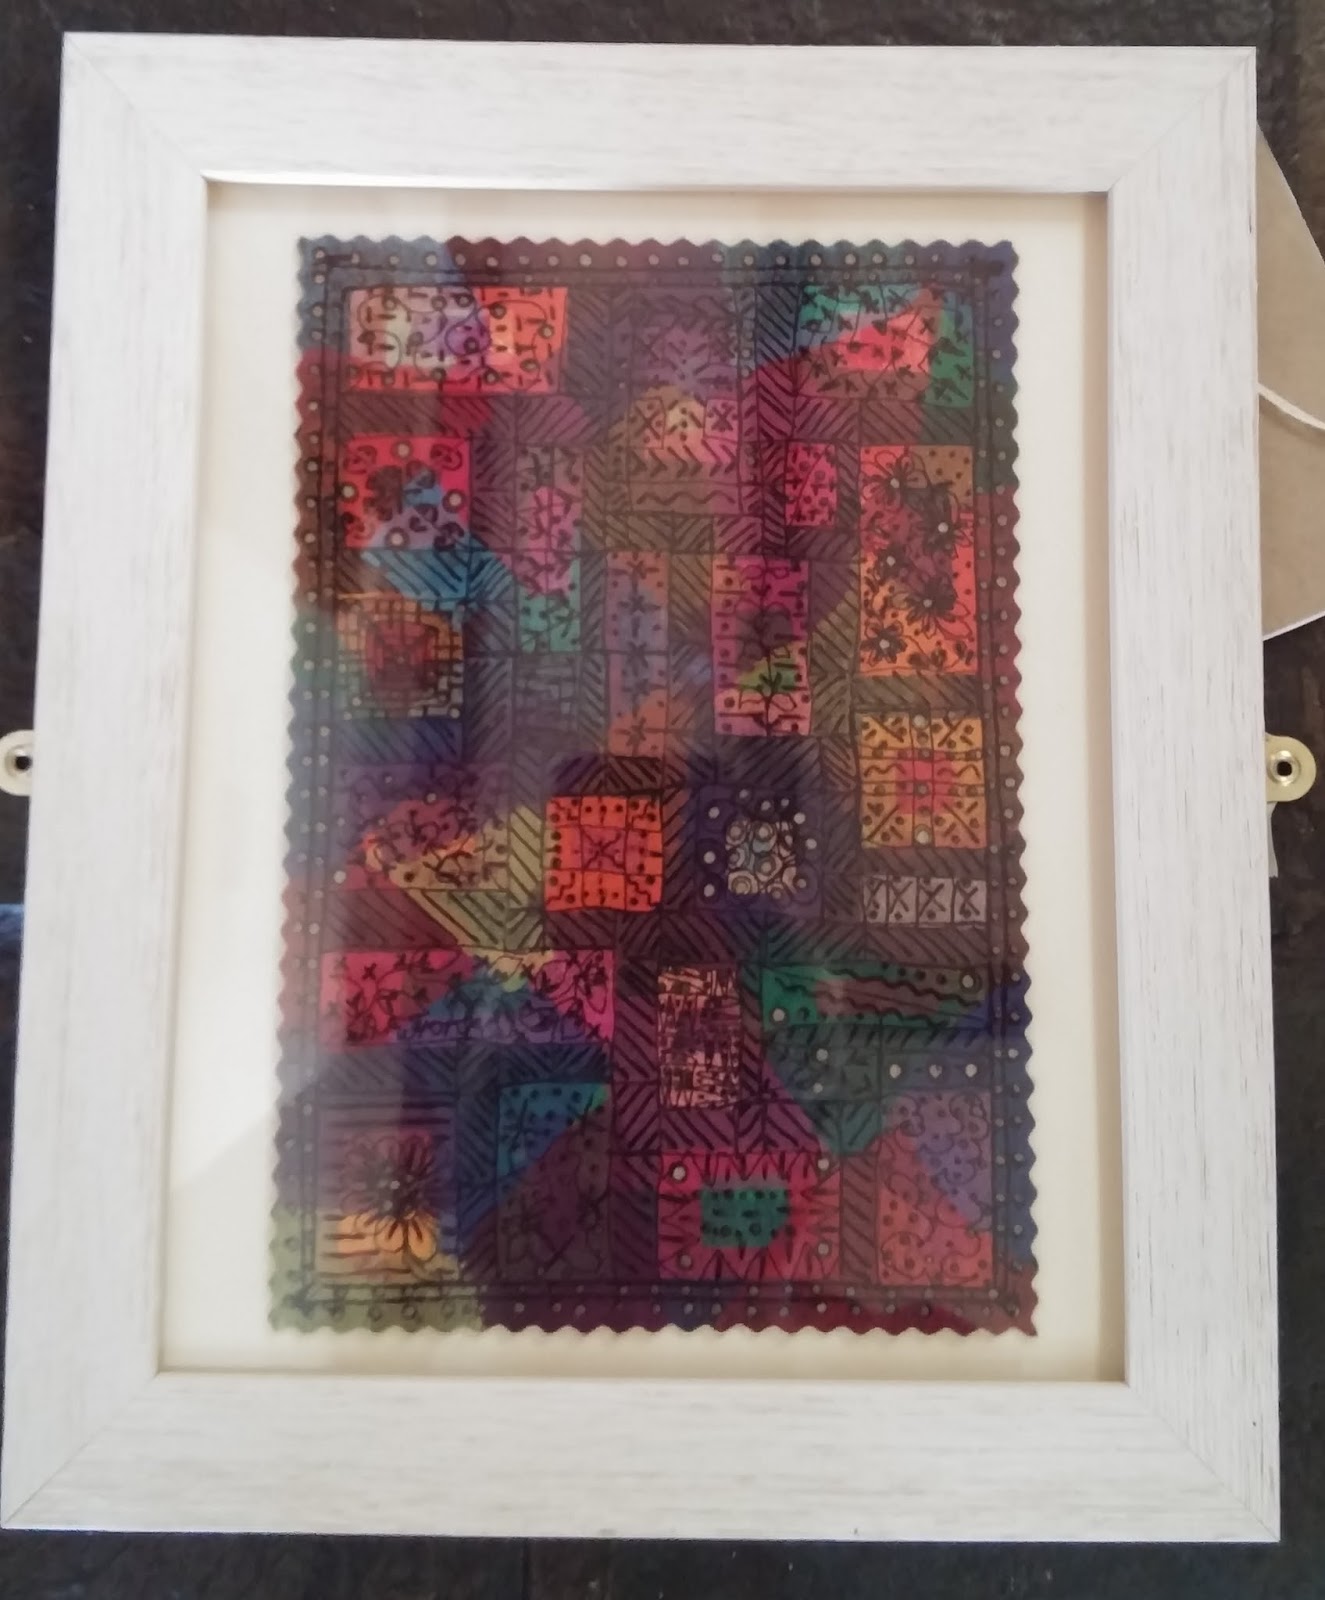
This week, I
have resurrected some quilt blocks that I had abandoned, to see what I could do
with them so that the effort I put into making them wasn’t wasted. So far one
has been quilted and awaits some applique as a cushion front. The other has
been arranged as a long strip and quilted. I have been trying to make images of
sunflowers in thread and shears but there is some way to go yet.

Quilted cushion top

Quilted strip


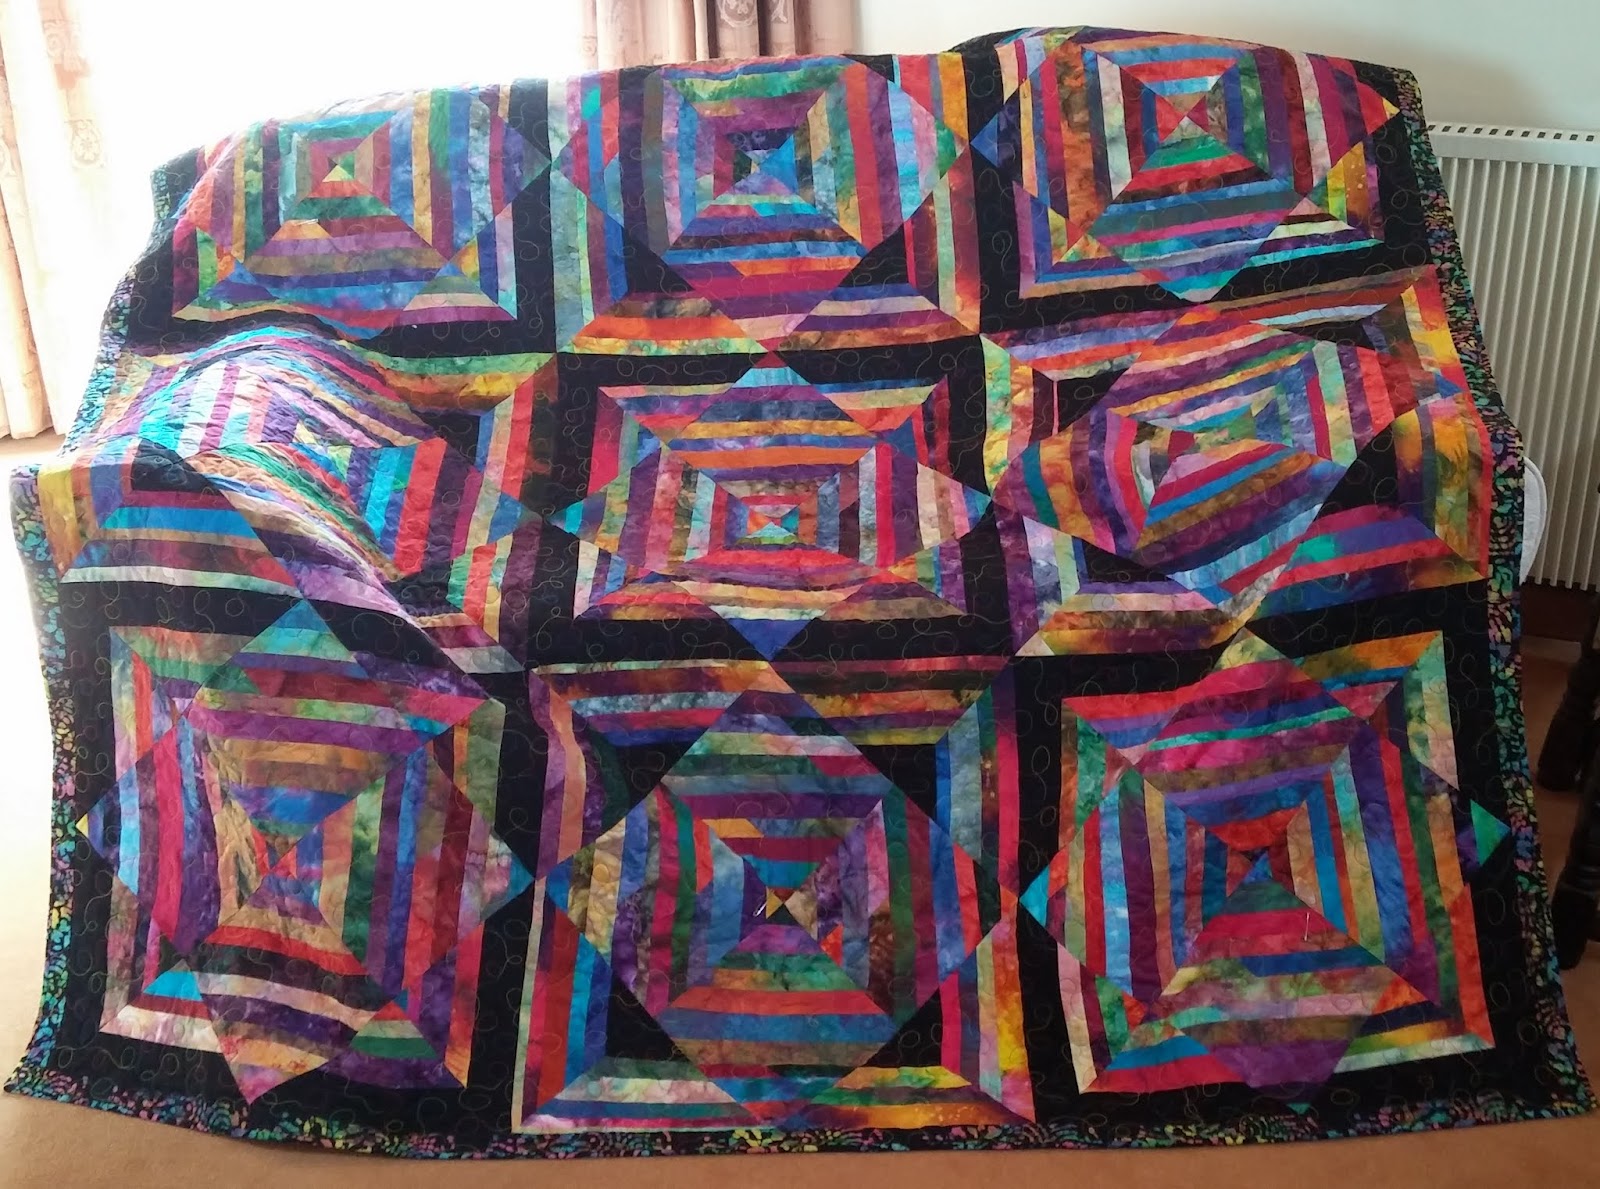
And for your
delight and delectation, here is a scrap ‘block of the month’ quilt made by one
of the members of our competition quilt group. Marion has joined her blocks
together with a quilt-as-you-go method and has done a mixture of hand and machine
sewing on it. It’s just lovely!

Marion’s
quilt