Thursday 30 April 2015

BLOG 246


BLOG 246
Little time has been given to sewing this week, as much effort has been spent preparing for the holiday. We leave tomorrow and my sister and her husband arrive to look after the cats for the duration; this means we can relax, knowing they are being spoiled!

POTENTIAL PROJECT
  
I have trays and bags full of colourful fabric off-cuts from other projects and it has always bothered me that they lay idle Whilst unused, they are just scraps but, when used, they could become a beautiful (hopefully) quilt. Knowing my love of colour, there was no doubt that these bits would be used at some stage; that ‘some stage’ just happens to be now!
                                                                                                                                                                                                                                                     
                                                             Basket 1

                                                                Basket 2

 A friend told me recently about strips (perhaps from a jelly roll) that are joined together on the diagonal and then re-cut and re-joined and then used to make quilt squares. I have searched the internet to find a reference without success so I thought I would just have a go anyway and see what happened. My strips are cut at 1 ½”.

                                                              1 ½” strips


Some strips were a lot lighter than the others and I decided straight away to discard all the light fabrics.

                                                                   Lights

TIP: To join 2 strips on the diagonal, place them with RS together at right angles to one another.

                                                        Right angles


Sew across the diagonal. To help with this, draw a line on the table of your machine that extends from the needle (the line on the right is ¼” away and irrelevant to this stage). Line up the top corner with the needle and the bottom corner with that centre line and sew across.

                                                       Lining up


When it is sewn, cut away the excess fabric on the corner.

                                                               Trim


I pressed all the seams in the same direction and cut the strips at 10 ½” so I will need 10 strips to make a block.

                                                                 Press

 I joined the strips together to make a block and so far I like what I see!


                                                                      Block

Tuesday 28 April 2015

BLOG 245


BLOG 245
I am happy to be back home again after the family party in the Forest of Dean in Gloucestershire. Roger’s Auntie arranged a family reunion for her 90th birthday and it was held in the family farmhouse which is situated in a delightful setting known as The Pludds. A winding approach road climbs high up a wooded hill, eventually giving way to stunning views over the surrounding countryside and beyond. It is a run-down, old fashioned farm, and visiting it is like stepping into a time-warp. (I feel it would make an excellent setting for an old TV programme or film!) It’s certainly not a pretty farm, worked at barely a subsistence level, but everything about it is fascinating. It is very special to us as part of the extended family.

But enough of my social life, this week I have been working on a challenge. At Gresford craft group, I share a table with 8 others and we all laugh and chat our way through the morning. One friend light-heartedly accused another of stirring and suggested we buy her a wooden spoon. As we all enjoyed the humour, I said that something positive can come of this; what about a wooden spoon challenge? The accuser bought the wooden spoons, and we subtitled it ‘Blame it on Jane!’ because Jane was the accused. Here are the rules:

THE WOODEN SPOON CHALLENGE ‘Blame it on Jane’ for stirring and Val for buying the spoons!!

This challenge is only for our table at the Tuesday morning session at Gresford craft group and it is meant to be a bit of fun. Participants are not allowed to take it seriously in any way, shape or form!

Everyone will be given a wooden spoon (thanks Val), traditionally used for stirring (blame Jane).

You can use any craft you like to showcase your talents but the spoon must be recognisable in the final piece. (Eg you can’t just stuff it in a cushion and hide it!) You can drill holes in it if necessary.

You have until June to complete your challenge as it will be part of a small display in Gresford exhibition this year (note: small display, don’t get too carried away that you need to deliver it on a juggernaut!)

TIP: Look at expressions to do with spoons or perhaps the shape will get you started. Think about its function or what it could become. Let your imagination run riot and, above all, have a bit of fun.

I have made a start by using thread to make some traditional Welsh Love spoons. These are sewn onto a couple of water-soluble layers with sheers trapped in between. I tried to shade the colours but was restricted by the my lack of choice amongst my threads. These measure about 2” x 5”.  


                                               Threads on water soluble

 
This small one has been sewn with a YLI variegated thread and is only 2” high.

                        Variegated thread

 I have made another Burning Issues piece for a friend. Here it is at the stitched stage; the burning, which is the best stage, is yet to come.

                                                       Burning Issues #6

                                                                   Detail

 Another friend has just had a birthday and I was late getting her Birthday Tweet bird ready for the occasion. I have made the body out of recycled embroidery, a la Suzette Smart, and prepared a felted stone for it to stand on.  Here it is awaiting its label. I think my friend might like it!

                                                    Birthday Tweet right

                                                Birthday Tweet left


I will try to get a short Blog posted by the end of this week; we are holidaying in Menorca for a week, leaving on Friday. I wonder what I will find there to inspire me?

Friday 24 April 2015

BLOG 245

Apologises for a late blog this time round; I am away for the WE at a family party.

Sunday 19 April 2015

BLOG 244


BLOG 244


I am hung! We went to Holyhead to the Ucheldre centre on Tuesday with a car full of quilts and hangings, and 4 hours later, my exhibition was hung. I then walked the length of the breakwater to the light house at the end to say hello to my Mam (some of her ashes had been scattered there). We visited cousins where we had a lovely meal before returning to the centre to do the opening address for the resident quilting group who also have an exhibition of their work. Thankfully, it was a lovely day all round because, as you may know, it has been the focus of my endeavours for the last month or so. For my evening address, I decided to do an alphabet of quilts, trying to find a quilt or hanging to represent each letter. The difficult ones were X, Y and Z! For X, I showed an extraordinary quilt, the one I would save if the house was on fire! For Y (and I have no affection at all for yoyos!) I used the word yardage and mentioned the no-fail formula for buying fabric: work out how much you want, double it and add a yard. For Z, I said they could finish their zeds as it was all over! Here are some of my quilts on display.


                                                   A String of Diamonds

                                               Lady of the Lake

                                 Delectable Mountain

                                                             Group quilt 1

                                                            Group Quilt 2

                                                            Group quilt 3

                                            Group quilt 4

                                 Gentiana Alpina  and Floral display

                      Tree of Life

 
                                             Positive and Negative Jacobean

                                                              Red Equus

                                                               sTITched

                                                              Horse-in-a-wall

                                                       Dolphin-in-a-wall

                                                               Turtle-in-a-wall

                                           Mosaic still life

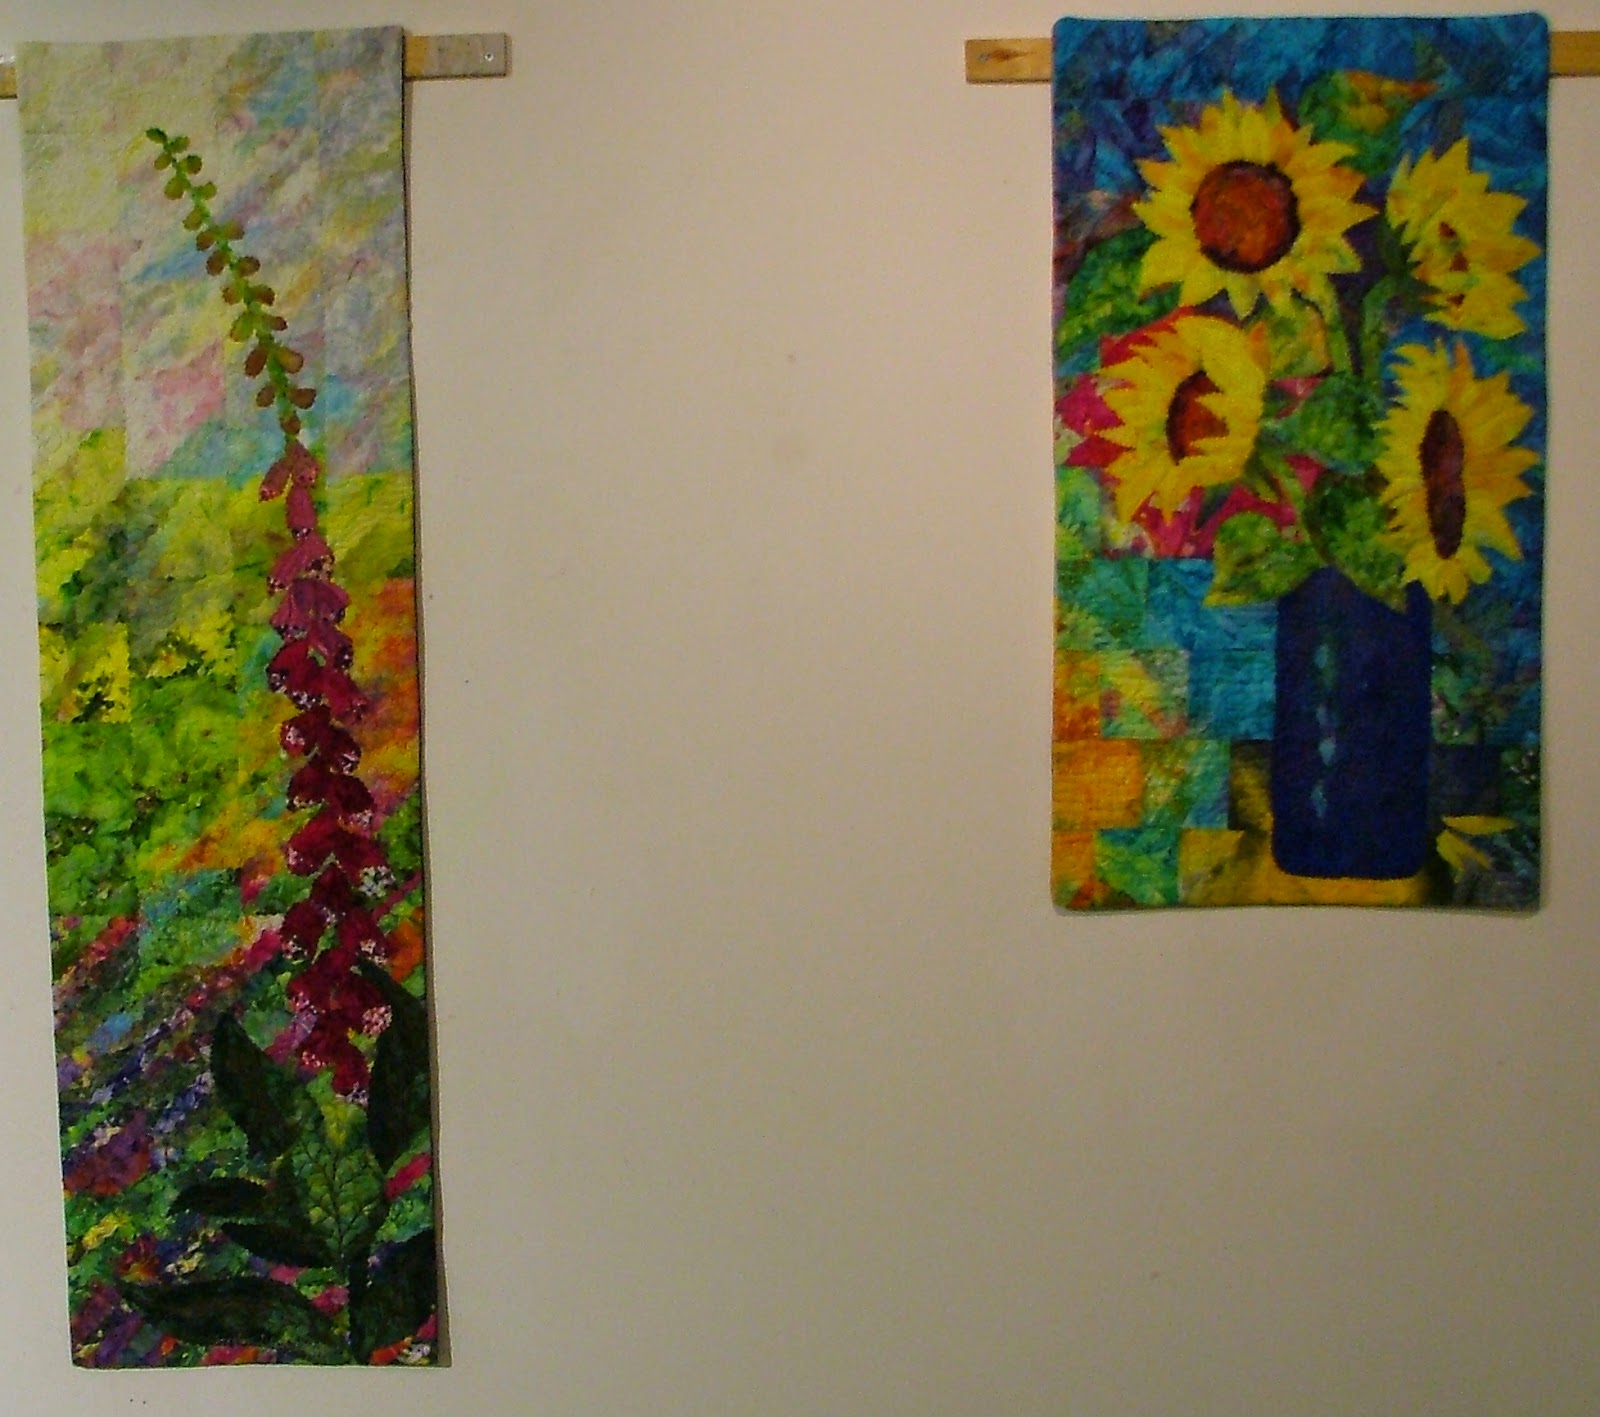
                                           Hollyhocks and Poppies

                                                            Sunflower and Iris

                                   Foxglove and Sunflowers in blue vase

                                                        Burning Issues


Sunday 12 April 2015

BLOG 243


BLOG 243

This was the week of the final push to finish work for my Holyhead exhibition. It has been a continuous slog of application, concentration and hard work. I acknowledge that it was self-inflicted because that’s just the way I am, but I don’t want to go through that again in a hurry! And why did I do it? I suppose the reason was that I didn’t want to let myself down by not having any new work on show and I didn’t want to let others down by exhibiting all of the same work over again. If I had to choose an epitaph for myself it would read ‘she was always anxious to please’!


Here is the Turtle-in-a-Wall hanging under the sewing machine. Again, as in the two previous wall hangings, I decided to blend the colours of the turtle fabric.

                                               Turtle at work

                                                            Detail

I chose a Mettler variegated thread because it reflected the colours in the fabric and it sewed beautifully.

                                                   Variegated thread

 For the individual wall tiles, I matched threads with the colours in the fabric.

                                                    Matching threads

 Here is the completed turtle, illustrating what I wanted to achieve when I started. This one has come through a few transitions fabric-wise to get to this pleasing outcome, perhaps the next one will be plain sailing. I’ll believe that when I see it! And did I say the next one? Watch this space ……… eventually!

                                                       Quilted turtle

 
                                                                 Detail

 It is easier to see the quilting detail from the back before tidying up. As usual I have done all the quilting straight onto the batting.

                                                 Quilting on batting

 This is the WS of the backing fabric, already sewn onto the quilted front. It was placed with RS together against the front of the quilt and I have sewn a ¼” seam all around the outside edge. I have trimmed away the excess fabric and cut across the corners prior to turning through. Notice the cut strip of fusible close to the top edge; the quilt will be turned through this opening.

                                              Before turning through

 And what have I learned? I have learned that I can still work under pressure when need be and produce a good standard of work for others to enjoy. I can still come up with original ideas and interpret them to my own (and others people’s hopefully) satisfaction.

                                                  Three in-the-wall quilts

 Here are some of the sale items I have been making.  ‘Rainbow Gardens’ seems to be a good title for these creations.

                                                       Rainbow gardens

                                                                 Detail

                                                          Framed Gardens

 And there are 4 of these soldered felt pieces which I intend to call ‘Burning Issues’. These I have mounted on card.

                                                           Burning Issue #1

 Other sale items are ironed and packed ready to go but I will post photographs when I am ‘hung’! Not before time says my husband although a little drawing and quartering wouldn’t go amiss as well!!

Sunday 5 April 2015

BLOG 242


BLOG 242 Sunday April 5th

 Happy Easter! Another holiday weekend is upon us and, luckily, some lovely weather has arrived with it too. This leaves me with a bit if a quandary … garden or craft room? … craft room or garden? The craft room wins hands down because of course I have an exhibition looming and unfinished items that need finishing. And, to use my favourite expression, I felt another quilt coming on …!!! This time I decided to work on a turtle. These were often seen during our time when we worked on remote islands in the South Pacific 40 odd years ago. We even brought back a turtle shell as a souvenir and it hangs on our bathroom door as a constant reminder of those wonderful days. I must add here that the local people used to habitually catch turtles for food and the shells were often sold to the expatriates. This artefact proved invaluable when drawing the Master pattern.

                                             Turtle shell

 
I sketched some shapes initially referring to Google images for inspiration.

                                                           Sketches

 Then I drafted one of them to size as the Master pattern. This time I chose to include regular wavy bricks for the wall.

                                                           Master pattern

 I chose 2 fabrics that I thought might work together.

                                                        Chosen fabrics

 I made a template for the wall which made it easier to prepare the fusible shapes for the bricks.

                                             Template for bricks


I was able to bash on with the bricks and soon they were all completed and pinned onto a working copy of the pattern. Then I started to make progress on the shell of the turtle and I realised straight away that I didn’t like the fabric that I had chosen.

                                                                   Wall


Back to the stash for another root about and, as luck would have it, I found an ideal fabric; one that looked like it was fragmented already, like a mosaic.

                                                             Ideal fabric


I used larger pieces for the shell and continued to fragment it wherever else I used it. I felt as though I was making good progress.

                                                      Progress

 
                                                        More progress

 Whilst I was working on this, I had my granddaughter here for a sleep-over and she has been dying to get into my craft room for ages. From the windows she could see colours, and fabrics and threads and a multitude of things to fiddle with! After much pleading I took her in there and set her off on a project using my leftover ready-fused bits of fabric. I put a small piece of batting onto a sponge block, gave her some pins and told her to cover the batting, making sure that the fusible layer went against the batting. When she ran out of pins, I ironed the fabric pieces to stick them to the batting and to release the pins again. This is what she did in half hour. I am so proud of her and thrilled that she is interested in being creative.

                                                                  Ella’s art

 Back to the turtle and you will notice a great difference between what I had on my design wall one day and what I changed it to the next day. Going back to my original concept for these hangings, in my mind’s eye I envisaged the animal/creature coming out of the wall subtly and I certainly hadn’t achieved that with this hanging. I liked the shell and fragmented flippers, but little else. The face and neck were too light and the bricks were a contrast rather than a gentle transition.

                                                    Revised version

 Here you can see how differently the hanging looks now before fusing and I like it much better. One more thing to be done before it goes onto batting for quilting, those two irritating and almost white shapes just above the turtles head! They look like 2 sticky-up ears!! You probably wouldn’t have noticed them  but once you have seen them, they leap out every time you look at the quilt!

                                          Irritating light shapes

                                                        Final image


Only the quilting and finishing is left and I hope to do those this coming week, fingers crossed!