Sunday 29 October 2017

BLOG 369

BLOG 369

 
PRACTICAL WORKSHOP: THE MIX AND MATCH CUSHION
This project would make a very personal and novel gift for Christmas, especially if you are aware of the everyday décor used by the recipient. Side 1 will be made using colours similar to those everyday fabrics. Side 2 will be made using Christmas fabrics so it could be on display for the short festive season. (I have simplified this project to use only 3 fabrics but the samples below show 4 fabrics)


Samples 1 and 2


Requirements for cushion
14” square pad
2 large buttons to cover
16” square of fabric for both sides 1 and 2
 
 
Fabric requirements for reversible cover
Cut the following fabrics for both sides:-
Main fabric A: two 11 ¾” squares. Cut each of them on one diagonal to give 4 large triangles.
Fabric B: four strips 2 ½” x 16” and four strips 2 ½” x 9”
Fabric C: four strips 2 ½” x 12 ½” and four strips at 2 ½” x 4 ½”
Joining strips (contrasting fabric):
Two strips: 1” x 11”, two strips 1” x 22” and two strips 1” x 44”
 
Other requirements
Low loft wadding: four 11” squares (mark a diagonal line on one side with a permanent marker)
Thin elastic: ½ metre
Sewing machine: threaded with neutral colour on top. Prepare 2 bobbins with threads to match the fabrics used for the large triangles.
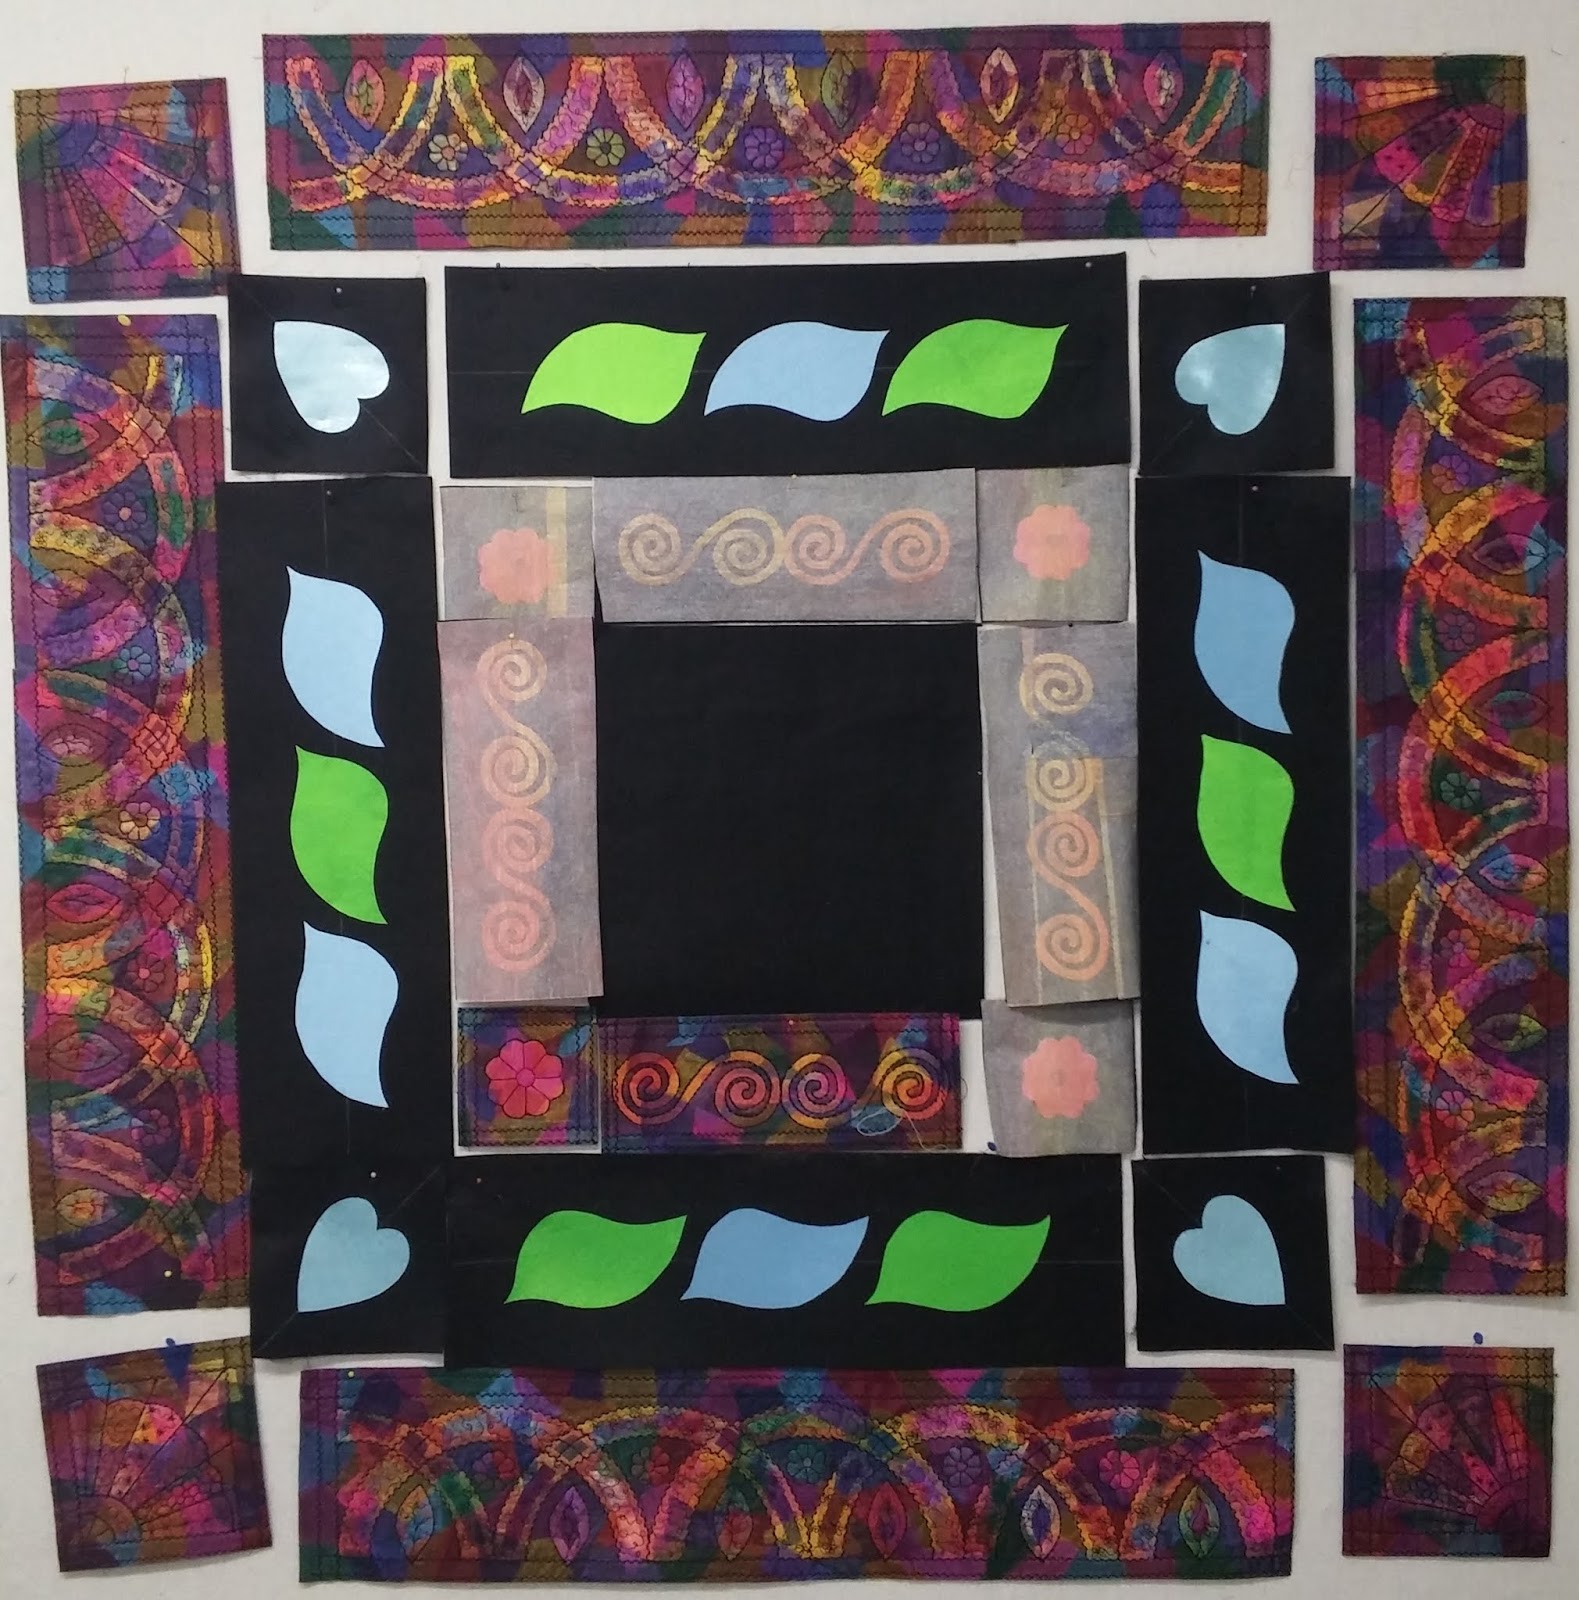
The Block (one of four)


Blocks front and back
Next Thursday Rog and I will be attending the wedding of the daughter of our best chums. I have heard in detail about the preparations for many months and next week it will become a reality. My part in all this is to organise the signing of blocks for a signature quilt. The bride-to-be was delighted when I suggested it so the project has required some detailed preparation on my part … but as usual it turns out to be a last minute rush! This is a sample of the block I have chosen to prepare and I will be using maroon and gold fabrics with calico. My outfit has been purchased and the accessories have been bought. Rog too is all prepared …. but I won’t be sitting next to him!


            Signature block


                 Style icon


Sunday 22 October 2017

BLOG 368

Blog 368
 
Here is the sequence of work this week on my Welsh quilt. I cut the rest of the pieces from the black felt to give some sort of form to the project. This showed me just how much I have yet to do! However, having worked the longest outer borders first meant that I felt that I have broken the back of this project. And there is still the fervent hope that all the pieces will fit together easily in the end!!


               Quilt layout


Having already done samples for some of the repeated sections meant that I knew what I was doing and I didn’t have to make any further creative decisions. I could happily motor on!


              Repeated sections
With reference to the design I drafted on graph paper, I continued to flesh out the rest of the sections. I added the appliques and detail and covered them with the painted fusible ready for to take the layer of sheers. Here’s the progress to date. I will cover all the remaining sections before slumping at my sewing machine to do the extensive stitch work with black thread. Only then will I start the soldering process. I am loving this quilt …. a lot!


             Sequence 1


             Sequence 2


             Sequence 3


                Sequence 4


             Sequence 5


Sunday 15 October 2017

BLOG 367

Blog 367
 
 
I left school 50 years ago this year and I have just returned from a school reunion this weekend. I attended Ulverston Grammar school in the southern Lake District and our year was the last year of the grammar school system as the school became a comprehensive in the autumn term. Mr. Longbotham,(alias Drag!), the old and very traditional headmaster, retired and the upper 6th all went off into the big wide world with aspirations in our head, hope in our hearts, and trepidation in our bellies. I went off to Anstey PE college and then on VSO to the S Pacific and then became a quilter; who would have forecast that chain of events? This has been our 4th reunion: 30 years on, 40 years on, 45 (time was getting short!) years on and 50 years on. It was lovely seeing everyone there and chatting to them. And isn’t it amazing how most people’s lives can be condensed into a few well-chosen sentences in conversation. Choose your sentences with care because that is what ultimately defines you to the rest of the world!
This week I have continued to work on my alternative Welsh quit. I was waiting for some more synthetic felt from ‘Artvango’ and it arrived over the WE so there is nothing holding me back from making this quilt now. I have continued to add stitch detail to the panels already completed and I have done a trial sample for another section and corner for reference. This project will just keep evolving steadily now.
 
               Stitch detail 1


               Stitch detail 2


             Inner border


              Corner motif


Coming up next time is an idea for a Christmas project which I will be teaching at my local craft group in a couple of weeks’ time. It is a reversible wrapped cushion. One side will be made from fabrics which match the everyday décor and the other side will be made from Xmas fabrics. It would make an original gift for someone special.


                Xmas cushion front


              Xmas cushion back


                 Reverse pad


                Reverse cushion


Sunday 8 October 2017

BLOG 366

BLOG 366
 
I have done more work on the border strips this week. The patterns I am using on this contemporary piece of work are normally used as quilting designs and they were sourced from traditional Welsh quilts. Instead of quilting them though, I am appliqueing the designs onto the felt background. As I added more layers of colour I realised that I was losing sight of the designs so I made the decision to define the shapes with a strong machine stitch. I used a chalk marker to define the lines surrounding the strips and the chalk disappeared as I was sewing.


Outer borders

 
            In progress
 
On my Bernina sewing machine, I have used Stitch 709 for the lines which are easy to follow and Stitch 713 for more complex shapes. Beyond that all the extra detail will be added by free-machine stitching and a soldering iron.


          Stitch 1


                Stitch 2


            Corner squares


               Detail
 
Here’s a reminder of the effects of free-motion stitching and soldering on the useful samples that I did when I was thinking through my working methods. Some design details have changed in translation.


           Border motif


             Corner


Sunday 1 October 2017

BLOG 365

Blog 365
For the last 3 weeks I have been teaching some members of my village craft group how to make a memorabilia box. They are a very able and enthusiastic group, willing to try any sort of craft. We did the simplest construction (without a decorative lid) and here’s mine which is now ‘in stock’ until the next occasion comes around when I need a suitable gift.
 
             Memorabilia box outside


           Memorabilia box inside
 
Our house has a long corridor which just lends itself to displaying quilts on floor-standing wooden rails. On each of the four 18”-deep window sills, there is a prolific house plant which eventually outgrows its space and dies from the centre outwards. So to regenerate the plant every year I need to take loads of cuttings and replant them in the greenhouse. Soon they start to flourish and they are brought inside again to make a lovely show of colour against the quilts lining the corridor.


              Plant


            Re planted
 
This week most of my studio time has been taken up with progress on the alternative Welsh quilt (one day I will come up with an appropriate name for it). Although it will probably only take you a few seconds to read what I am writing and see what I am showing, just remember that this constitutes a considerable amount of creative time for me!


           Border strips


               Progress
 
I love to be where my ironing surface is, as it is a sea of colour. I am surrounded by it and it makes me very happy .What’s not to like eh?


            Colourful environment