Sunday 26 November 2017

BLOG 373


Blog 373

 The cushion has been prepared with a Xmas side and an alternative side.
 

                    Xmas side


               Alternative side


 The buttons have been covered ready to be attached right through the centre of the cushion. Use strong thread to do this and do a few stitches into the centre first to depress the bulk of the cushion.  


              Covered buttons


              Xmas combination


             Alternative combination


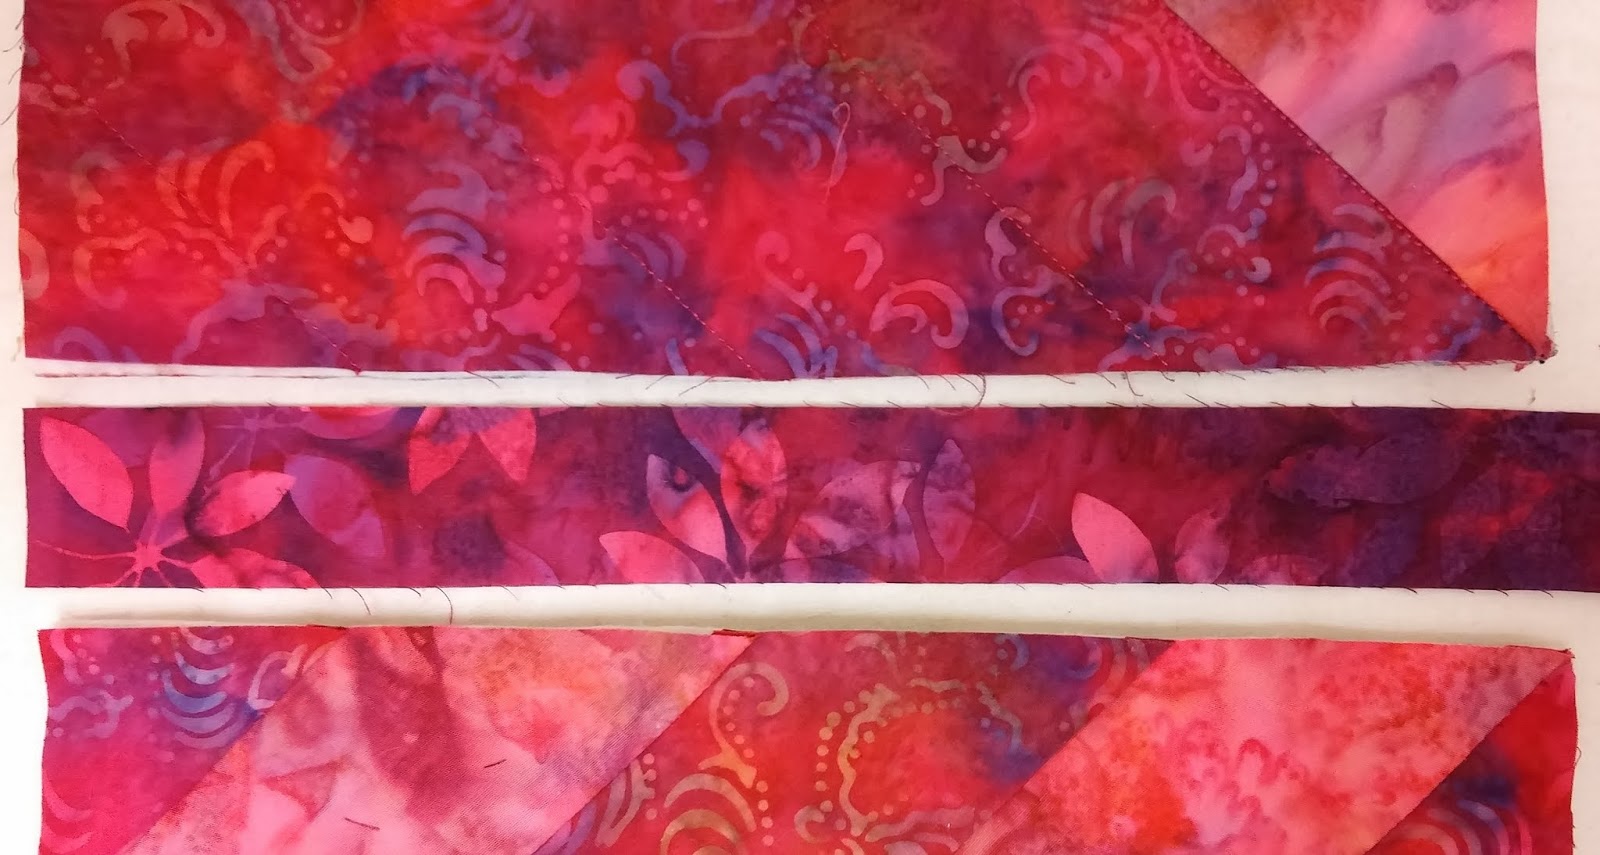
The cover needs to be bound now and, as I am doing a 2-coloured binding, I need to sew together a 1” Xmas strip and a 1 ¼” alternative strip with an accurate ¼” seam to measure about 90” in length (the strip measurements are an amendment to the original list of requirements).  This is sewn on in the usual way with a generous seam allowance this time, slightly more than the usual ¼”. Fold the end of the strip to start, mitre the corners and overlap the fold to finish. Turn the binding over to leave the Xmas fabric on the Xmas side, the seam along the top and the alternative fabric on the other side. Turn under and sew down the seam by hand to complete the binding on the alternative side.
            2-coloured binding


            Folded start


                Accurate seam


              Mitred corner


             Turning the binding


They are almost complete. The only thing I haven’t done is to add the fine elastic loops to the corners (I thought I had some in stock … and didn’t!). These loops stretch onto the central button to hold the corners in place. Ta Dah!


                Xmas cushion 


               Alternative cushion


And more signature stars have been sewn for the wedding quilt.
 
                ignature stars


Sunday 19 November 2017

BLOG 372


Blog 372
 
MIX AND MATCH CUSHION

1 Trim all the squares to 10 ½”. Use a square ruler, laying its diagonal line along the centre diagonal seam of the block.  Cut on 2 adjacent sides and remove the excess fabric. Rotate the block and place the trimmed edges along the marked 10 ½” line on the ruler. Cut the remaining two sides.

             Match the diagonals


              Cut 2 sides 


             Align edges and ruler
 
Once the blocks are trimmed they are ready to put together. There are two possible layouts and the second one is the most interesting for this project.


            Not like this 

            Like this
 

My joining strips for the Xmas side is the reverse side of one of my Xmas fabrics; this one is cut at 1”. The strip for the other side is cut at 1 ½”.


                 Xmas strip 1” strip


                Alternative strip 1 ½” strip 
2 Place the 1” joining strip RS down along the edge to be sewn (remember I am using the reverse of my fabric!). Pin this in place. AT THE SAME TIME place the joining strip for the other side along the same edge with RS together. This means that the strips are sandwiching the block. Sew a very accurate ¼” seam to attach these strips.


               Pin RS together 
 
            Add second strip


             Accurate seam2 Open out the 1” seam so that it covers the sewing line and place this RS down along the correct edge of the next block. Pin this in place and sew with a very accurate ¼” seam.


            RS together on next block 


            Accurate seam 2 
3 On the WS you will see that these seams have pulled the raw edges together so that they meet in the middle. Press over the wider strip to cover these edges and turn under a small seam allowance so that the line of stitches is covered. Hand stitch with an invisible stitch to close the seam. Place it back into sequence. 


            Raw edges together  
            Cover the seam


              Turn under and hand sew


Repeat this process to join the second pair of blocks to each other. Then use the longer strips to join two squares to two squares to finish the cover ready for binding.


Sunday 12 November 2017

BLOG 371

                                                 
Blog 371
MIX AND MATCH CUSHION PROJECT Part 1
 

1 Lay the large Xmas triangle onto one side of the wadding so that the right angled edges lie along the edges of the wadding. Accuracy is important. Pin the edges to secure.
 

              Accurate placement
 
2 At the same time, lay the other large triangle (from the alternative colour scheme) onto the other side of the wadding, lining up the edges on the opposite edges of the square. There will be an overlap of the fabrics right on the corner.


            Overlap
 
 
3 Place the first Xmas strip (longest) along the edge of the Xmas triangle with RS together and pin it in place.


            First strip Xmas
 
4 Turn over the wadding and pin the first strip from the alternative colour scheme onto the other side in the same way. Pin through all the layers from this side and remove the pins for the seam on other side.


First strip alternative
5 Use a marker to draw a diagonal line on the lighter of the 2 long strips, going from 1 overlapped corner to the other. Sew along this marked line to attach both strips through the wadding, removing the pins as you go.
6. Flip the strips over onto the wadding, on both sides, so the RS is visible.
 

                Flipped Xmas strip


              Flipped alternative strip
 
7 Add the remaining strips in the same way to complete the square on both sides: i.e. place RS together, sew and flip. Remember to use the correct coloured thread in the bobbin as this will be seen on the other side. (EG I used gold in the bobbin to show up on the Xmas side when I sewed the strips on the alternative side … and red in the bobbin when I sewed the Xmas strips).


…. And this is a jigsaw I found time to complete this week. I can’t tell you how much pleasure I get from doing a jigsaw, I could never walk past one without trying to fit a piece. They are sometimes time consuming and fiddly but the process is very relaxing and satisfying, better than social media!!

             Jigsaw


Sunday 5 November 2017

BLOG 370

Blog 370
I attended a wedding at Willington Hall this week. The daughter of my best friend was getting married and it was such a lovely and happy occasion! The selected colour theme was maroon and gold and I offered to make a signature quilt to mark the occasion.  I only made this offer 2 weeks ago, so I had a bit of a rush to get the necessary fabrics together. I have made myself a signature quilt before for my Silver Wedding anniversary.


              Silver wedding quilt
 
I also made one a few years ago for the bride’s mother on the occasion of her 60th birthday.


          60th birthday quilt


I love star quilts but I don’t like to repeat a pattern too often so I used a traditional 8 pointed star and left a space in the centre to take a signature. I think cards or guest books are the place for sentiments, messages and comments and the bride agreed that it should be just a signature quilt. As I will be machine embroidering all the names, I was heartily glad!


            The pattern
 
I cut all the pieces out to make sure that I had enough fabric and placed them into bags. This is very organised for me!


              Organisation


I draped a signature quilt behind a table and placed two baskets on top of the table, one for signed blocks and the other for unsigned blocks. I also put up a notice to let people know what was going on. It caused much interest!


           Invitation to sign
Signing on fabric can be difficult so I decided to use water-erasable markers and I also fashioned a square of sandpaper to put over the top of the square to stop the fabric from moving too much. It worked remarkably well.


                Sandpaper


                Signed blocks


            Gold stars


              Constructed stars