After a hectic Christmas and New Year, I have had the luxury
of a quiet week and I have spent a lot of quality time in my workroom. I could
hardly call it a studio, that would sound pretentious and I don’t take myself
that seriously! It is actually a workspace in a converted section of the garage
and therefore separate from the house. As such, it doesn’t have any built-in
heating system and so I have to plan well in advance when I am going to enter
this ice box, so I can heat the space in advance. That said, the weather is
mild at present and, if I enter on the crest of a power surge, it is a pleasure
to be in there!
I have made a concentrated effort on a new project this
week. I have been invited to submit a quilt for a group exhibition on the theme
‘Something borrowed; Something blue’. You can see the obvious reference here,
it being the year of the Diamond Jubilee. Obtusely, my design thoughts have
veered well away from an obvious interpretation and I have decided to do a
picture of a Bluetit; a visual delight borrowed from nature and a bit blue in
colour. (It’ll be different, that’s for sure!)
Last week I demonstrated how I fused a collection of
painterly fabrics in preparation for a project. This week I am going to outline
the first step of my method, where I use the fabrics to paint the surrounding
background first.

Background grid
On baking parchment (or on the paper removed from the back
of the fusible web if it is large enough), I draw a grid of 3” squares. These
squares are staggered on the vertical, so that the join on one line is midway
between the joins on adjacent lines.
I devised this staggered square method to construct the water colour gardens for my series of
wrought iron gate quilts. It makes the joins less obvious and gives a softer
transition from one square to another.

Outline of image
On top of the grid I draw an image or pattern of what I want
to ‘paint’ with fabric, in this case a rather formal Bluetit. During the summer
months, this will eventually replace my puffed up Christmas Robin wall hanging
on the kitchen wall.

On top of the grid I draw an image or pattern of what I want
to ‘paint’ with fabric, in this case a rather formal Bluetit. During the summer
months, this will eventually replace my puffed up Christmas Robin wall hanging
on the kitchen wall.

Robin
As this is my second wall hanging on the subject of birds, it can loosely be called a series (who
knows if I will make more; I certainly don’t!)! Artists, of whatever
discipline, are generally encouraged to create work in a series so that they
can effortlessly explore and develop a technique, a method or an idea to its
fullest extent, and wrestle with and solve any design problems.

Second tracing
I make a second tracing of the bird so I can ‘paint’ this
independently of the background.
I make a second tracing of the bird so I can ‘paint’ this
independently of the background.
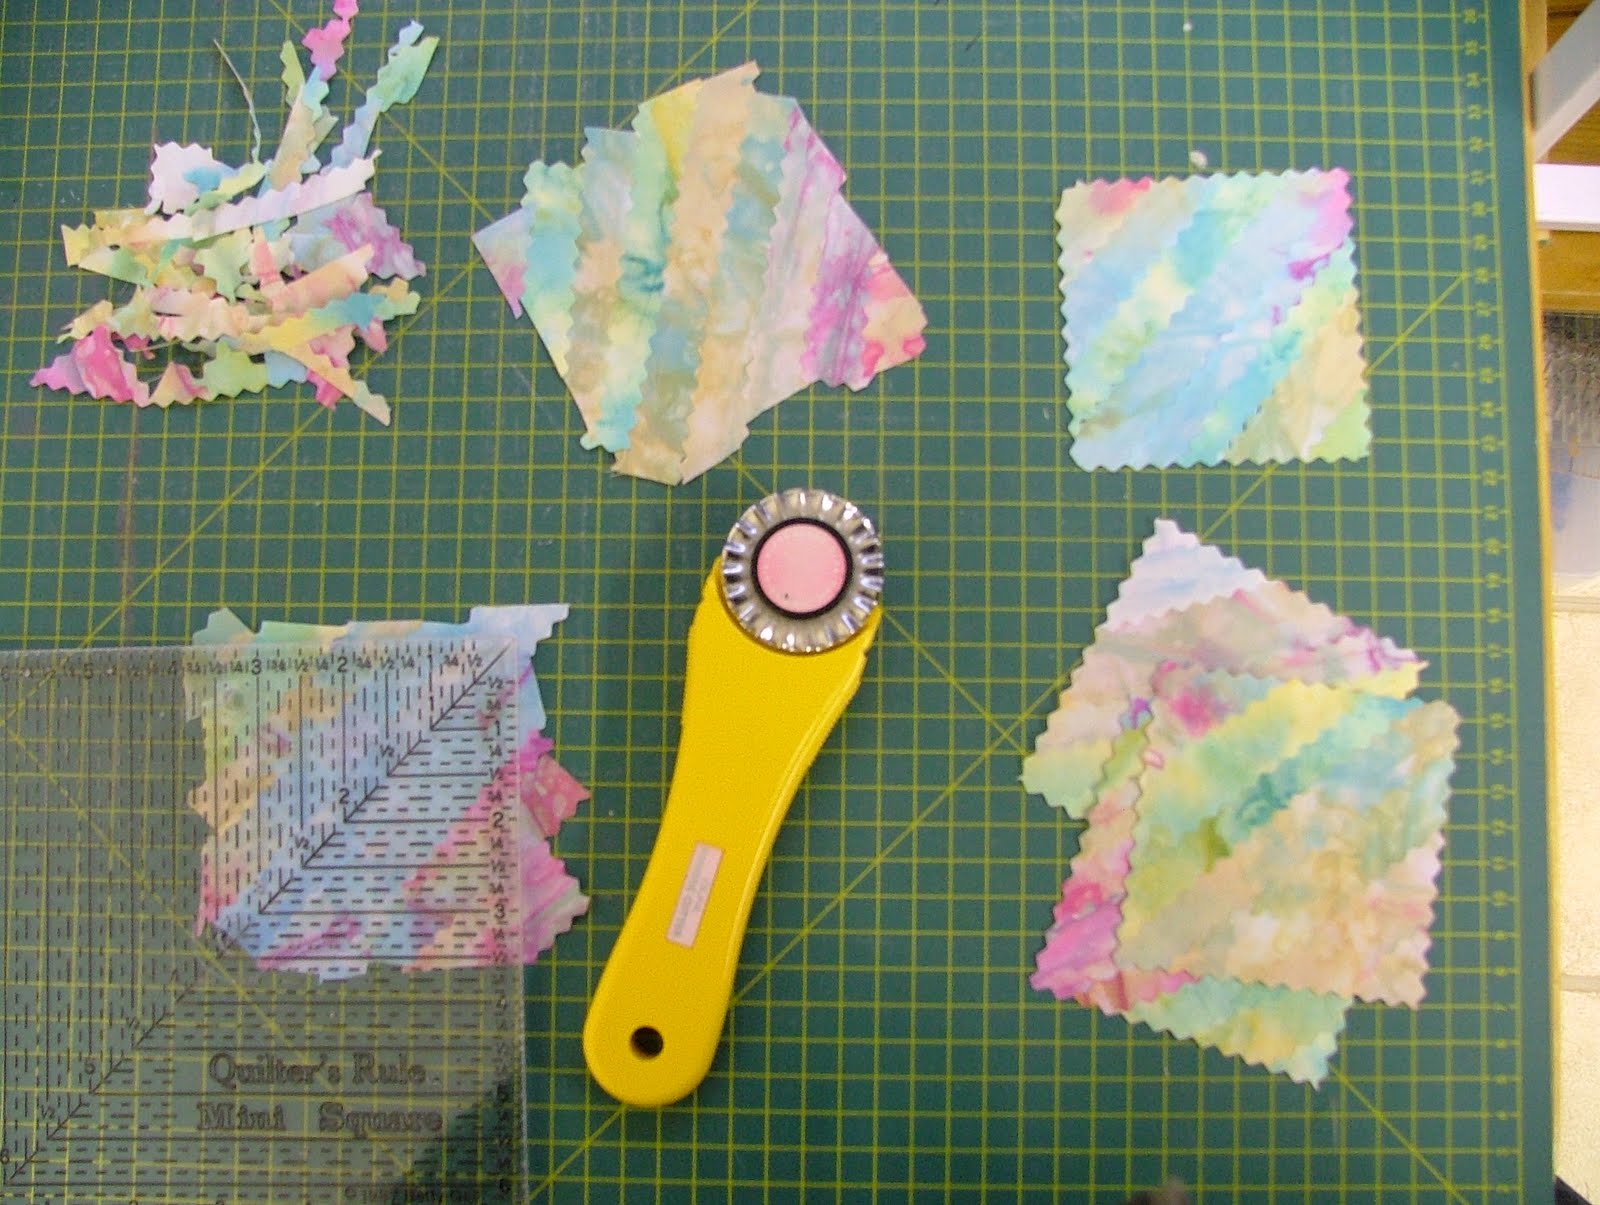
Background squares
Using some of the prepared fused fabrics, I start to
construct the background surrounding the bird. I use 2 or 3 fabrics that blend
and I try to reproduce brush strokes with strips cut using a pinked rotary
cutter blade. In this project, the squares are cut at 3 ¼” and pinned in place
onto the prepared grid.

Squares on the grid

More squares
I will develop this further next time. Have a good week.
I will develop this further next time. Have a good week.

No comments:
Post a Comment