I have taken my granddaughter’s scrap quilt onto the next
stage this week. I believe … and hope … that I have constructed all the blocks
that I need to cover the top of her bed. I need to make a decision on the
arrangement of the blocks and I find that the best way to do this is to try
different arrangements on a design wall and then to take a picture. When seen through the lens of a camera, I can
get a much better impression of the finished quilt because the picture lends
distance to the overall effect of the design.
Here are the 4
arrangements that I particularly liked. (Observation:
there should be no colours at the same level throughout the design for ease of
construction so this pic illustrates that there has been an error in
construction in the centre of the 3rd row!)
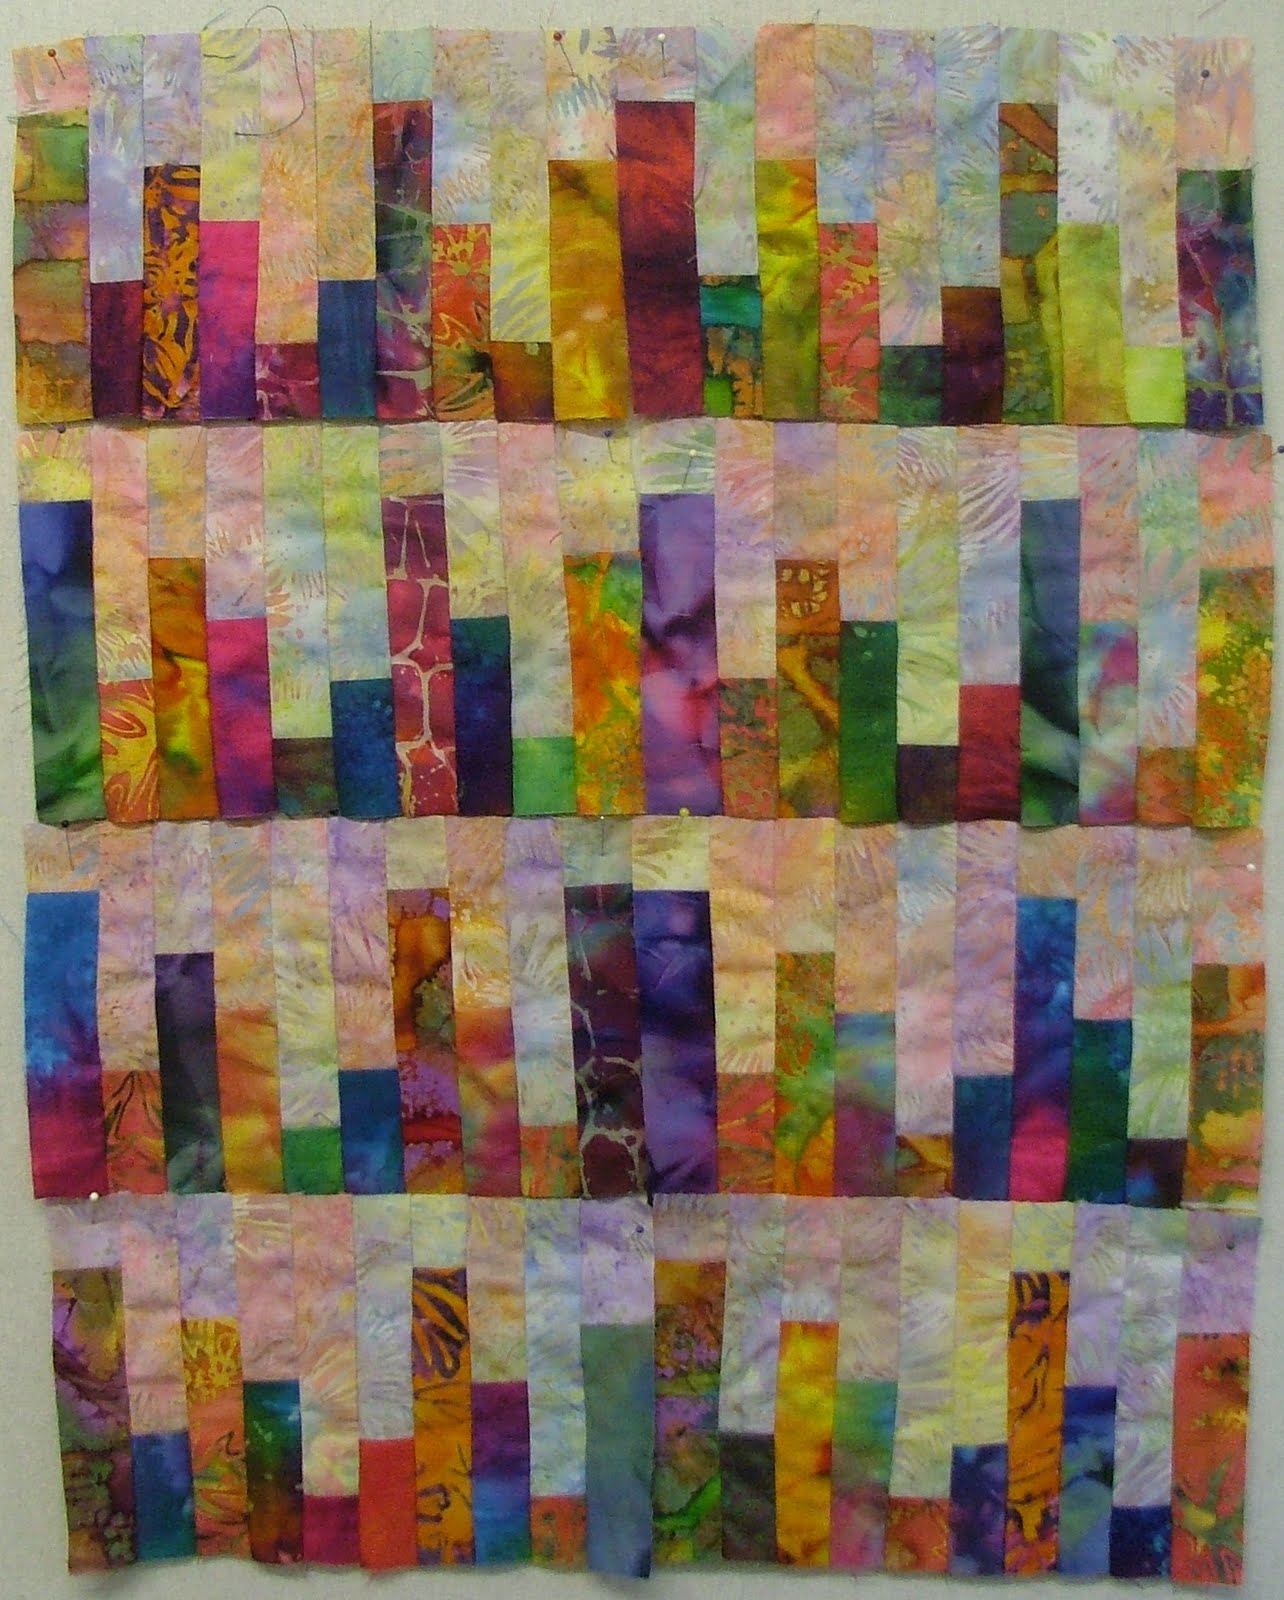
Arrangement 2


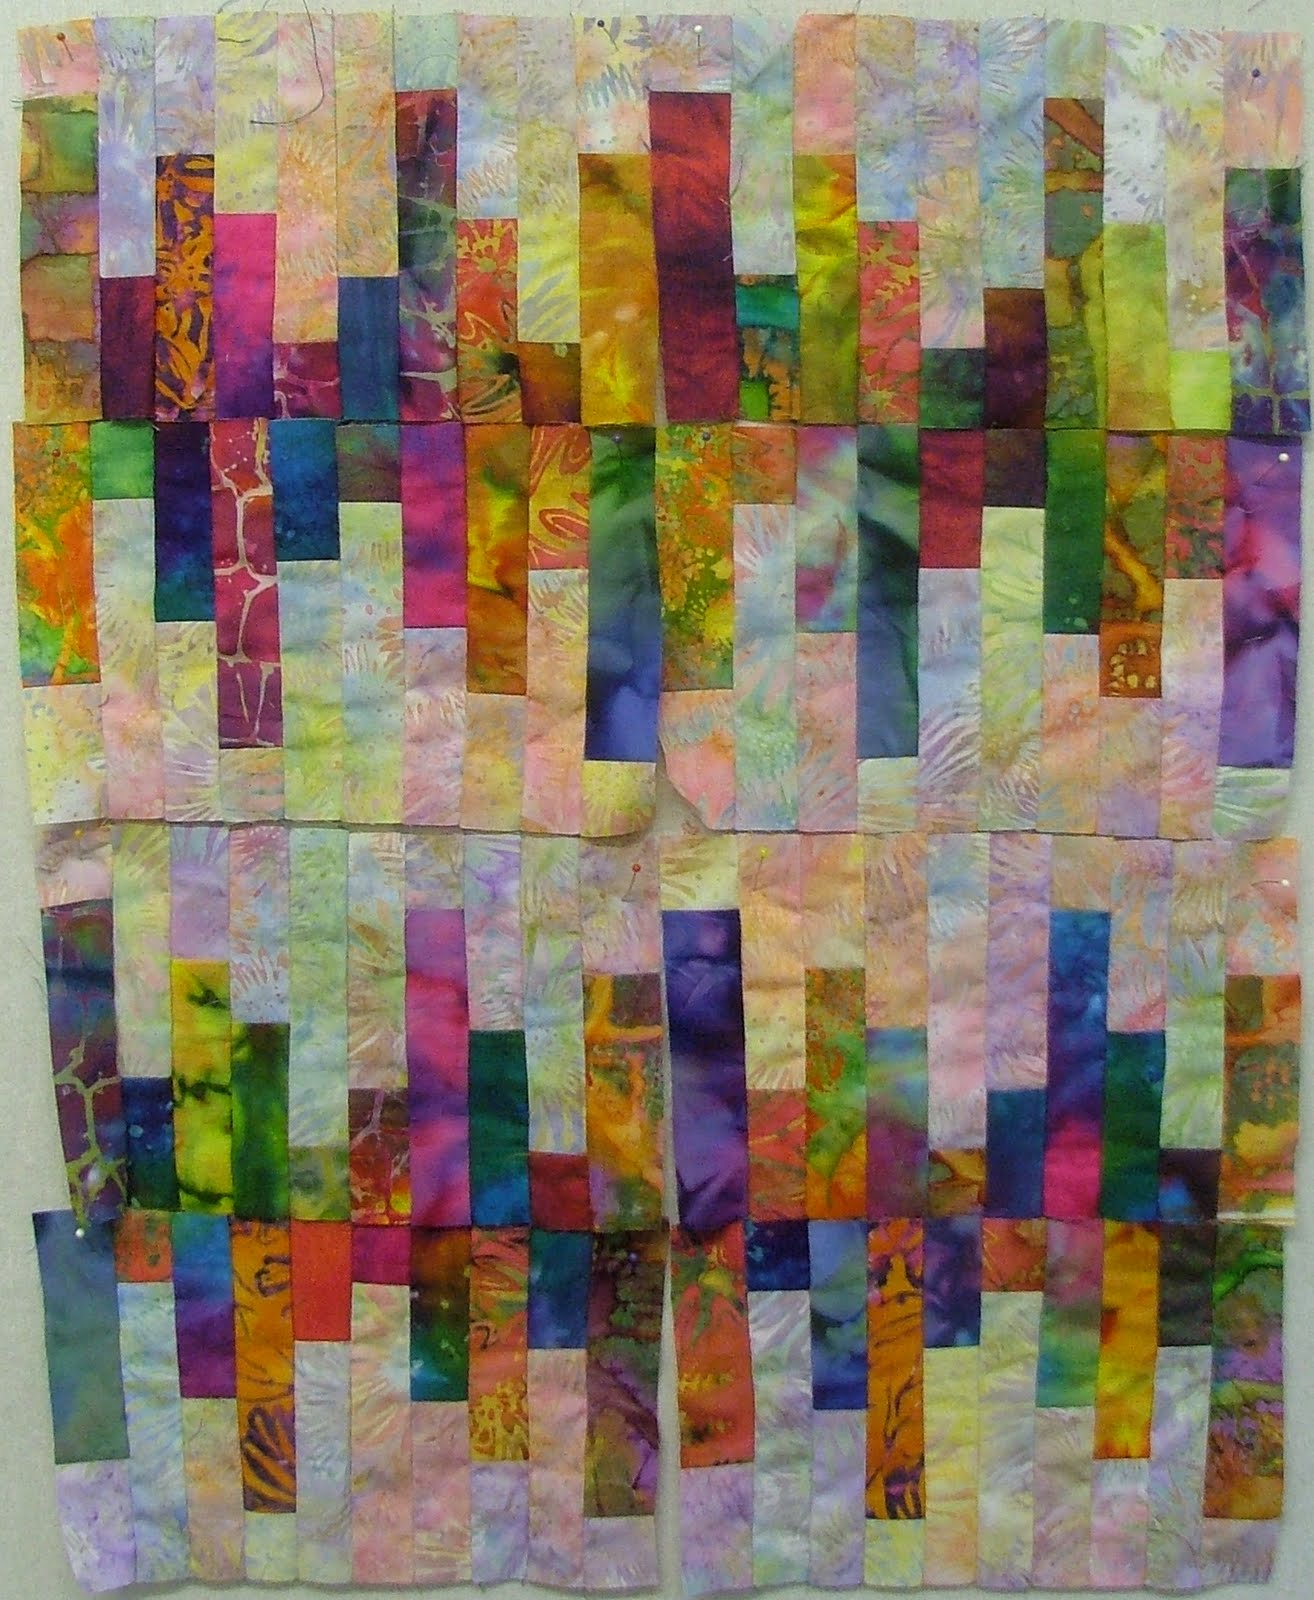
Arrangement 4
Visual choices are always very personal and all of these arrangements
would work well. Personally, I like Arrangement 4 best of all because I like to
see lines of pattern running down the length of a bed rather than across it.
Choice made!
I now need to sew the blocks together to make lines. Again I
must point out that I haven’t done any ironing on these blocks; I will do that
when I start to join the vertical lines together, to make it easier for me to
feed the blocks under the machine foot.
My main concern at this stage is not to put two of the same
fabrics side by side as I join the vertical rows. Once they are joined together,
I take them to my ironing board and steam press all the seams in the same direction
(I’m a butter-upper of seams not an
opener!). I work out which row will be underneath, lying on the plate of
the sewing machine, and press those seams down from top to bottom. This will
ensure that they lie with the direction that I am sewing. (I steam press by plonking my iron onto the seams rather than dragging.
This way, the strips don’t stretch.)

Steam pressing
I steam press the row that will go on top in the opposite
direction. The raw edges of the seam will go towards the needle as I sew and I
can adjust them. I pin about 4 times down the length of the strip just to hold
the edges together; all the rest of the work is done as I sew. I butt up each
seam as I go, feeling when it is lying flat with the forefinger of my left
hand. With my right hand I hold a large pin and, after I have butted up each seam,
I stick the point into the fabrics so that they won’t move as I sew. I remove
the pin when the machine needle is over the top. I check a section from the
right side as I go and the process works remarkably well!

Sewing the strips

Butting the seams

Checking the joins
I then press the seams and decide in which direction the
vertical seam will lie.

Vertical seam


Vertical Panels
Vertical panels

No comments:
Post a Comment