Sunday 12 May 2013

BLOG 148


CREATING THE BLOCK

It is better to build up a few light and dark panels before attempting to join them together. This allows your range of fabrics to spread throughout the quilt giving a ‘random’ appearance which is vitally important for a scrap quilt.


1 The main reason for sewing onto paper is to create an accurate block every time so before the paper is removed, the blocks need to be trimmed to the edge of the paper with rotary cutter and ruler.


                          Trim the panels


                                           Trimmed panels

 2 Remove the paper from the back. This will be easy if your stitch has been small enough to puncture the paper without tearing it. I usually tug gently on the upper and lower edges and the paper almost falls off.


                                      Remove the paper
                                               
 3 Use a ruler and rotary cutter to cut on the diagonal of one light and one dark panel. Cut the line cleanly and accurately from top left to bottom right.


                Cut on one of the diagonals


                                   Cut 1 dark and 1 light

 4 Repeat the process and cut one light and one dark on the other diagonal, from top right to bottom left.


Cut on the other diagonal


                                   Cut 1 dark and 1 light

 5 Position the eight triangles in sequence to create a diamond block, double-checking that there are no repeat fabrics adjacent to one another.


                       8 triangles create a diamond


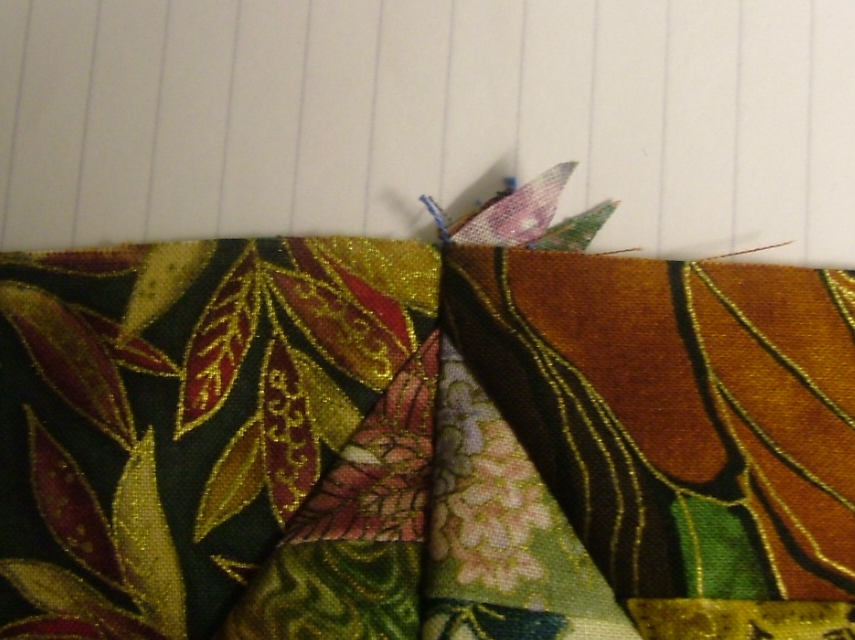
6 Place two triangles RS together, so that the raw edges of the diagonal seams are level. Rather than put the two points exactly together, allow the sharpest point to extend a good ¼” beyond the gentler point. Sew an accurate ¼” seam.


                             Extend the sharpest point


7 Sew the four diagonals to each create a rectangle that is one quarter of the design and place them back into sequence. Do not press at this stage.


                     Sew the 4 diagonals

 8 Place two adjacent rectangles, one on top of the other, with RS together. Finger-press the top seam to the left and the underneath seam to the right. Butt the seams up to one another and pin where they meet. Sew the vertical seam with an accurate ¼” seam allowance to create half the diamond. Check to make sure that there is a good ¼” of fabric beyond the tips of the diamonds (this is the seam allowance for joining the diamonds together later).


                                        Butt the seams together


                                     Accurate seam RS


                                          Accurate seam WS

Repeat this process for the lower half of the diamond to complete the block.


9 After checking the direction of the diagonal seams butt the seams together and sew across the middle horizontal seam to complete the diamond.

And these are the building blocks for a diamond string quilt.


                                     Completed block

No comments:

Post a Comment