Once I started along the creative pathway on the horse wall
hanging, I really needed to see it through to the end. My thinking was that if
it didn’t work, I would need to make something else. Perish the thought! But since
last week, visual problems have been solved and progress has been good. Because
I have chosen to do raw edge applique, I have had to do copious free-motion
quilting in order to prevent further fraying. Generally, I used light threads
on light fabric, medium on medium and dark on dark.
I purchased a vibrant red batik from a local shop and added
4” mitred borders. To do this, I placed one strip RS down along the edge,
holding it in place with pins that were placed at right angles to the edge for
easy removal. I also made sure that there was an extra 5” (for 4” strip) of
fabric beyond the corner to make the mitre.
Border strip
I started sewing the seam ¼” in from the corner with a
couple of secure stitches and I stopped sewing ¼” in from the other corner with
a couple of secure stitches.
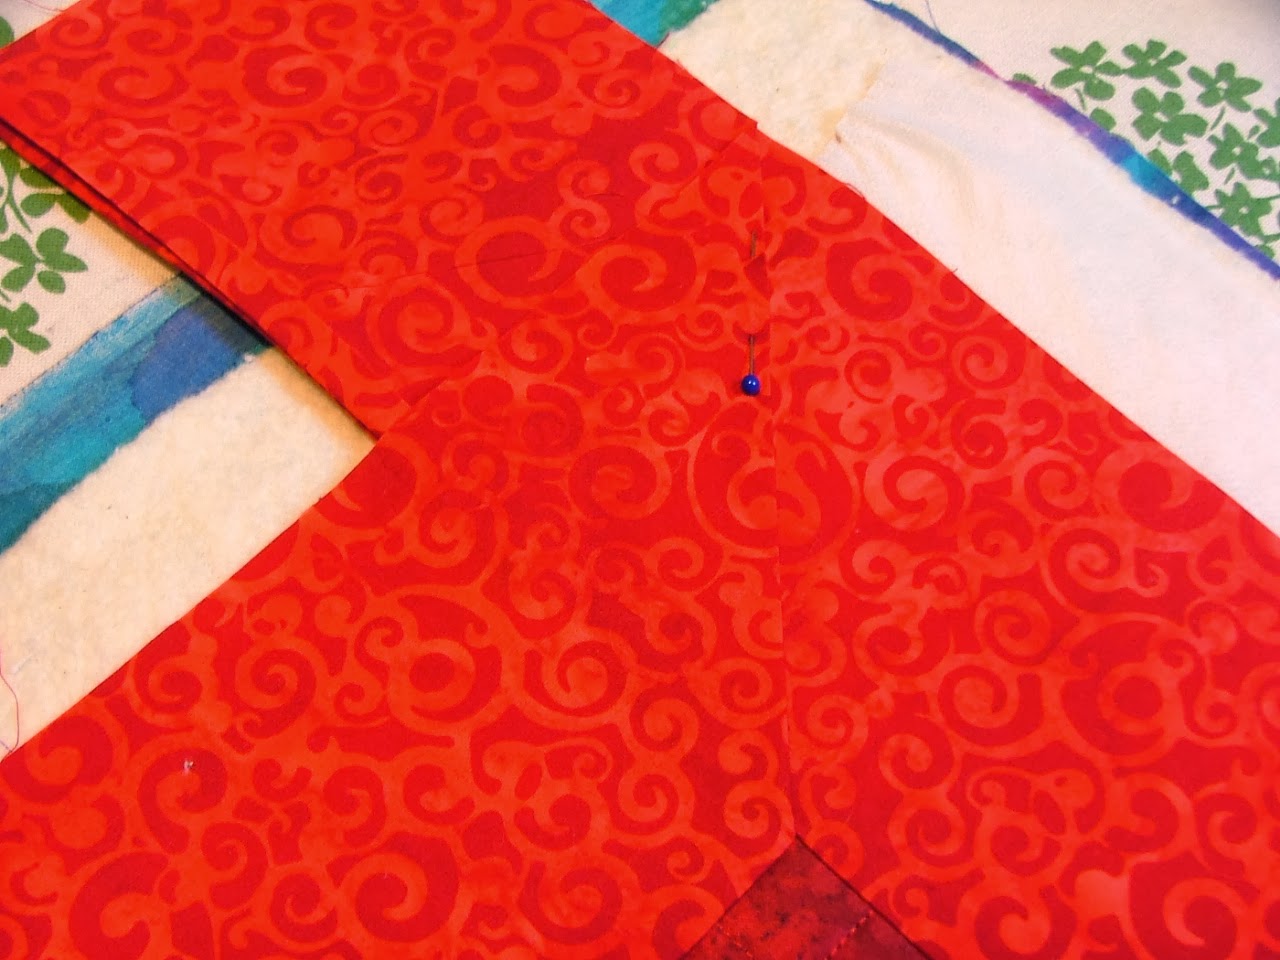
On the ironing board, I folded the top strip underneath
itself, so that its raw edges were level with those of the strip underneath.
This created a perfect mitre on the corner.
I pressed the fold to sharpen it and pinned it in place. I
repeated the process for the other corners.
Press and pin
On the sewing machine I sewed a line of stitches right on
the fold to hold it in place. I then trimmed away the excess fabric from
underneath the corner. The wall hanging was trimmed to make it 36” square as
required for the challenge.


No comments:
Post a Comment