I have settled back into the rhythm of quilt making once
again, perhaps energised after my holiday and certainly benefitting from a
break from routine. So it’s ‘onwards and upwards’ … or perhaps ‘onwards and
seam-wards’ in an effort to get this quilt completed.
LADY OF THE LAKE
Last week I showed the extra fat quarters to be included in
the remaining blocks, and I also showed the selected infill fabric for around
the edge. I completed the remaining blocks and placed them randomly throughout the
quilt. 
On my design wall I reviewed the blocks, making sure that no
repeat fabrics were next door to one another.

Before constructing the blocks into diagonal lines (NW to SE),
I needed to work out the size of the infill triangles around the edge. Now I
could say that I used Pythagoras’s theorem, citing that ‘in a right-angled
triangle, the square on the hypotenuse is equal to the sum of the squares on
the other two sides’ but no, I have a clever triangular ruler that tells me the
size I need!!
ASIDE: My maths teacher,
Mr Denny, would be so proud of me! I couldn’t see the point in geometry and
algebra at school, always questioning how it was going to be relevant to my
adult life. I tended to be disruptive, just trying to extract as much mirth as
possible from the lessons. But that was ‘life before patchwork’ and now I can’t
tell you how many times I have use geometry particulalrly to calculate sizes
and construct shapes.
These infill triangles are going to straighten the edges of
the quilt and it is very important
that the straight grain of the fabric is on the long side of the triangle. A
bias edge around the quilt would be disastrous and lead to stretching and
distortion. I used an old fabric as a sample and cut a 12 ½” square which I
then cut on both diagonals to give me 4 equal triangles with the straight edges
on the long sides.


I therefore decided to cut 13” squares for comfort. I
straightened the edge of the newly acquired fabric (no I never wash fabrics
before I use them!) and cut out 13” squares. I strongly recommend the right
tools for the job in hand; it makes life so much easier. I used a 24”ruler to
straighten the edge (note how a black vertical line on the ruler lies against
the selvedge) and a 16 ½” square ruler to cut the square.


Cut across the diagonals (bias of the fabric) to give 4
triangles with the straight grain going around the outside edge.

Join the quilt blocks together on the diagonal to make lines
and add an infill triangle to each end. Make sure the triangle is configured
correctly for its position around the edge.


For the corner squares the straight grains need to be at
right angles to one another so I cut two 7” squares and divided them across
just 1 diagonal. These were added to the
four corners.

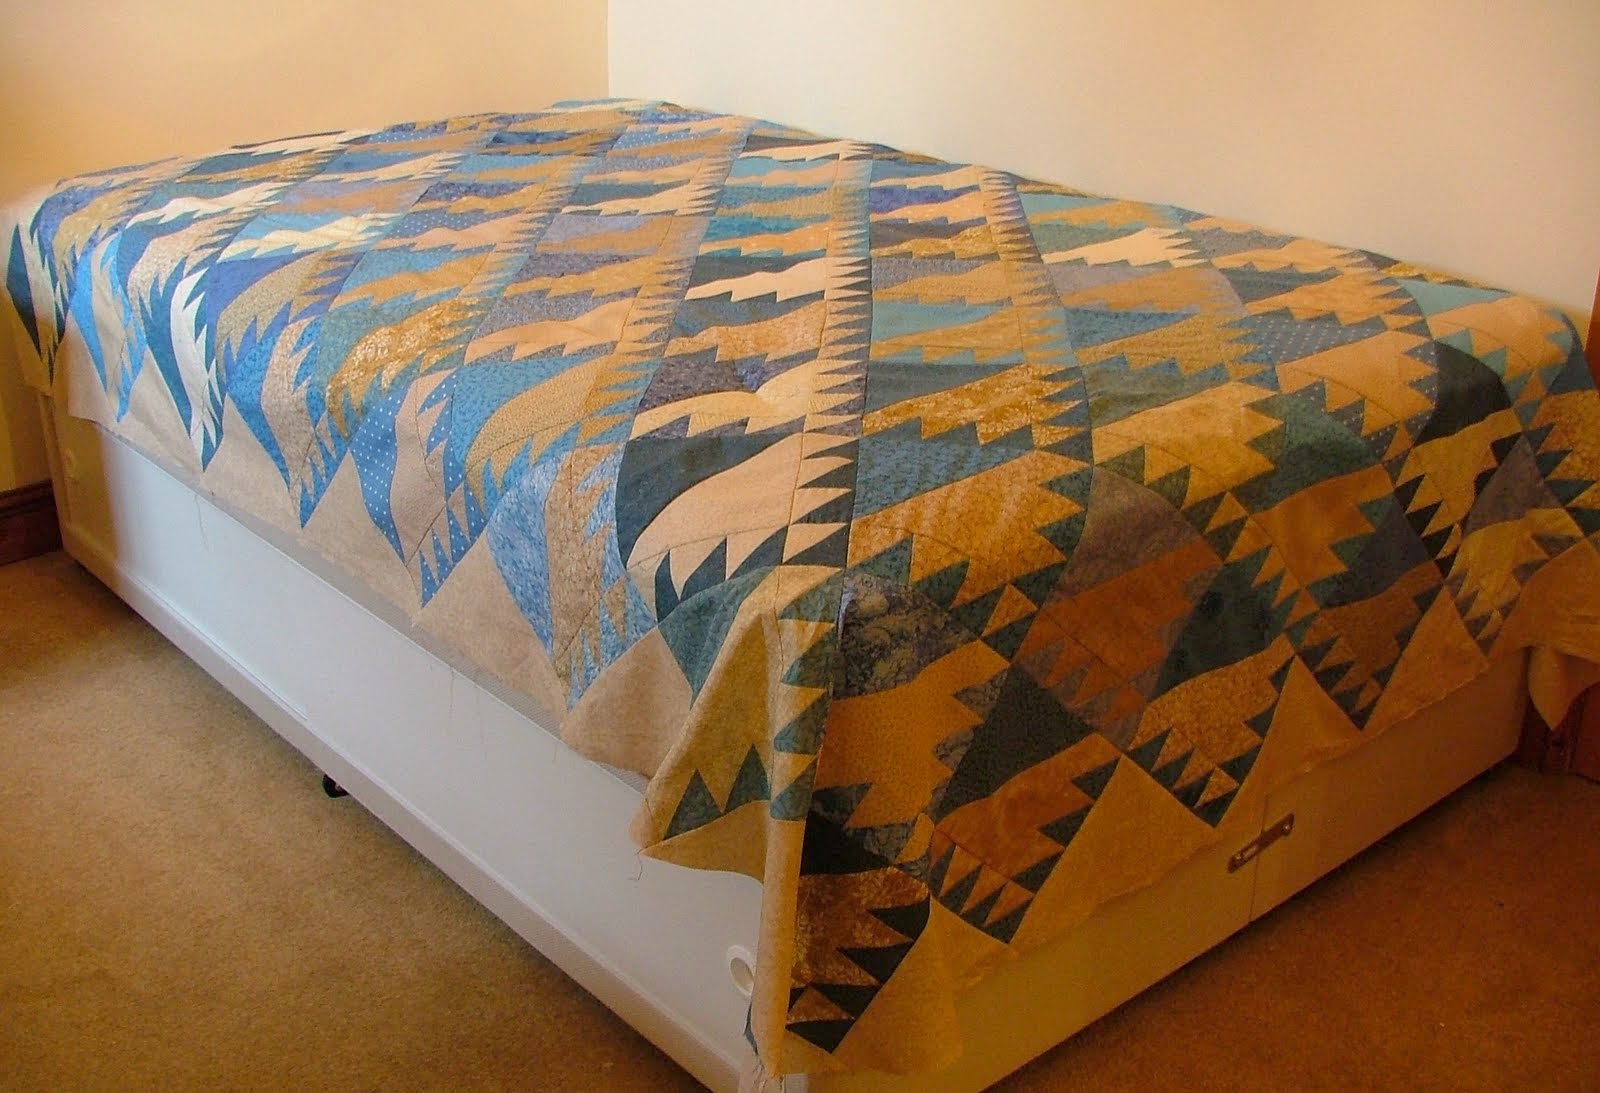
And before you know it you have a quilt top! Here it is on
the new bed. There is some way to go yet with borders and quilting, but I love
the look so far.


No comments:
Post a Comment