DELECTABLE MOUNTAINS continued.
This is the layout I chose in the end
so the next step is to join the individual shapes together to make the rows and
then sew row to row to make the quilt centre.

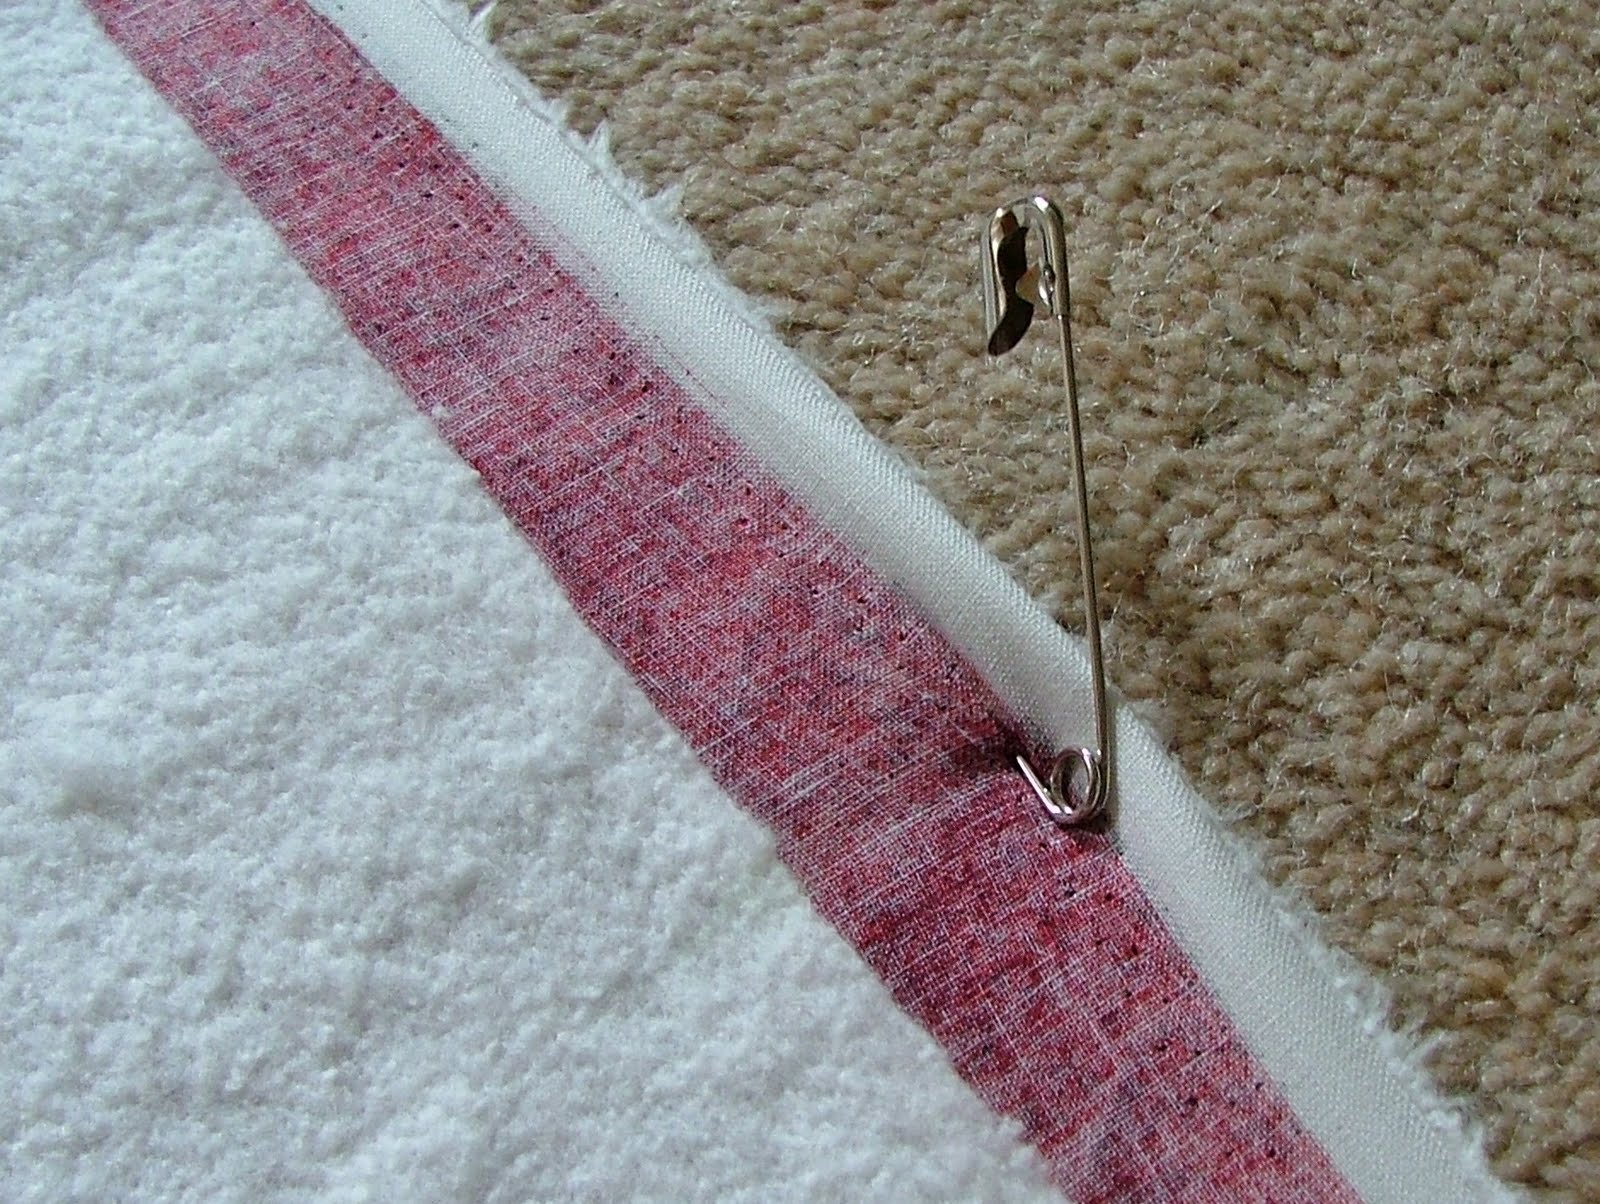
9 Place a pair of the pattern building
blocks RS together and pin to stabilise the raw edges and to hold the exact
point where the angled seams are going to meet. Create the rows first, sewing
an accurate ¼” seam allowance.

10 Press on the WS of Row 1 to establish
the directions of the seam allowances. Place Row 2 on the ironing board
underneath it. Press the seam allowances on Row 2 to go in the opposite
direction to Row 1 so the seams can be butted up. Place the rows RS together
and pin every 3 or 4 seams to hold them in place. Accuracy is imperative when
sewing these rows together with a ¼” seam. Check the points after sewing and
re-do any that are not sharp.

TIP: Don’t remove the pins until you are
about to sew over the top of them.

11 Always press the seams before sewing
to establish their direction, with reference to the previous row.


12 Choose the border strips. My inner
border was cut at 1 ½”.

13 Measure through the vertical centre
of the quilt and cut the vertical borders to that measurement. Join them to the
raw edges of the quilt centre by making the quilt edges fit the length of the strips.
14 Measure through the horizontal
centre of the quilt and cut strips to that measurement. Sew them in place to
complete the inner borders.

15 Repeat the process for the outer
borders. My outer border was cut at 2 ½”.

16 The quilt is ready for putting onto
the wadding and backing fabric. I had to join together two smaller wadding
pieces to make a piece large enough for the whole quilt. I did this by cutting
straight edges and butting them together (not over-lapping them). I sewed them with
the widest zigzag stitch on my sewing machine.

And as sure as eggs is eggs, Willow
appears to ‘help’!


No comments:
Post a Comment