Sunday, 17 April 2011

BLOG 48

The days are just flying by as I ricochet from one thing to another. There is just a week to go now before I set off for Paducah in Kentucky. Next Sunday I travel from Manchester to Chicago; I overnight there to catch my breath and start to re-adjust before going onto Paducah the following day. Looking forward to it all now that most of the preparation has been done.

I sent my teaching stuff in advance with UPS, at great expense I might add, but it is less for me to carry and worry about in the long run. I recall with dread a teaching trip to the US many years ago. I stood forlornly by the carousel at a transit airport watching a case, identical to the one that had all my teaching stuff in, going round and round on its own! On inquiry, I discovered that the destination of this abandoned case just happened to be the same as mine so I was advised to get to the carousel first on arrival and make sure that I picked up my own case before anyone else did. I can only add that there were scorch marks on the floor of the arrivals hall as I sped to the carousel and stood right by the hole where the cases appeared!!!

I am happy to say that I have finished the Falling Leaves quilt that I was invited to make as a project for QUILT magazine in the US. This project, with those delicious Hoffman painterly fabrics, was featured as a work in progress in BLOG 45. Here is a picture of the completed quilt.

01 Falling Leaves

I emphasised the diagonal lines of the design by placing similar bright fabrics together in several places. To me this gives the feeling of shafts of light shining through the trees. Quilting lines in red help to unify the zigzag appliqué stitches with the inner border and binding.

02 Falling leaves detail

03 Falling Leaves

I am pleased at what I have achieved in the brief time scale. It will accompany me and be shown in Paducah and then be posted on to the magazine to be photographed for the Oct/Nov issue.

I have also had an article printed in the latest issue of Fabrications magazine here in the UK. Our group quilt, ‘Beyond the Jelly Roll’ was mentioned in BLOG 40 and my article charts the journey of 8 quilting chums from a room in the Hilton hotel during the Festival of quilts to a first at The Great Northern Quilt Show. This is how it starts.

I enjoyed writing it and if you can get the magazine, it’s a good illustrated read.

Now you wouldn’t normally associate the word ‘conceiving’ with women of certain maturity- the ones with the combined age of our national debt and enough power surge energy to light up a small town!! Ok, I admit to slight exaggeration but conceive we did, in a room at the Hilton Hotel, during the Festival of Quilts. Eight of us conceiving whilst drinking sounds totally inappropriate but fear not, what we effortlessly conceived was one great idea!

Another good idea has surfaced for a quilt. We have had one sewing session here and we are due another tomorrow to make the necessary progress for this year’s shows. Here’s a sneak preview of my panel-in-progress:

04 My panel

I shall of course miss the royal wedding and will actually be working on that day, doing a demo in the morning, a lecture over lunchtime and a 3-hour evening workshop. It’s a good job my personal invitation to the wedding was lost in the post! It will however be fascinating to witness the event from the American perspective.

Sunday, 10 April 2011

BLOG 47

As promised last week, here is a glimpse at some of the student work-in-progress from the Shoreline Quilters’ retreat at Alston Hall. I love being there with them and it always amazes me that they deliver such exciting work. The swallows’ pattern is very complex and these pictures show just the cutting and fusing stages. You get instant visual results from the method but there is a lot of sewing ahead and it is fair to say that much of the completion goes on at home … sometimes!

1 Swallows (reverse appliqué)

2 Swallows (positive appliqué)

3 Swallows (reverse appliqué)

4 Swallows (positive appliqué)

5 Flower Wheel (reverse appliqué)

6 Flower Wheel (positive appliqué)

This week I went to Castle Court Quilters in Shropshire for the monthly machine embroidery day, where I become a student again and learn techniques that challenge me and make me step outside my comfort zone. I expect I could learn at home from books but where is the fun in doing that? And would I really allow myself to sit all day at my machine and sew? I think not. There are always quilting projects that require progress, household chores that never seem to end, telephone calls that disturb concentration, and there is an obsessive need in me to solve the difficult level of spider solitaire on the computer! So by paying to attend a class, I give myself permission to have a day away and I absorb as much from the class as I can.

This week Suzette taught us how to do faux chenille, a technique that has been around for many years in the quilt world. I have always loved the soft textured effects and now wonder why I have never had a go at it before! I am so proud of my first effort! And now my mind is working overtime wondering how I can apply it to my own work in the future. Just keep an eye on this space!

7 Faux chenille

8 Faux chenille (detail)

9 Order of fabrics

10 Faux chenille patchwork

Sunday, 3 April 2011

BLOG 46

I have been teaching a course at Alston Hall, near Longridge, this weekend, at the invitation of the Shoreline quilters. Alston Hall is a lovely old house, well situated in its own peaceful and extensive grounds (sounds like estate agent jargon!!), and it is owned and run by Lancashire County Council. Ours was a full residential course, attended by my lovely quilting chums, and some have been with me for the 15 years I have been going there to teach. Obviously I am not flogging them hard enough to put them off!!

They certainly work hard (and dare I say eat hard?) whilst they are there, sewing above and beyond the timed sessions scheduled by the college. Although a theme is chosen for the workshop and the requirements list circulated, the sessions are flexible and people can bring their own work if they wish. Accommodation is good, the food is excellent, and the teaching environment is spacious and well equipped. I just love going there!

These are the variety of subjects I have taught over the past 15 years:

1997 Aspects of appliqué

1998 Easy Curved seams

1999 Through the Garden Gate

2000 Rose Windows

2001 Machine Trapunto

2002 The Lucky Dip Quilt

2003 Hearts and Gizzards Quilt*

2004 Snowball quilt

2005 Reversible Log Cabin

2006 Positive and Negative Appliqué

2007 Poppy landscape

2008 Painting with fabric

2009 Mosaic Flowers

2010 Log Cabin sampler and Still life

2011 Dual Image Appliqué samples shown below


Flower wheel cushion: frame

Flower wheel cushion: fillers


Swirling Swallows: Frame

Swirling Swallows: Fillers

The Flower Wheel cushions were fairly simple with large shapes and gentle curves, suitable for the less experienced. But the Swirling Swallows panels were much more complex and not for the faint hearted. I’m proud to say that over half the class had a go at these and, when I see some of the results, I will include them in a later blog.

I am already looking forward to next year when we will be doing Memorabilia boxes and fabric landscapes. Here is an example of such a box, one that I made for my friend Kate’s 60th birthday. Fancy me having friends over 60!! I realise that I too am over 60 but, as they are all so much more sensible than I am, they always appear to be older than me. I shall hold onto that thought!!!

Kate’s box

Kate's Box - Detail

*Apologies for banner abberation - I can't seem to change it!

Sunday, 27 March 2011

BLOG 45


Don’t you just love this time of year? The intense bright green of new shoots in the hedgerows heralds the arrival of warmer weather and lighter nights; it gladdens the heart and quickens the pulse. I am an optimist by nature, just a simple soul and I am rarely anything but happy and content. Spring is my season!

I continue to prepare for Paducah next month. But occasionally I look over my shoulder, with regret it has to be said, at the work that I have had to put to one side for the time being. Its day will come!

Work in progress

I have been invited, by QUILT magazine in the US, to reproduce the quilt from the front cover of my book ‘Dual Image Appliqué’. This is to appear in the fall issue so the leaf pattern will be topical. The fabrics, chosen from the Hoffman watercolour range, can only be described as delicious! Just look at those colours and textures.

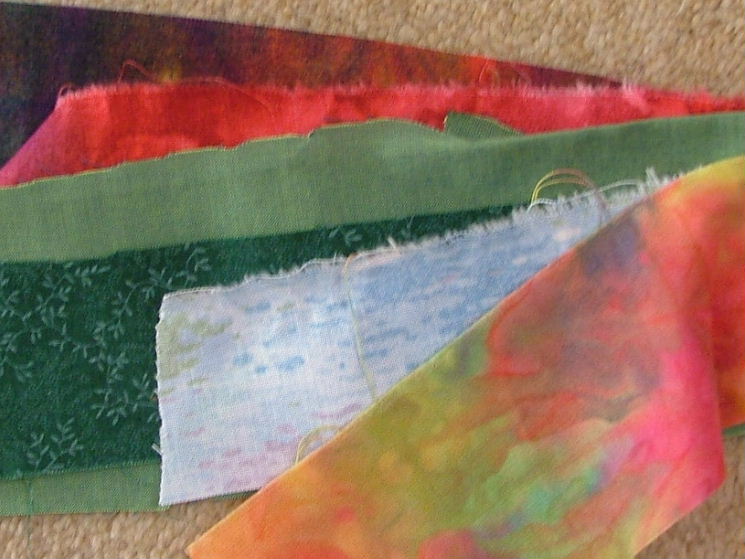
Fabrics

When they arrived I couldn’t help but get started on the lap quilt and this has taken over my sewing time for most of this week.

Constructed squares

Positive and negative leaves

The procedure outlined in Blog 44 is followed. The difference here is that two fabrics, joined on the diagonal, make up the starting square. Three constructed squares make two blocks: 1 square with the fused pattern produces the frame and the fillers, the other 2 squares are foundations. One foundation goes behind the filler to give a positive appliqué and the other goes behind the frame to give a negative appliqué. The positioning of the frame and filler along to diagonal of the foundations is critical. Once ironed in place, the edge of the shape must be sewn to prevent fraying.

Satin stitch

I habitually place cotton batting behind where I am sewing to give the fabrics some body and to help prevent any tunnelling of the stitch and distortion of the fabric. I have chosen a cherry red thread and a small satin stitch for strong definition.

Satin stitch and batting

I am still working in the attic until the weather really warms up. I look forward to returning to my purpose-made workshop in the garage when I can comfortably sew there of an evening.

Sewing station in the attic

Sunday, 20 March 2011

BLOG 44

There are two time-related focuses for my week at the moment. One is Sunday morning when I need to sit down and start my blog for the week, just assuming that there are people out there interested in what I have to say. The other is the Friday night gin! When my husband was at work, we always used to have a gin and tonic on a Friday night to celebrate the end of the working week and the start of the weekend; very civilised, eagerly anticipated and greatly enjoyed!! In retirement, this quaint habit has become a necessity as one day just trickles into the next. We usually know what month it is but the only way to distinguish the weeks from the weekends is to continue our gin habit. We switch off from retiring on Fridays and resume on a Monday mornings when my husband digs me in the ribs to get up because there is some hard retiring to do!! Isn’t life great?

This week I have continued to prepare for my classes at the AQS quilt show in Paducah next month. Time marches on and the preparation is on schedule. This week I have been concentrating on Dual Image Appliqué, my one-day workshop and the subject of my latest book.

The method is outlined as follows:

Mark the centres on the WS of the foreground fabric.

Foreground

Transfer the pattern clearly onto the paper side of the fusible web.

Pattern and fusible

Remove the excess fusible and iron the pattern centrally onto the WS of the foreground fabric.

Fusible on WS

Use a rotary cutter to cut right on the line of each shape. Cut out all the shapes or fillers from the intact frame.

Frame and fillers

Use the frame to audition potential fabrics. The one seen here has been constructed from 2” squares.

Audition fabrics

From the selected fabric, cut a large square to use with the fillers and a smaller square to go behind the frame.

Foundations

Use the frame, with its backing paper still on, to position the fillers with their paper off, onto the large foundation. Press to stick securely.

Remove the backing paper from the frame and press to stick it onto the small foundation securely.

Add batting and backing and then zigzag round the cut edged to appliqué and quilt at the same time.

Sewn samples

Quilt the surround to your satisfaction and use in to make cushions, bags, hangings etc. On the navy foreground I have sewn a wandering vine quilting stitch using a free motion method. On the coloured background, I have sewn a decorative stitch along regular marked lines with a walking foot.

Details of quilting

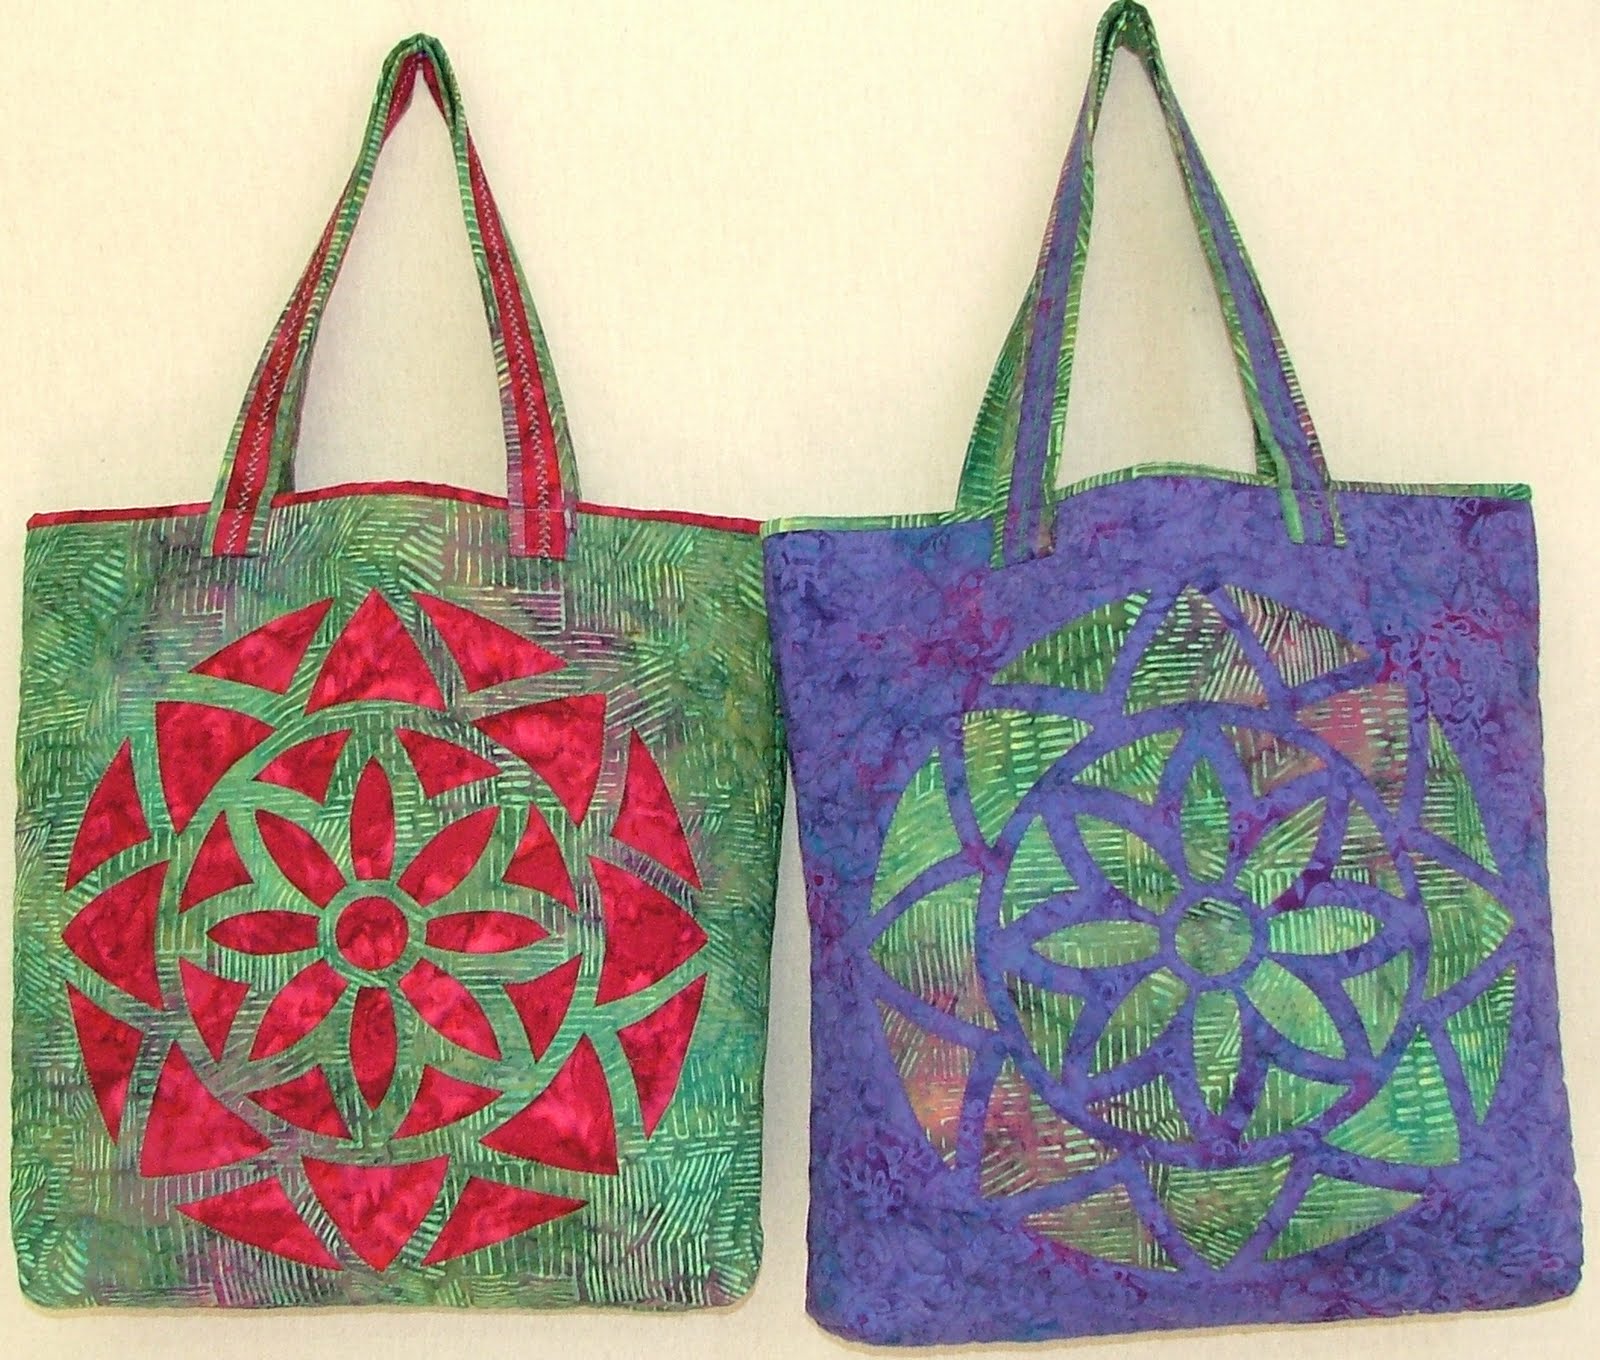
Use your samples to make cushions, wall hangings, bags etc. Here is a bag project from my book ‘Dual Image Appliqué’ published by AQS.

Bag project


Sunday, 13 March 2011

BLOG 43

On previous blogs, I have mentioned that I attend a machine embroidery class at Castle Court Quilters in Shropshire, taught by Suzette Smart. She arrives each month with exciting and inspiring ideas and we pretty much have a free choice over what we choose to sew during the day. This is my humble effort in progress, a sorry attempt at Suzette’s unique style of working! In a nutshell, the method is a bit like drawing shapes in a dark thread and then colouring them in, much more complex than it sounds! I have used the same pale thread on the bobbin so that flecks of it appear on the surface and give an over-all uniformity across all the colours. There is much more to do.

Stitching in progress

My preparations continue for Paducah, and this week I have been refreshing my samples for an exercise in comparing Positive and Negative Appliqué. This workshops is sewn by hand and the samples are sewn side-by-side so that the comparisons are reinforced at each of the 4 steps.

Method 1: NEGATIVE APPLIQUE

Foreground refers to the fabric onto which the pattern is transferred and from which the pattern shapes are cut.

Background refers to the fabric(s) placed underneath to become visible through the cut shapes in the foreground fabric.

PREPARATION

NB The pattern must look like a stencil for this comparison to work.

Transfer the pattern onto the RS of the foreground fabric. Trace onto a light fabric or use transfer paper on a dark fabric.

Pattern

Transfer pattern

Step one PLACE: Place the WS of the marked foreground fabric onto the RS of the background fabric. Pin to secure the layers.

TIP: Pin from behind so that the thread doesn’t get caught around them during basting.

Step one: Place

Step two BASTE: On the RS, baste with small stitches, right on the line. Sew all round the shapes with a contrasting thread to secure the foreground fabric to the background.

Step two: Baste

Step three TURN: On the RS, cut on the inside of the marked line on the foreground fabric only, to leave a scant 3/16" seam. Clip into corners and into the concave curves only (see marked clips above). Remove the basting stitches and needle-turn the seam with small, concealed stitches and a thread to match the foreground fabric.

Step three: Turn

Step four TRIM: On the WS, trim away the excess background fabric to leave a scant 1/4" seam outside the line of stitches. Note the tiny stitches defining the shape on the back.

Step four: Trim

The completed sample:


Sunday, 6 March 2011

BLOG 42

Now that we have somehow arrived in the month of March (where have the 2 months gone since Christmas?), most of my energies will be concentrated on my preparations for the quilting show in Paducah, Kentucky. I am part of the teaching faculty this year and will be kept very busy with workshops, a lecture and the all-star reviews. I am excited about being there again as I used to go regularly with friends many years ago. Paducah becomes ‘Quilt City’ when the American Quilters Society holds its annual show, this year during 27th -30th April.

This week I am preparing samples for template-free hand appliqué, a technique I have been teaching for years. Once the pattern is transferred onto the fabric, it can be translated as a 4-step method. Here is the method in a nutshell.

(Featured in ‘At Play with Appliqué’ published in the USA by C&T)

Template-free Hand Appliqué

NB: Background refers to the fabric onto which all the shapes are appliquéd.

Foreground refers to the shapes that are appliquéd onto the background fabric.

Preparation Transfer the pattern onto the WS of the background fabric. Trace onto a light fabric or use transfer paper on a dark fabric.

Place on the RS

Place from the WS

Step one PLACE: Place the WS of the foreground fabric onto the RS of the background fabric. Pin to secure the layers.

Step two BASTE: On the WS, baste with small stitches, right on the line. Sew all round the shapes to secure the fabric. Work in sequence if appropriate.

Step three TRIM: On the RS, trim away the excess fabrics on the outside of the stitches to leave a 3/16” seam. Mark the edges to be turned (optional).

Step four TURN: On the RS, remove the basting stitches, one by one, and needle-turn the seam with small, concealed stitches and a matching thread.

The method is a accurate as the drawn line and it eliminates the need for templates.

Jacobean silhouette

The work has slowed down on the Jacobean panels but I have managed to mark a background grid on the positive panels. This grid goes over the black too but misses all the flowers/leaves etc so I can add decorative free-motion detail.. eventually!!