BLOG 276
To complete the Christmas Tree Project, place the quilt top
onto wadding and a backing layer that is a couple of inches bigger. Quilt to
your personal taste. The one below has been quilted ¼” in from the edge of the
Xmas tree.


I used decorative stitches and red thread on my sewing
machine to go across the seams of the Xmas tree on this next one.


Trim away any excess fabric from around the borders before
binding.

Prepare a 2” binding, joining if necessary.

Prepare an angled fold at the start, ready for an over-lap
at the end.


Complete by catching the folded edge down by hand on the
back.

Complete
And there you have it, 3 Christmas wall hangings, in a
variety of fabrics and styles!
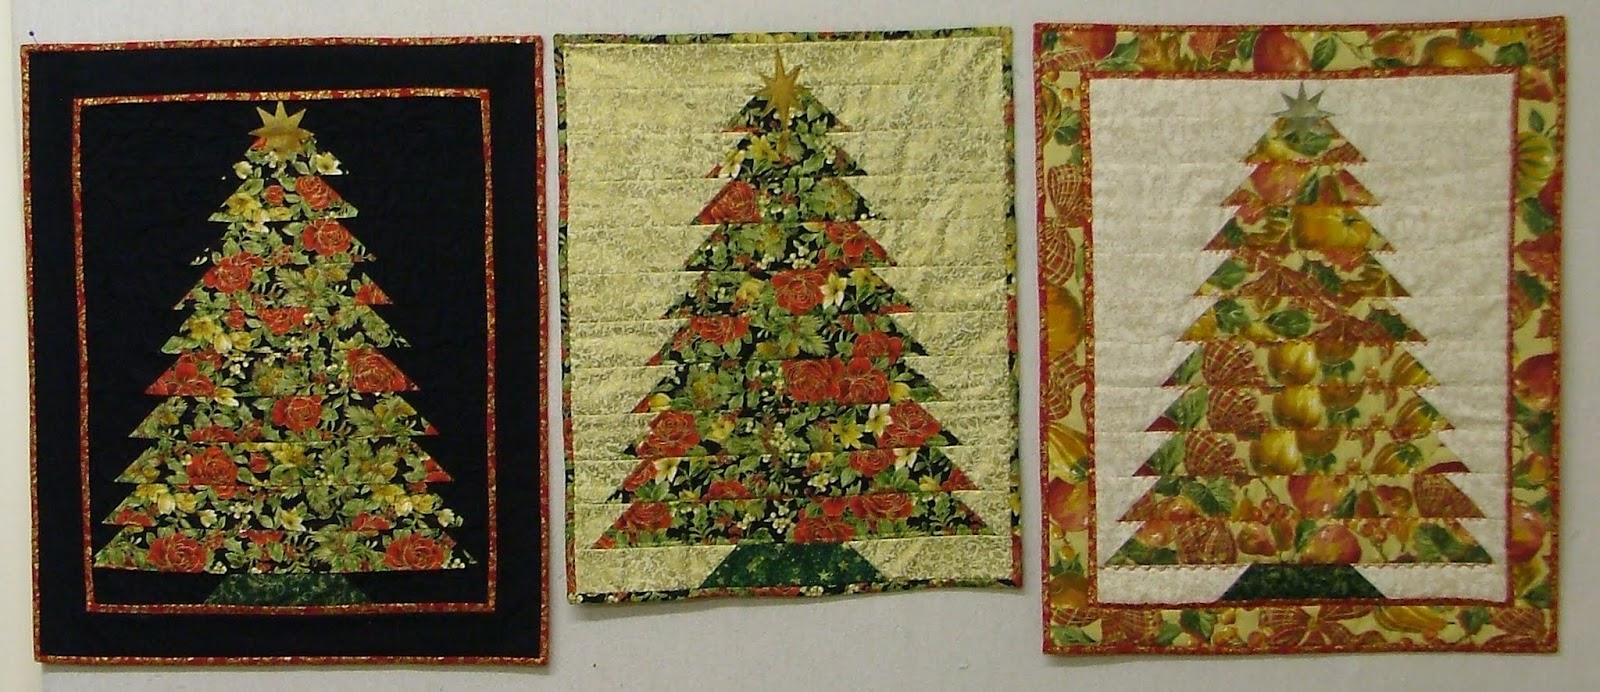
I hope this has
tempted some of you to have a go. It is a straight forward project to do once
the cutting is done; that is the hardest part! And if anyone would like to
share their efforts, I would be delighted to see them. Happy almost December!

No comments:
Post a Comment