Blog 463
And didn’t it rain?!! Rain is always good for me as it means
I can’t get out in the garden. It’s that time of year when I am supposed to be cutting
back all the shrubs, knowing that whatever I do this end of the year will
benefit the garden in the spring! There is still a lot of colour in the garden
and plenty of leaves on the trees so I don’t want to be too premature in my
savagery of the borders!
There is just the re-vamping of my design wall left to do
before my playroom is totally finished, but when the polystyrene sheets arrive
next week, I should be up and running. I can’t wait to see what creative ideas
surface!
In the meantime, I have been content to do some more labels
for my collection; these are small enough to start and finish in no time at
all. The first is a left over motif from Tessa’s quilt that I made (a patch for
each day of her breast cancer experience). This is followed by a little cross
stitch design made by my sister Gwyneth for a greetings card. I always felt it
was too good to send so I kept it and now it has found its place in my collection.
Gwyn’s
cross stitch
The
final label is a technique that I was shown with ribbon and decorative machine
stitches. Once sewn, the ribbon is stitched by hand at intervals to produce a
textural surface. (I don’t want to do this again as I didn’t enjoy it!) The
labels are waiting for the edges to be satin stitched.
Ribbon
and stitch

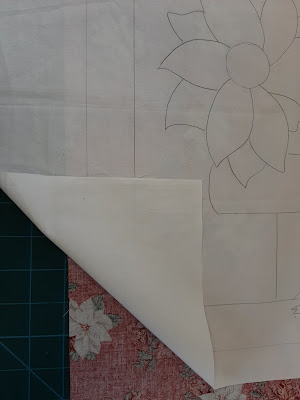
*Trace the pattern onto the WS of the foundation fabric
(calico).
*Start anywhere on the design and apply the fabrics RS up
onto the RS (unmarked) of the foundation as follows:-
Place each fabric in turn RS up on the unmarked side. Pin in
place and sew (by hand or by machine) along the marked lines ALL ROUND the
shape where this fabric will stay. Trim away any excess fabric on the outside
of the stitched line on the RS.
*Build up the design in this way to cover all of the
foundation fabric.


No comments:
Post a Comment