Sunday, 25 May 2014

BLOG 200


 Another milestone in Blogland, my 200th posting: ‘Happy blogging to me …. Happy blogging to me…... Thank you to all of you who look in and keep in touch; it’s nice to know that you are interested in my ramblings.

I decided this week to get on with another of the panels for my calendar quilt. I went through the same involved procedure that I have described previously but I ended up with the flower in the wrong corner! The whole point of the background panels is that the colours run into one another but somehow I managed to rotate the block and didn’t notice until all the work was done. I can’t undo it as the process would leave marks on the fabric and I can’t make another block because I haven’t any more of the same fabrics!!! I am so cross with myself that I have shelved the project until after the Gresford show when I can think more clearly about a solution. Grrrrrrrrrrrrrrrr!

                                         Rotated block
 

So, in a spirit of cancel and continue, it has been onward with the exhibits for the Gresford show and the items for the Sale table. I still have a few workshop samples so I have used some to make bags. There’s now a bag with a flower wheel design with a repeated pattern front and back, and a positive/negative framed daisy.

                                   Flower wheel bag

                     Framed daisy negative

                         Framed daisy positive


I make the bags by joining two ready quilted panels together with a binding strip and then shape the corner by sewing across the base.

                                Shaping the corner


All I needed to do was to make the handles. The simplest way was to create strips of fabric and batting as follows: The fabric strips were cut at length of handles x 4” and the batting cut at length x 1 ½”.

                                          Strips


Press a ½” seam along the top edge of the strip and place the batting just below it. Iron the lower edge over the batting and fold down the turned edge to cover it. This seam should run along the centre of the strip. (It saves making a tube and turning it through.)

                         Batting and turned edge

                          Pressed lower edge

                                 Central seam


I sewed from the seamed side, down the middle of the strip with a decorative stitch to hold the fabrics in place through the batting.
 
                                 Sewn strips

 
The ends were attached under the seam at the top of the bag, 3” either side of the centre.

 
                           Attached handles

 
I completed the free motion quilting in the centre of a stained glass panel.

                    Stained glass panel

 I joined squares of Batiks together to create a backing fabric for my ‘Trip round the Batiks’. I am awaiting the batting so that I can quilt it.

 
                            Trip Round the Batiks

 The pile of finished work is growing!

                        Finished projects


Sunday, 18 May 2014

BLOG 199


Long light days, a blooming garden, lovely weather and …… frantic sewing … and I am supposed to be retired!! I often wonder why I feel so compelled to slam things under my sewing machine. I suppose the main reason is that I don’t like to waste anything and that attitude was ingrained in us as children in the 50s. We were also encouraged not to waste any time as it is very precious and so we were always busy. The chores were completed first before sitting down and then we usually had something in our hands so as to make good use of our TV watching time! Another reason for frantic sewing just now is that I am trying to finish off unfinished projects for the Gresford show. This is the only time now when I choose to exhibit new pieces and sell my ‘historic’ projects, of which there are many. Once this phase has passed, I will rethink where I am going with my creative endeavours.


That said, I was anxious this week to make progress on my calendar quilt, where I am enjoying the creative process without the pressure of deadlines. So, continuing from last week, the pattern was pinned onto the back of the panel.

 
                                          Pattern on WS

 
I placed sheers onto the RS, where I more or less wanted them to appear. From the WS (the pattern side) I sewed around the shape to trap the sheers in place.

                                          Sewn shape

 Then I used the soldering iron to remove the excess fabric from around the outside edges. I particularly like the way that the background fabric affects the look of the sheers.

                                  Soldered shape
 

I thought I would continue to do this, placing colour where I wanted it to be to build up the design. After placing a green sheer on the next part of the pattern, I realised straight away that I did not like it and that the design was in danger of becoming contrived; this is not what I was trying to achieve.

 
                             Building the design

 
After a bit of reverse sewing (which incidentally I hate to do because it smacks of failure!!) I started to layer and pin sheers more randomly on the RS.

 
                            Random placement

 
Then I began defining the pattern from the WS again, building up strength of colour in areas where I wanted it.

                        Stitching the design


More sheers and more stitching followed.

                                         Layers

 The finished corner looked pleasing … apart from the purple berries on the corner which seemed like a good idea at the time. The thing about this method is that if I don’t like something, I can just solder it away. I think I may have cracked the technique!

 
                        Completed corner

 
I have a water colour garden hanging which I am quilting for Gresford and here is Chivers trying to halt my progress by sitting on my quilt so I can’t move it freely under my machine. Must be his tea time!

 
                                           Chivers

Sunday, 11 May 2014

BLOG 198


I’m back from our week in Kefalonia and what a wonderful relaxing time we had there. Last week was the very start of the season and a plane full of Thompson’s passengers was distributed around the island to the hotels that were open for guests. There were only 30 in our large hotel so the service was magnificent and there was lots of room around the pool and on the deserted beaches nearby. By the time we left, they were expecting to have 350 guests in residence. Half of the people on our outward flight were spending 2 weeks there so we returned in a half-empty plane so there was lots of room to stretch out. Brilliant! So, I strongly recommend package holidays during the first or last weeks of the season. But look what was waiting in the garden when we returned. Don’t you just love spring!

                                     Clematis 1

                                           Clematis 2

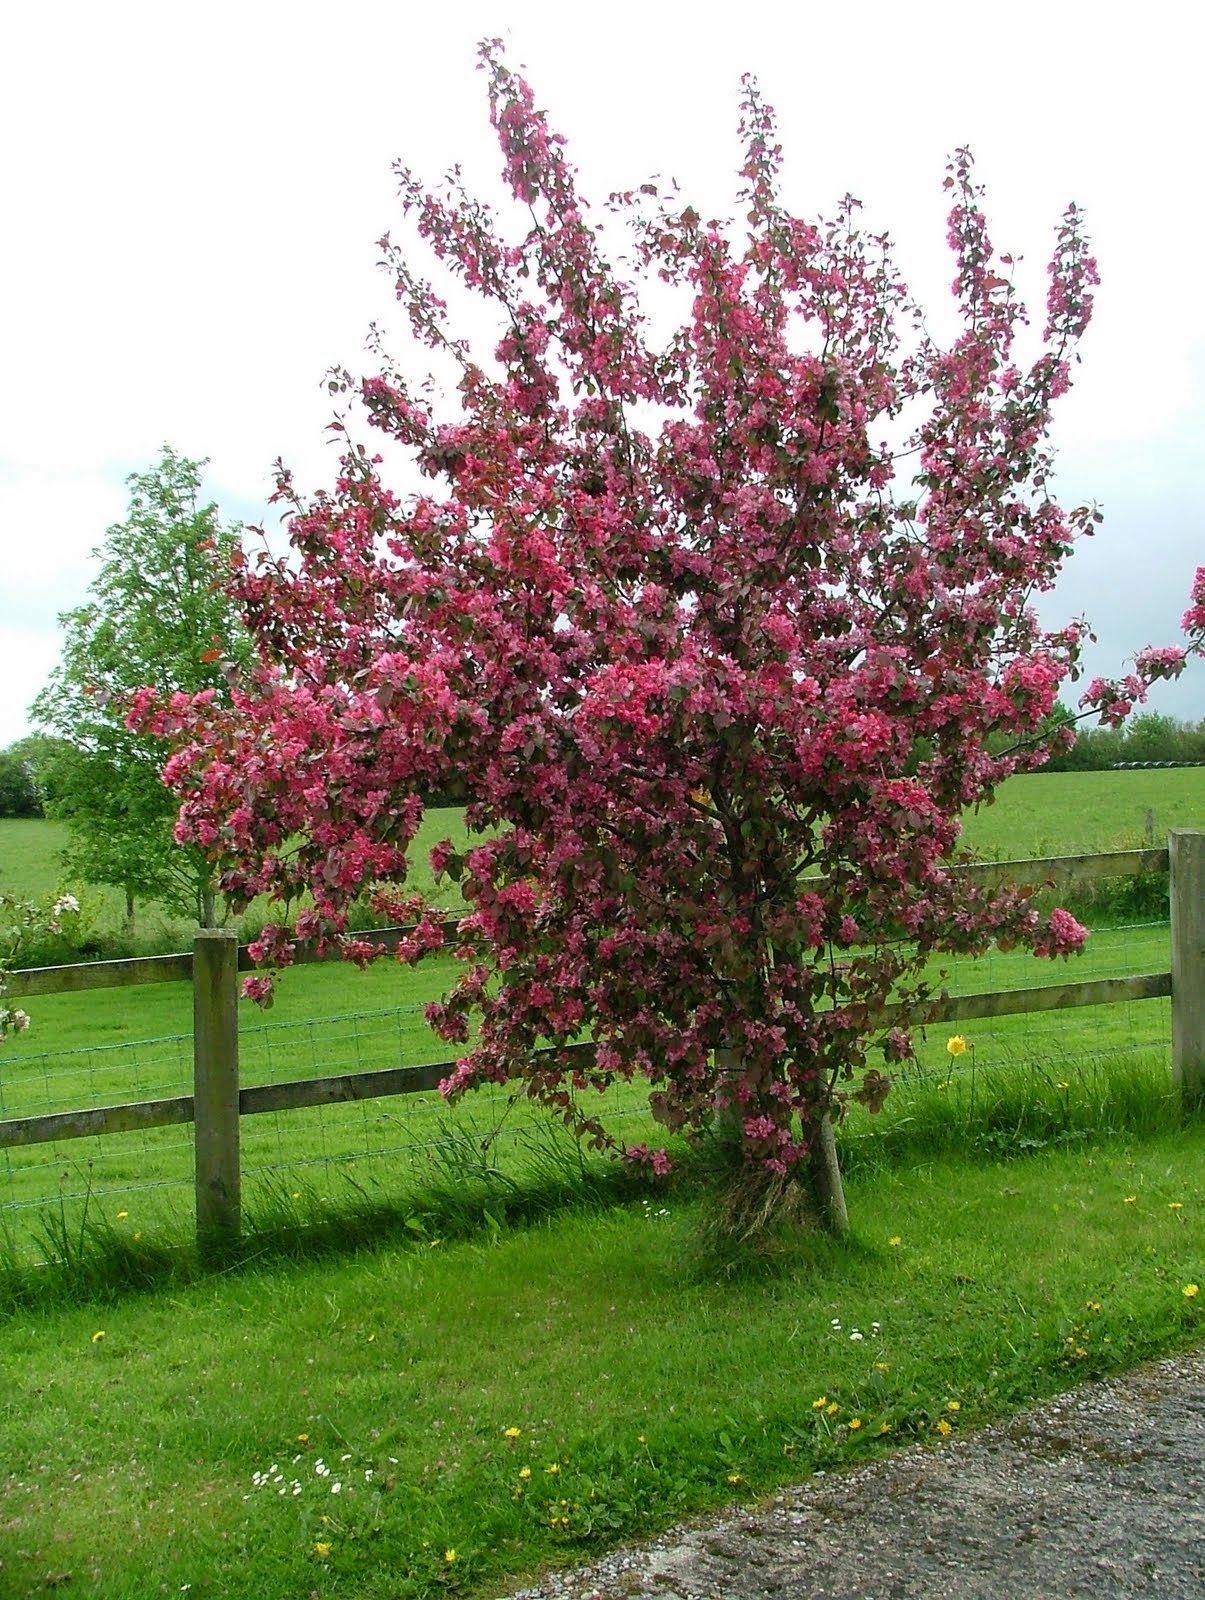
                             Cherry blossom


However, in my studio, the spring warmth had the effect of fading the pattern for the bird panel that I started in my last blog. It was drawn with a water-erasable pen and had been left out on a table surface. With no pattern, I can’t see where to position the applique fabrics so I have undone it ready to start again   …..  soon!

                                   Faded pattern


So I have decided to focus on my calendar quilt for a while. I need to work out my method for adding a pattern made from sheers to each block. The pattern needs to be designed first and this is the stage that often holds me up. I find other things to sew as a way of avoiding getting my pencil and paper out. That said, once I get started I enjoy the process. So, it’s blinkers on and a week of concentrated effort ahead!! This in the block for September.

                               September block

 
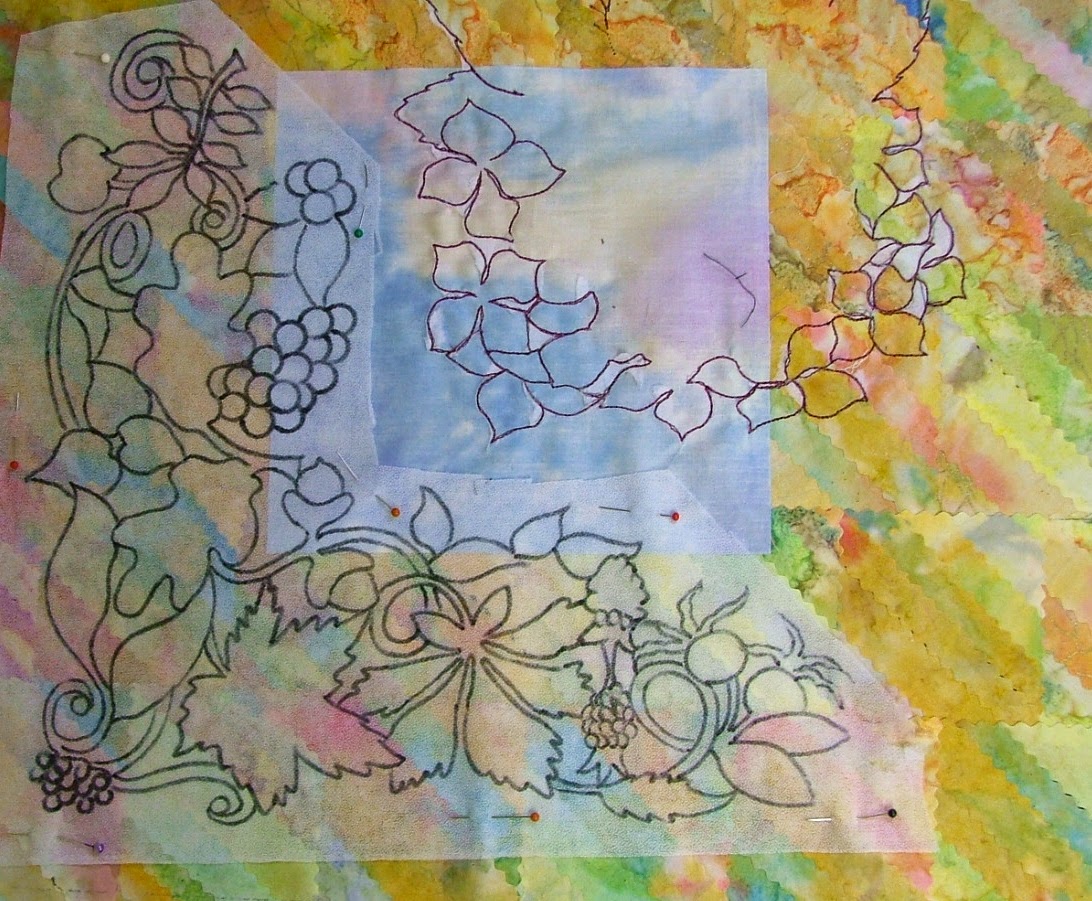
This is the corner pattern I have designed for September.

                  Corner pattern for September

And to remind myself what I am trying to achieve, I need to refer to my first attempt at working with sheers, using a Margaret Beale soldering iron and being inspired by the work of Kathleen Laurel Sage. What I like about this panel is the spontaneity of the colours and the way that the colours bleed into one another. But how do I go about it directly onto the fabric of a quilt block?

                       Panel with sheers

 
The story so far: I overlaid the pattern with light-weight Vilene and traced it with a permanent marker.

                        Pattern onto Vilene

I positioned and pinned the pattern onto the WS of the corner where I wanted the detail to be seen. You can see the stitching lines where I previously added detail to the hydrangea in the centre of the block. I used ‘Stitch and Tear’ on that but found it hard to remove afterwards and will use Vilene (which will remain in place) for this purpose from now on.

                       Pattern onto the WS

 
The sheers are ready, what’s not to like eh?! Mouth-watering!

                                          Sheers


I have selected my thread and this will go on the bobbin as I want it to appear on the RS of the panel and I will be sewing from the WS. More next week.

                                    Thread
 

PS Terri Vorsteher contacted me at the end of Blog 94, making enquiries about my Signature quilt from 2012. If you are reading this Terri, I am happy to answer any of your questions about the quilt but I just don’t do Facebook. Looking forward to hearing from you. Dilys

Sunday, 27 April 2014

BLOG 197


This has been an exceptionally busy week for me. Like last week, I have spent precious little time on sewing because I have been preparing food for 33 guests plus 5 children who are coming here on Sunday for my 65th birthday and my husband’s 70th birthday. (His actual birthday is in May but by that time we will be on the Greek island of Kefalonia for a week’s holiday in the sun so apologies in advance. (No blog next week!) Invitations have been issued inviting guests to come and sob with us; a marquee has been erected because we can’t trust our weather; food has been prepared and frozen with the fresh food still to be done on Saturday and a frock has been purchased! Bring it on is what I say!!


This week I have been diverted again, having found inspiration from a piece of wrapping paper. Here is an image of the paper.

                                 Wrapping paper

 Of course you never have the right fabrics in stock so I am going to make it in my own painterly fabrics which form the basis of my stash. Here is the background I have chosen.

                                         Background fabric


I traced the bird shapes onto a piece of calico.

                                        Traced pattern

 I placed the calico behind the background fabric and pinned the layers together. The bird fabric was placed RS up, on the RS of the background and it was pinned in place.  


                                              Bird fabric


From the calico side, where the marked was visible, I basted round the body to hold the fabric in place.

                                          Basted shapes


From the RS, the fabric was cut away on the outside of the stitched line. The wing was done next from a second layer of fabric placed on top of the body.

                           Appliqued birds and wings


Sunday, 20 April 2014

BLOG 196


Happy Easter Sunday. We have had such a lovely week weather-wise in the UK that spring has actually sprung! The hedgerows are covered in bright acid green leaves, the intense colour that you only get in the spring. The blue tits are building their nest and we hear that the local swallows are beginning to arrive back after over-wintering in the warmth. I have spent a lot of time in the garden with the sun on my back this week and precious little time in my studio. That said, I did find time to add detailed decorative stitching to the Jacobean wall hanging. Occasionally I use one of the stitches programmed into my machine but mostly I use free-motion stitching because I like the freedom it affords and it allows me to be creative within the space provided.


                                         Stitching detail 1

                                    Stitching detail 2

                                  Background texture


I have trimmed away the excess fabric from around the edge and it is ready to bind. I will do this in the same fabric that was used as the background.

     Completed wall hanging

 This week I have desperately needed to make progress on my panel for this year’s group quilt and any sewing time has been spent on that. I can’t tell you what it is about but rest assured that we are back in our humorous mode and I just know the quilt will entertain those who are viewing it when it is on show at the Festival of Quilts.

On the calendar quilt front, I did a bit of sewing and soldering of sheer fabrics behind the hydrangea flower. I have yet to design the intricate pattern that will be featured on the block. Sometimes it is the designing that slows down the progress, but I am convinced that I am on the right track now with this quilt.

                                 Hydrangea in thread

                                         Hydrangea and sheers

Sunday, 13 April 2014

BLOG 195


This week I have continued to make progress on items that I intend to display and sell at the Gresford show in June. Here is another teaching sample which I thought was too good to throw away. I had completed and joined 3 vertical lines in one sequence but for some reason, I had another 3 vertical lines in another sequence. This was probably the reason it was never finished.

                                   Tiles quilt

 It took longer than I intended to produce a reasonable sized quilt (49” x 52”) and here is the evidence of the sewing and undoing and re-sewing. I felt no conscience in throwing away what was left and was heartily glad to know that I don’t have to do any more of it!!                                                                                                                                     

                                             Left-overs
 

I have quilted the rows ‘in the ditch’ with a walking foot and I used a free motion foot to do a wandering stem and leaf design using a variegated thread.  After it was bound, the last thing I had to do was to sign it.

                                Stem and leaves design

                                                 Signature
 

I have begun the last 2 flowers on my calendar quilt, a clematis and a rose. They need a bit more work on them before I remove the water soluble medium. Then I can concentrate on the individual quilt squares.

                                      Thread flowers
 

A company in the USA (The Creative Iron) laser cuts a selection of my silhouette patterns on ready-fused black fabric. I came across some during the clean out and this is a sample of a Jacobean strip that they decided not to run with. There is no need to sew the black fabric cut-outs as the heavy fusible prevents it from fraying.

                        Jacobean strip

                                    Decorative stitching

 
Most evenings now I am making myself do some squares on my ‘Stringing the Stars’ quilt. There is still much ground to cover but I will get there in the end!

                                      Stringing the stars
 

I have 3 potential gate quilts for Gresford, again these are workshop/book samples that just needed finishing. Here is the first which I have now quilted and bound and it is in need of a hanging sleeve.

                                         Garden gate

                                    Textural quilting

 ASIDE: I have spent my day today at a willow weaving workshop, making a hanging basket. It was my birthday treat from my daughters and their families and I have had a lovely time. I now have a cone shaped hanging basket and just need to fill it with plants so I can enjoy seeing them thrive through the summer.