This time of the year is quiet on the quilting front as many of the groups I belong to have a welcome break. I think it’s a good thing too as I know I will enjoy the space and return in the autumn refreshed and enthusiastic again. So what to do to fill in my free time? Make a quilt of course!
I redecorated our guest room recently in a soft turquoise shade and installed twin beds instead of a large double bed. This means now that I have to make a couple of quilts to cover the beds and add interest to the room, because to me, a bed is not finished unless there is a quilt on it. I say that ‘I have to make a couple of quilts’, but in fact I have loads of them about the place and I just WANT to make them to specifically coordinate with the room. I have chosen a traditional block for the first quilt, which I am calling ‘9 in the Cabin’ and here’s how to do it.
9 in the Cabin
PREPARATION
The block:

Log cabin with a 9-patch centre
The fabrics:

Dark values

Light values
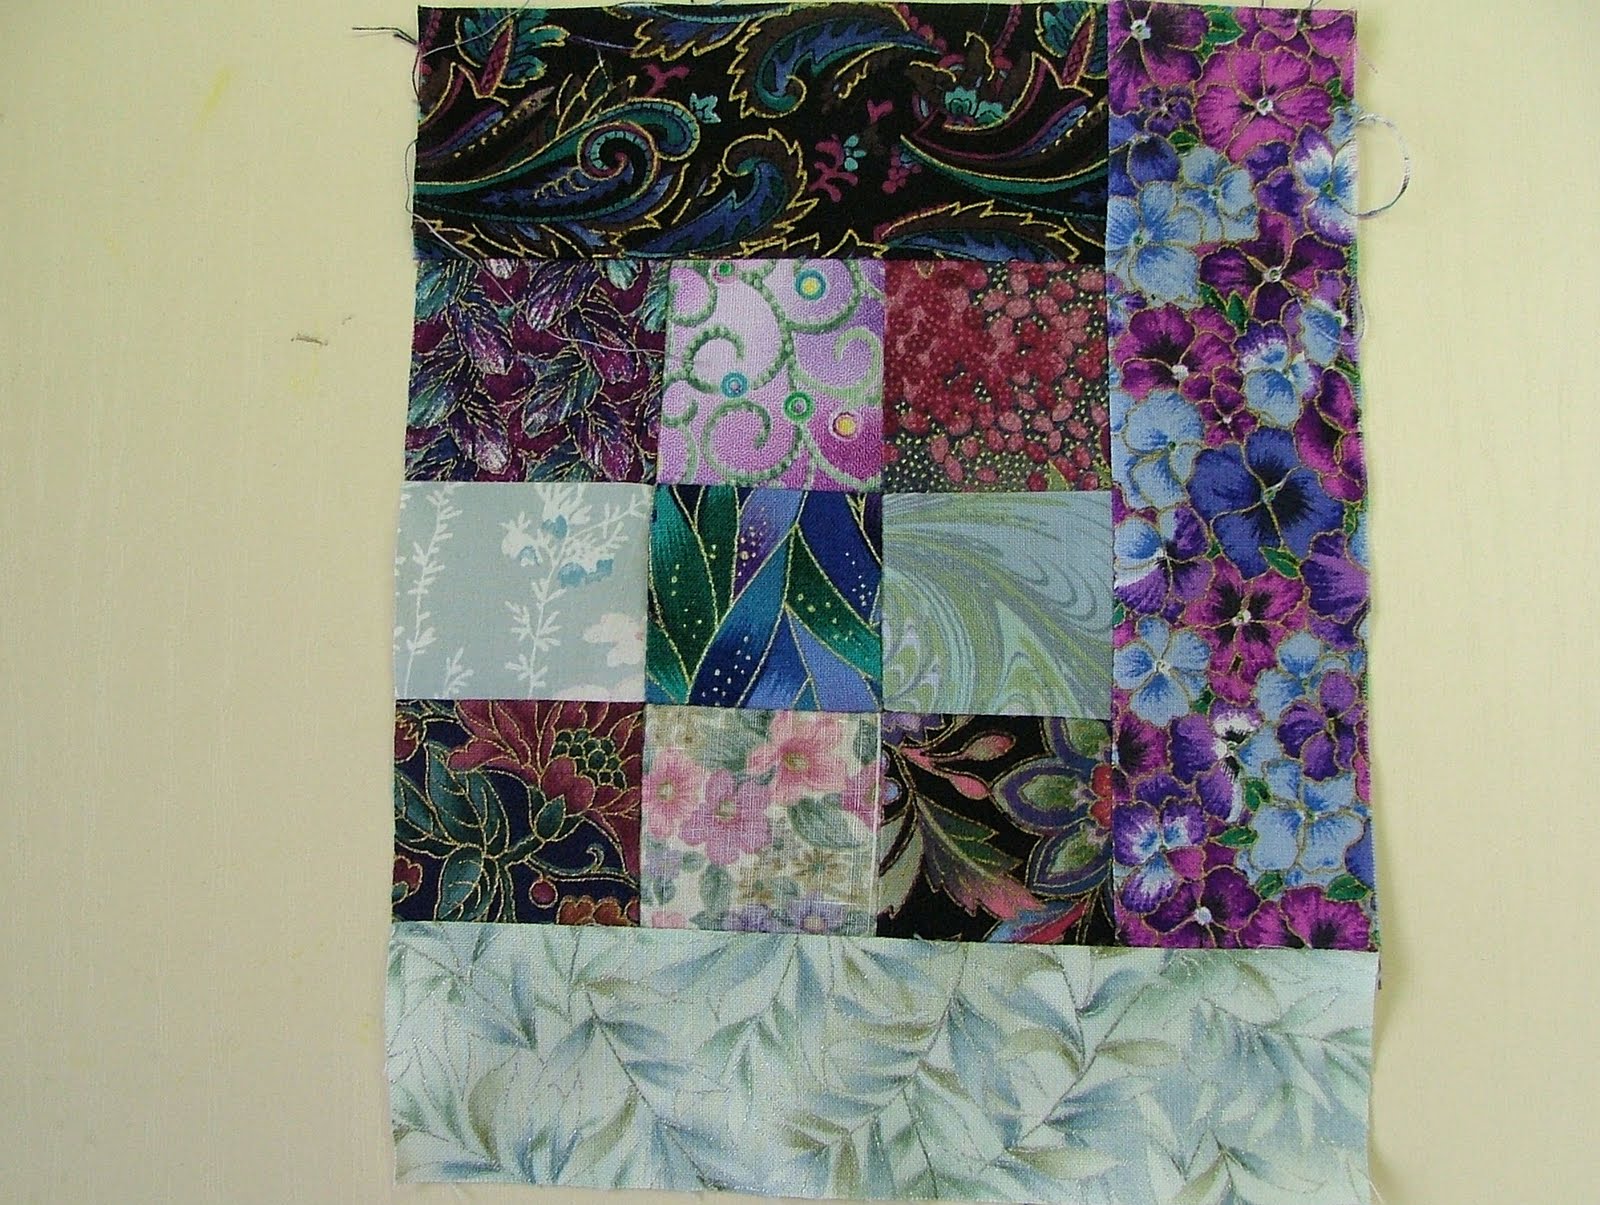
Select lots of busy scrap fabrics in light and dark values. Discard any fabrics that look plain from a distance and any that are of medium value. Cut the chosen fabrics into 2” strips and keep them in separate piles. (To give you more choice of fabrics, consider using the reverse sides of medium fabrics.) Cut some 2” squares from all the fabrics and keep them separate.
All my fabrics have turquoise in them, to go with the room, along side pinks, purples and blues. Reds, oranges, yellows and browns were avoided.

2” squares
Work station:

Machine, strips and squares at the ready
Set the sewing machine to sew a regular stitch, with a neutral thread and ¼” foot. Arrange the fabrics in separate piles around your work area and set up an ironing area close by. (My ironing surface is deliberately positioned a few steps away from my machine so I have to get up and move about on a regular basis; a form of exercise!)
METHOD - Sewing the 9 Patch
1 Place 5 dark and 4 light squares by the machine to make a 9-patch, making sure there are no repeated fabrics. Using an accurate ¼” throughout, join 3 squares together to make a row and press the seams from light to dark on the wrong side.

Rows for 9-patch
2 Join the rows together, butting up the seams, to create the 9-patch.

9-patch
3 Press the seams on the wrong side to complete the 9-patch centre of the log cabin block. (The fabric for the middle square on the right hand side has been used in reverse to give a light value.)

Press
Sewing the sides (logs)
4 Add side 1 by placing a dark strip along the top of the 9-patch block, with right sides together. Sew with a ¼” seam and press the strip open. Trim to the edges of the 9-patch.

Add side 1
Add another dark strip, for side 2, along the right hand side of the 9-patch, press and trim.

Add side 2
Add a light strip, for side 3, along the bottom edge of the 9-patch, press and trim.
Add side 3
Add another light strip, for side 4, along the left hand side of the 9-patch, press and trim. This completes the square again with 2 dark strips on one side and two light strips on the other.

Add side 4
5 Continue in the same way to add a second row of strips. Always start along the top edge and add 2 dark strips and 2 light strips in sequence.

Add a second row
6 Continue in the same way to add a third row of strips. Always start along the top edge and add 2 dark strips and 2 light strips in sequence. This completes the block.
Add a third row to complete

The reverse side
In the next blog, I will be experimenting with the design possibilities of the block.

No comments:
Post a Comment